
Tired of being left out of the snack food world if you are eating clean? Surely there is more out there than carrot and celery sticks! Here are a couple of “secret ingredients” that can transform your snacking world AND give you a yummy, non-dairy, gluten-free, crunchy snack that’s actually good for you!
What is it about warm weather that makes us turn to “snack food” more? Somehow, finger food is just more attractive and fun – easy even – in the summer. Sliced meats, assorted cut up tropical fruits, veggies for dipping, and…chips…
Seems like this picture needs ‘tweaking’ to make things wholesome.
I mean, read the ingredient list on your favorite chips. Even if they were to limit things to organically raised potatoes and sea salt, they would be fried in some kind of “Franken-oil”… and who needs the starch, anyway?
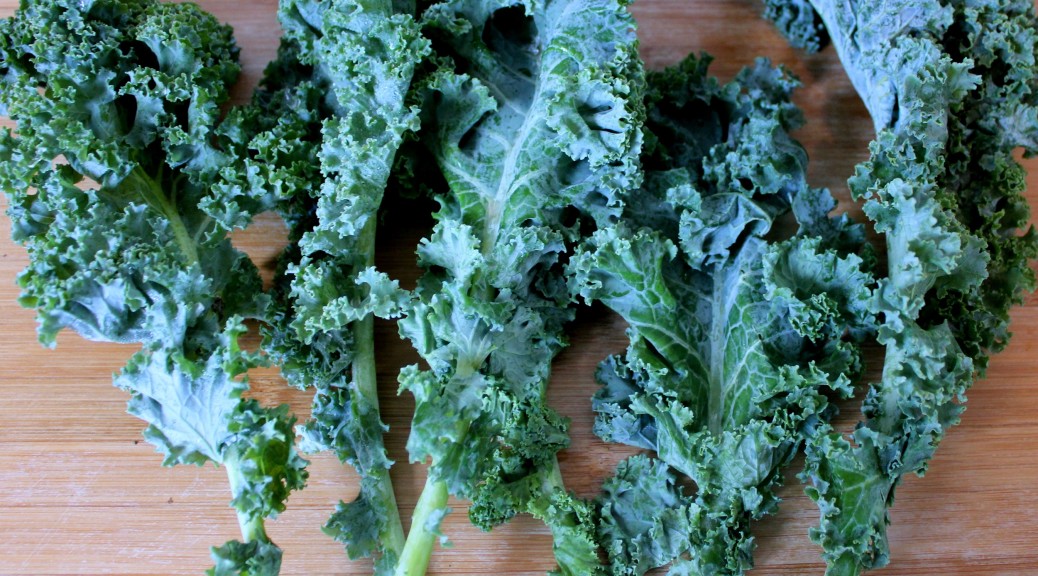
How about kale chips? Very crunchy! A non-starchy vegetable, too! But they are fairly expensive to buy and they are usually squashed and pretty crumbled by the time I get them…
What if you could easily make them AND you can enjoy a real cheesy-ness with the addition of a couple of key, “secret” ingredients often used in making non-dairy options — all of which will address that deep longing for cheese that many of us have been unable to satisfy short of the real stuff.
Dairy never fails to literally ‘back fire’ on me—pun intended!
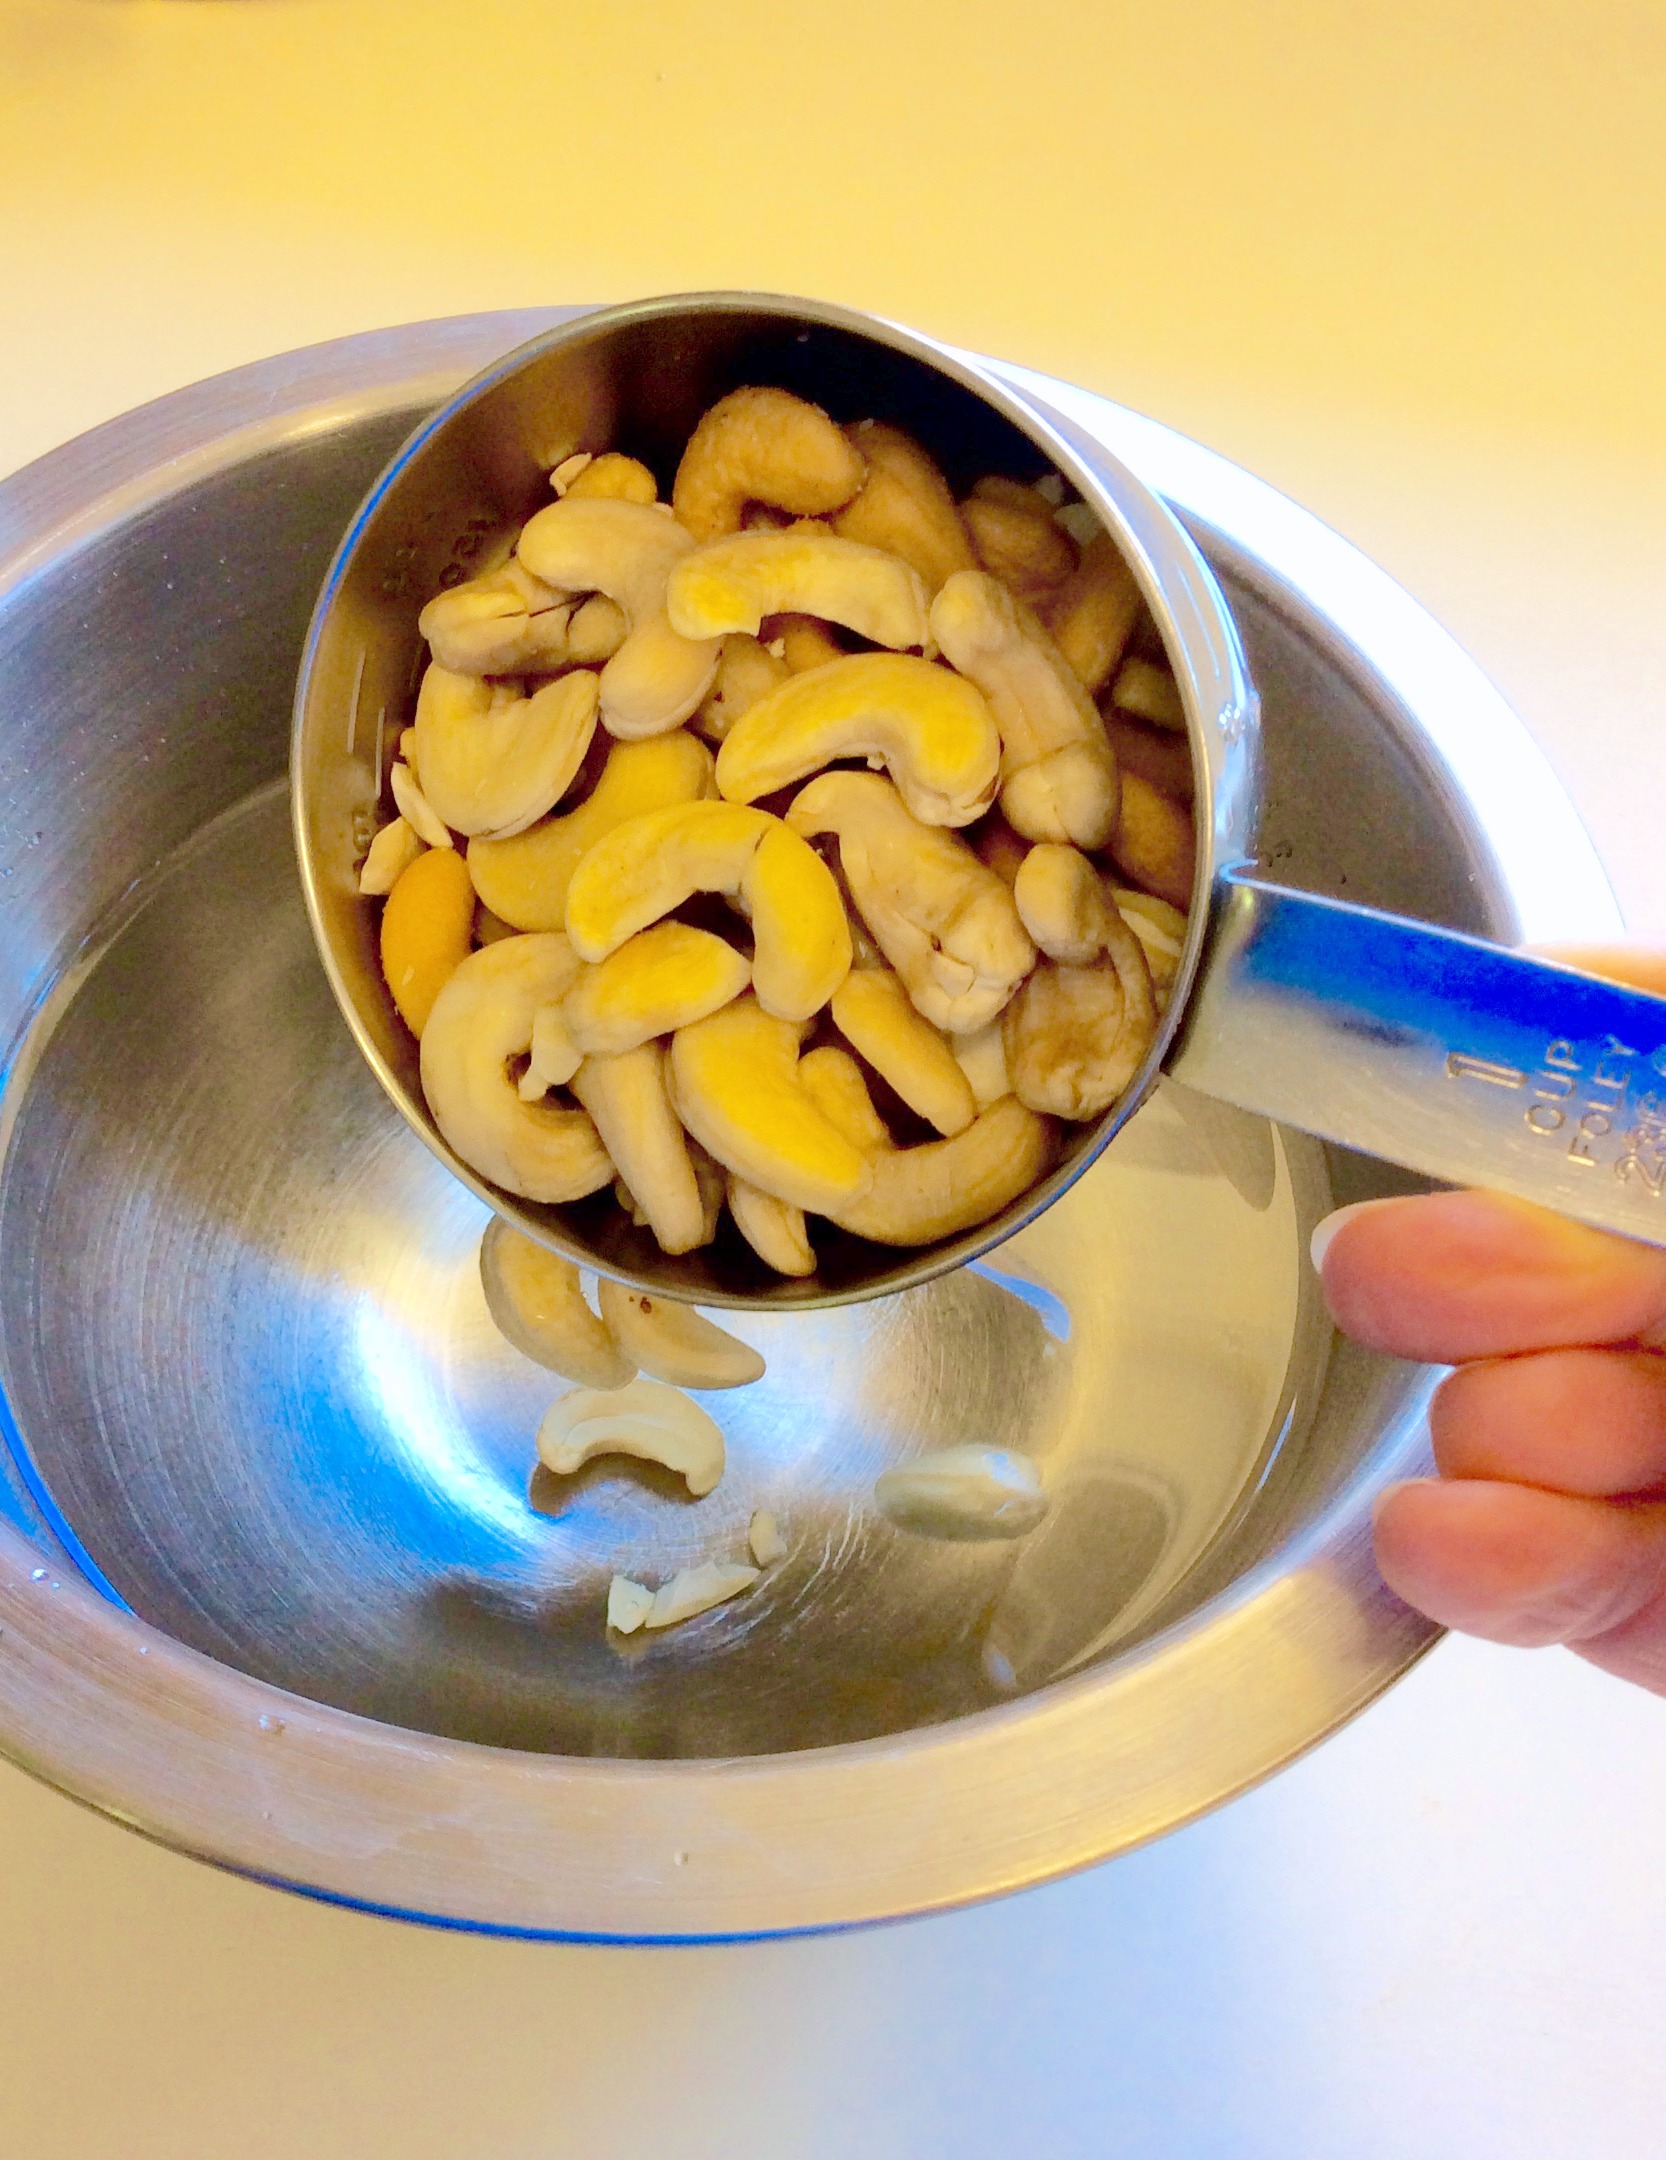
Enter freshly soaked cashews and nutritional yeast (not to be confused with yeast used in breads).
Follow the journey as I walk you through creating this satisfying, affordable, savory, and guilt-free snack!
Gluten-free, Dairy-free, Savory and Cheesy Kale Chips
Begin by soaking ¾ cup (preferably raw, unprocessed) cashews in water for at least one hour. That’s just enough time to do the dishes, clean the kitchen counters, and get the rest of the ingredients in order!
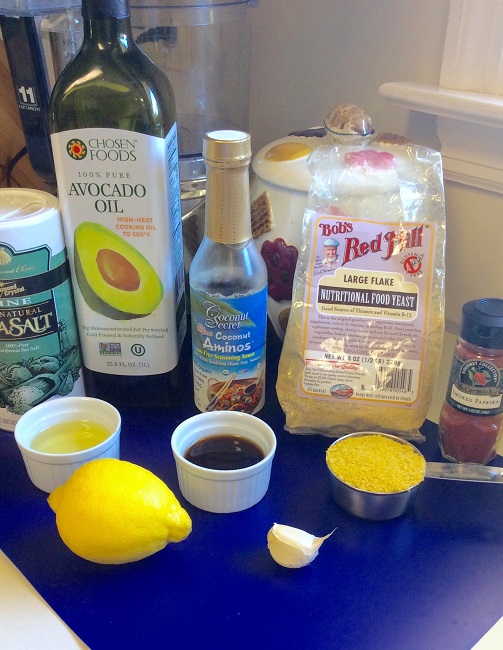 Assemble the following ingredients and put into a food processor:
1 large clove of garlic, peeled and sliced
2 Tbs. coconut aminos (a gluten-free version of soy sauce or you can use wheat-free tamari)
2 Tbs. avocado oil or coconut oil
1/3 cup nutritional yeast
1 lemon, juiced
1/8 tsp. smoked paprika
1/8 tsp. salt
Prepare kale leaves as follows: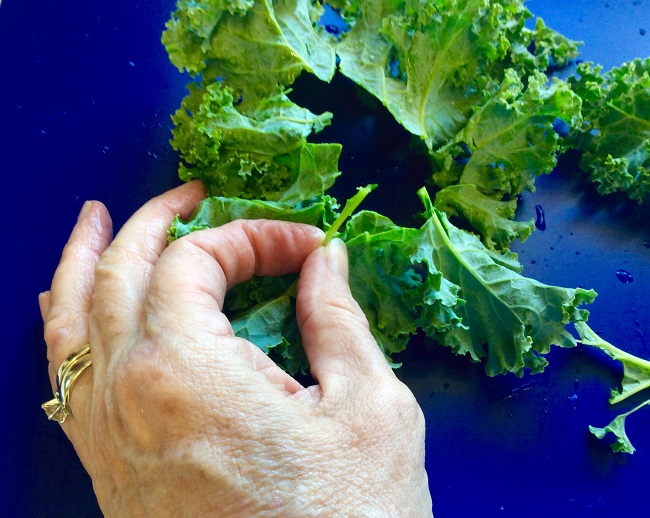
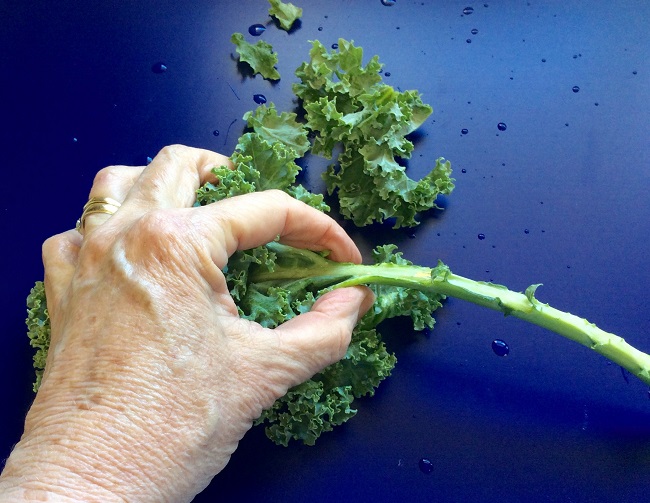
After carefully rinsing the leaves off under running water, strip the leaf portion off of the stem by holding the cut end of the stem in one hand and quickly pull leaf portion through clenched fingers of the other hand
Lay out the leaf portion on a cutting board and zip out any of the remaining of the smaller stem veins that stand out. That’s not every small vein, just the ones that stand out. If you don’t, they will just dry out to be like little hard stems that are not very chewable.
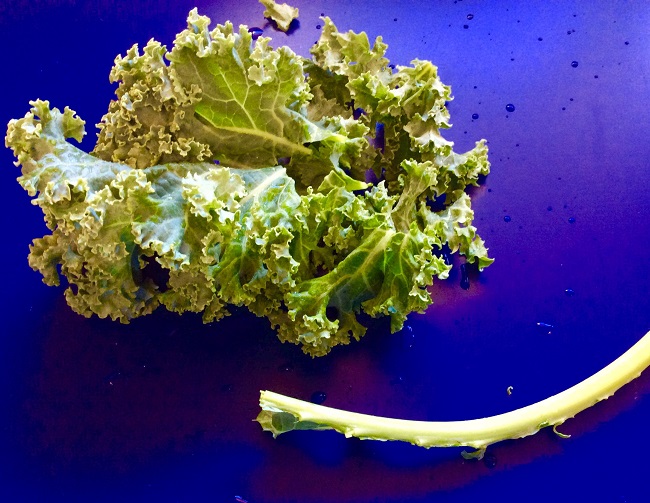
Your final product should look something like this:
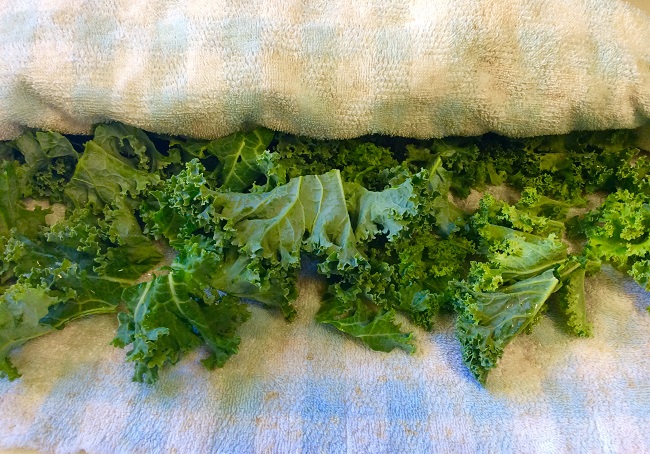
Then, using my trusty blueberry and nut stained but just washed (!) old bath towel, I rolled the prepared greens up to make sure they were dry
Line three baking sheets with parchment paper
Okay, we’re getting close now, so preheat oven to 180 degrees and make sure all 3 oven racks are spaced evenly
Drain the soaked cashews and add to the ingredients already in the food processor. Pulse the processor until a smooth paste is formed. Scrape the sides of the processor bowl to make sure all of the garlic and nuts get smoothed out.
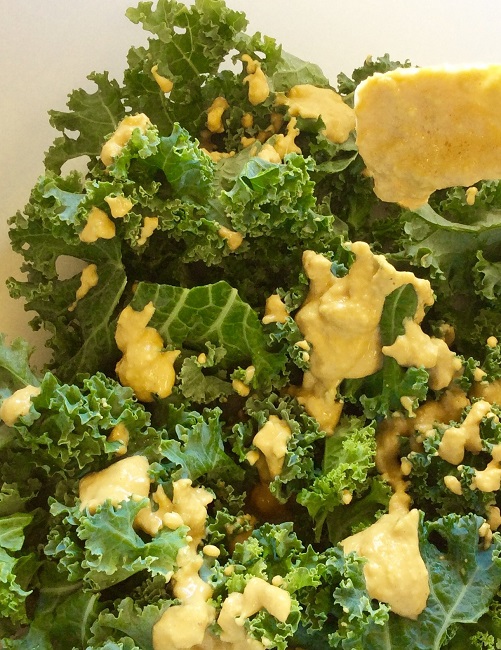
Select your favorite large “vat.” Mine is the lid to my trusty cake carrier…best thing ever for things like this! Place enough kale leaves to cover the bottom of container, spoon the nut paste around over the leaves. Repeat layering until all leaves and batter have been placed in the container.
Now for the fun part! Using gloved hands (unless you just WANT to 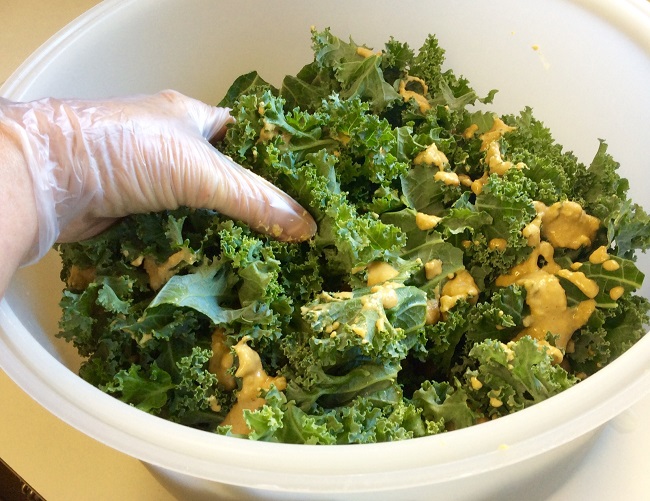 smell like smoked paprika!) gently massage the leaves along with the paste! That’s it! Massage away! This evenly distributes the flavoring and helps to break down the kale a bit. (A trick I learned from using raw kale in salads; really helps because kale is not tender like spinach)
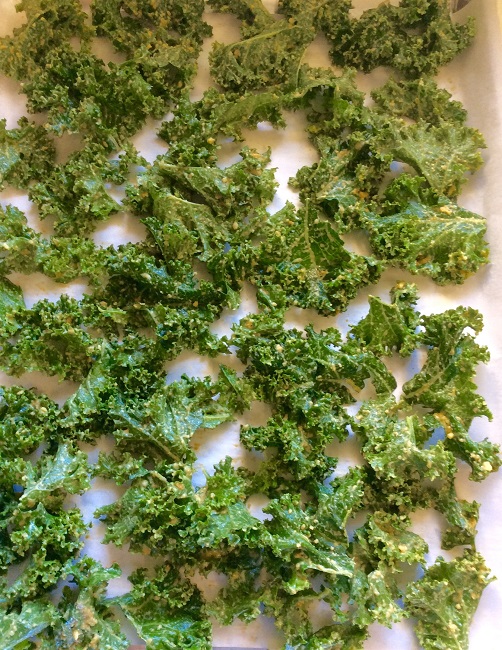
Then evenly space leaves over the parchment-lined pans
Put pans into the preheated 180 degree oven and set the timer for 1 hour. If you are not using a convection oven that evenly fans the heat throughout the oven box, then you will have to set the clock for 20 minute intervals so pans can be rotated from shelf to shelf over the course of the hour
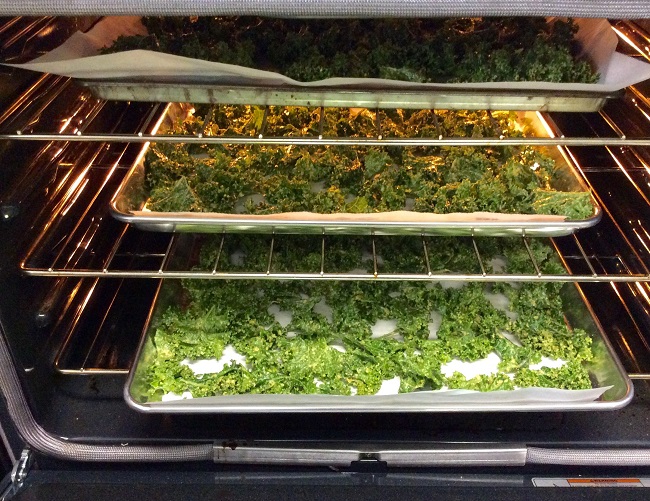
After 1 hour, pull pans out, turn leaves, and return to oven for up to 1 hour more (rotating again every 20 minutes if you do not have a convection oven)
You will know the kale chips are done when they are totally crisp when moved.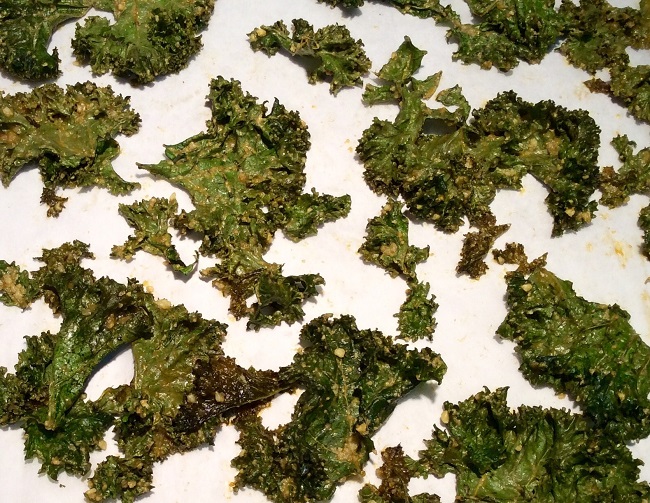
Now, you are ready to enjoy! These crunchy and savory darlings have saved me more than once from a slippery slope of unhealthy 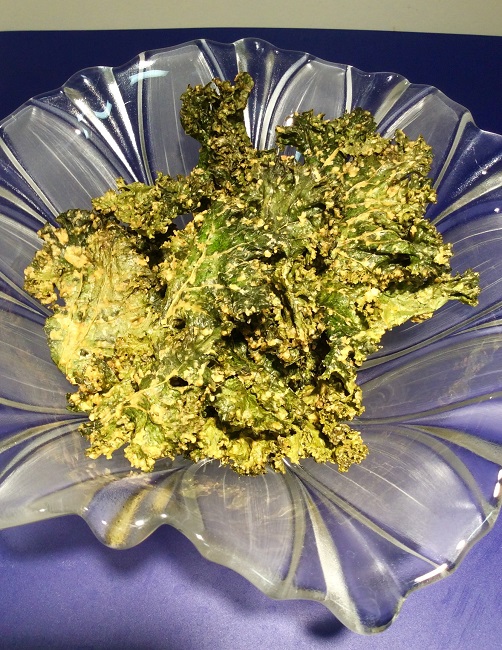 snacking. So much fun to eat AND a serving of greens!
Place cooled kale chips into an air tight container or zip bag. These are so good! They would be the hit to take to a party! And they are satisfying…in that you do not need to eat all of them in one sitting to feel satisfied!
Happy summer and be safe over the holidays as everyone seeks some kind of refreshing and regenerating retreat!
Deidre
Here’s a condensed recipe:
Gluten-free, Dairy-free, Savory and Cheesy Kale Chips
Soak ¾ cup (preferably raw, unprocessed) cashews in water for at least one hour.
Assemble the following ingredients and put into a food processor:
1 large clove of garlic, peeled and sliced
2 Tbs. coconut aminos (a gluten-free version of soy sauce or you can use wheat-free tamari)
2 Tbs. avocado oil or coconut oil
1/3 cup nutritional yeast
1 lemon, juiced
1/8 tsp. smoked paprika
1/8 tsp. salt
Process soaked, drained cashews and the ingredients listed in a food processor until a smooth paste is formed.
Evenly distribute paste over one bunch of cleaned and prepped kale leaves, and massage leaves with paste to work in the goodness and to break down the kale a bit.
Evenly space prepared chips onto parchment covered baking sheets and bake in 180 degree oven for 1 hour; turn leaves over; continue baking about 45-60 more minutes until all leaves are crispy. Store in a zip lock bag. Enjoy!