Listen – It’s a thundering herd of hard-charging RAK!
Stressed out?
On your last nerve?
Depressed?
Your ‘get up and go’ is gone?
What we need is some RAK!
You know … RAK: Rampaging Alpaca Knights
A secret society of armor-clad alpacas who charge into battle wielding pool noodles and spreading chaos — and cuddles — wherever they go.
Well, maybe not. But that sounds really cool!
We’re wrapping up the kindness series with the benefits of kindness on the whole body-mind-spirit – and that includes making a habit of Random Acts of Kindness (RAK).
I love learning the science behind most anything. Like when I share in my next book, Toolkit for Caregiver Emotions, about how naming the emotions we are feeling helps to tame them – all because a different region of the brain is being fired up to find the correct label we want.
So here we go! Here’s an excellent round up of why being nice to others not only helps them, but also helps us!
The science behind the benefits of being kind:
Recipients of kindness can feel loved.
Recipients and givers of kindness can experience a sense of awe when they think about profound acts of love or virtue.
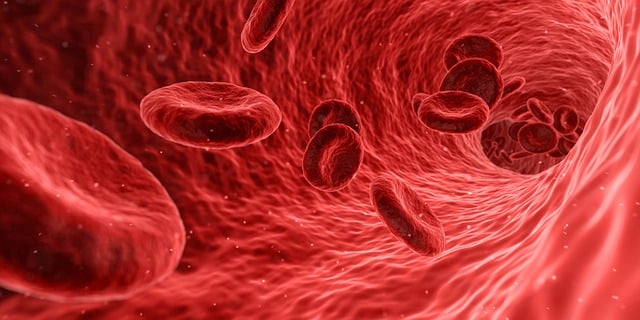
Whether you are a recipient or giver or merely just a witness, you can feel the benefits of an increase in oxytocin. Oxytocin is commonly called the “love hormone” and this helps to lower blood pressure, improve overall heart health, increase self-esteem and optimism.
Kindness can increase the feeling of strength and energy due to helping others.
Kindness can also make one feel calmer.
Less depressed.
Increased feelings of self-worth.
For those that volunteer their time or money for charitable causes, they often have fewer aches and pains.
Kindness is most similar to a medical anti-depressant. Kindness pushes your body to produce serotonin, which is commonly known as the “feel-good” chemical that provides healing and calming feelings.
Kindness decreases pain, by generating endorphins (the brain’s natural painkiller).
Stress, it has been shown that people who are more kind, have 23% less cortisol (the stress hormone) and age slower than the average population.
Anxiety – The University of British Columbia did a study on a group of highly anxious individuals in which they performed at least 6 acts of kindness a week. After one month, there was a significant increase in positive moods, relationship satisfaction, and a decrease in social avoidance in socially anxious individuals.
Depression is reduced, mortality is delayed, and well-being and good fortune are improved when we give of ourselves.
Lowering blood pressure from giving acts of kindness, creates emotional warmth, which releases a hormone known as oxytocin. Oxytocin causes the release of a chemical called nitric oxide, which dilates the blood vessels. This reduces blood pressure, and therefore, oxytocin is known as a “cardioprotective” hormone. It protects the heart by lowering blood pressure.
Sources: Cassidy & Shaver, 2008; Mikulincer & Shaver, 2007; Keltner & Haidt, 2003; The Random Acts of Kindness Foundation, n.d; Stephen Post, Case Western Reserve University School of Medicine.
————
Don’t you find this to be true?
I’ve found that when I shift my focus away from myself, even for a moment, doing something kind or helpful for another person — or even an animal — ends up benefiting me almost as much as it does them.
Watch Mark Kelly, below, as he shares how his habit of Random Acts of Kindness spread to his office cohorts. You will adore his Irish accent!
In health and in search of some alpacas with pool noodles –
Deidre
Next week, I’ll be sharing a few sneak peeks from my new book, along with an invitation for anyone interested in helping out with the launch process to get involved.
Our subscribers can count on not being bugged with pop-ups or endless sales emails. When we send you something, it’s the link to our weekly blog – or occasionally – a thank you containing additional useful information. Reach out to me in the comments below or email me at Deidre@deidreedwards.com – your questions and comments are always appreciated!


