

Category Archives: This -n- That

One Decision

The universe seems to be sending me messages … no, not aliens whispering in my ear.

But seemingly, random bits of wisdom, points of view, and observations are coming together in my experience that are pointing to a single idea.

One question, one answer … the rest is all follow-through.

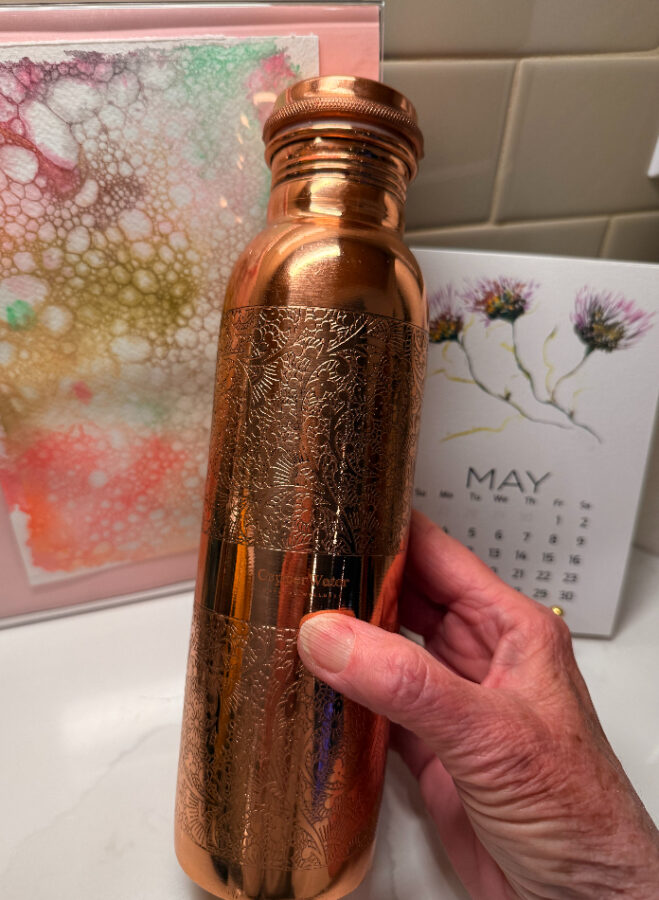
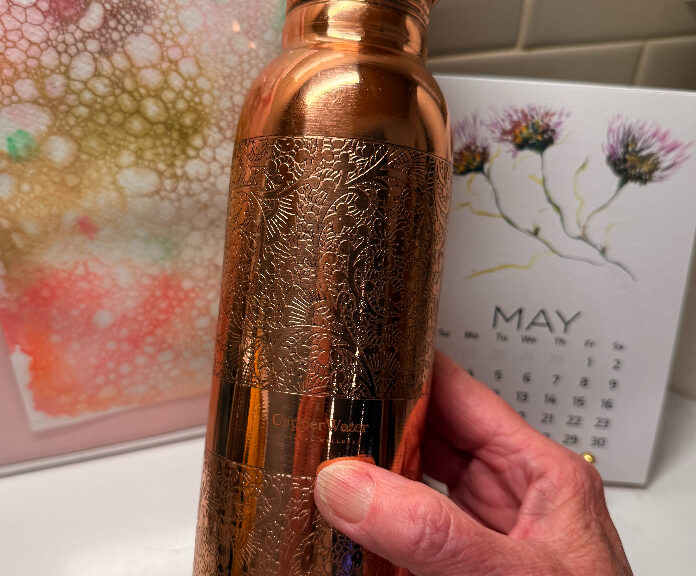
I mentioned about our commitment of drinking a large glass of water first thing each morning. The habit was enhanced by a gift of a beautiful copper water bottle. Each night, one of us fills up the copper water bottle with filtered water. Each morning, one of us pours it into two glasses and we drink it.

We don’t ask ourselves if we want to fill up the water bottle each night. That decision was made the first time we did it.

Why debate about it each night? Making decisions takes energy and will, and the pull of inertia will ultimately win over to inaction.

One question: are we going to do this every night and morning?

One answer: Yes.

The burden of deciding is taken away; everything else is follow-through.

Daily life is replete with making decisions. Why add to the load by re-deciding?

In our efforts to create new habits or to forge new paths, positive outcomes are made so much easier if we are not redebating the initial decision before each follow-through.

Whether you want to drink more water, not eat gluten, learn something new, or start a morning practice, make one decision.

Following through in health –

Deidre

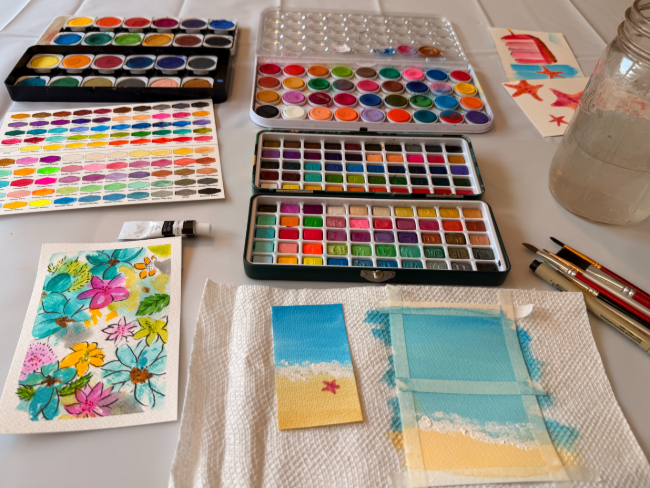
After saving countless reels about simple water coloring techniques and ideas, I have made the single decision to put these ideas into practice each day – otherwise, I’m just a collector of nifty ideas. Here’s the space where my dabbling is taking place! Balancing life/work is being made real through follow-through.
How’s Your Brain Health?

While speaking at a caregiver presentation recently in partnership with a local company providing respite care, I learned that a growing percentage of their clients were suffering from Alzheimer’s.

As a result, they are committed to getting every one of their caregiving employees certified in Alzheimer’s care. A very laudable response to a growing concern nationwide.

At foodtalk4you, we have been addressing the topic of inflammation – from an anti-inflammatory diet to discussions about how to lead an anti-inflammatory life – because inflammation has been shown to be the first domino to fall in just about every disease and condition.

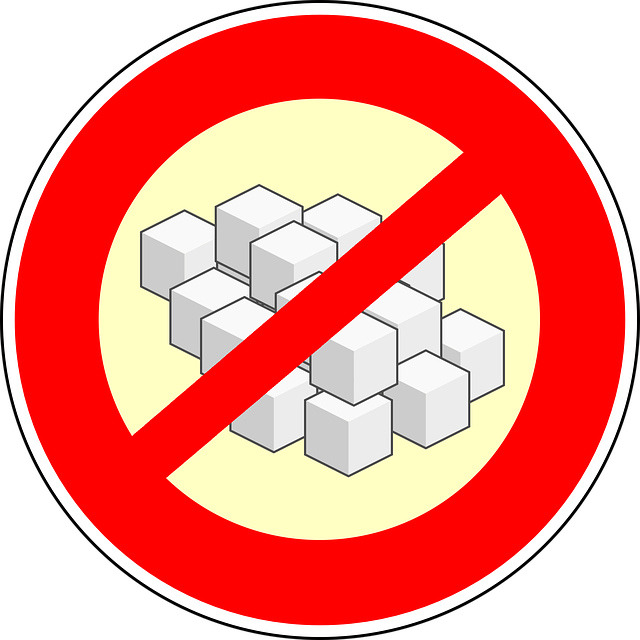
Sugar is pro-inflammatory, we know this, but how does that translate to everyday life and a motivation to consume less?

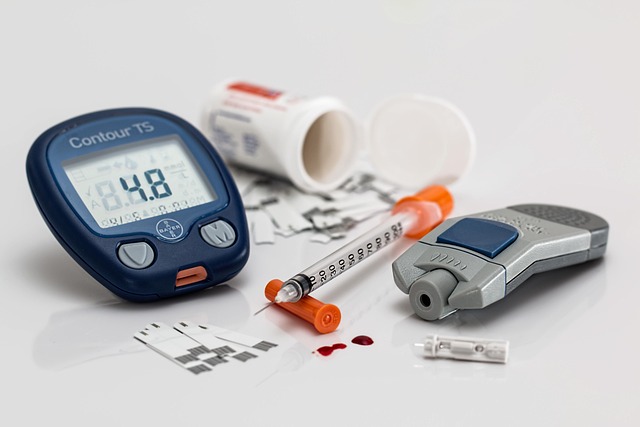
Consider recent studies from Wake Forest University School of Medicine, demonstrating the link of high sugar consumption and high-blood glucose levels with the development of Alzheimer’s.

Yikes!

Many factors are contributing to the upswing of people with Alzheimer’s – the aging population, better methods of diagnosing, and lifestyle choices – but the spread of western fast food and pre-packaged foods – all high in obvious and in hidden sugars – have spread around the world.

The growing understanding of the relationship between diabetes and Alzheimer’s disease is shedding light on practical prevention strategies. Eating fewer sugary and highly-processed, carbohydrate-rich foods, staying physically active, and exercising regularly may help reduce risk.

Meanwhile, researchers are investigating therapies that target cellular damage associated with elevated blood glucose, offering hope for more effective treatments in the future.

With an eye toward keeping your brain as healthy as possible, imagine the benefits of preventing high-blood glucose from becoming a long-term concern. What small changes might you make today?

And what if we helped our children and grandchildren develop healthier habits from the start by offering fewer sugar-laden foods and more nutrient-dense choices?

I read a message recently that went something like this: We manage thousands of concerns every day until our health is threatened. Then our health becomes our only concern.

Good health is a gift worth appreciating and protecting.

The perfect moment to make positive changes rarely arrives. Small steps taken today can add up over time, helping us improve our health and preserve it for the years ahead.

Leaving my computer to head for an indoor track to get some exercise out of this heat! Stay safe and drink plenty of fluids.

In health –

Deidre

Homemade Yogurt? Easy Peasy!

If you’ve followed this site for even a minimal amount of time, you know I’m on the up side of improving my health compared to last year which, as I refer to it, was a complete disaster.

Since then, I’ve made a few changes in my life – some more significant than others. My daughter, Abby, taught me to make kombucha. The important thing with kombucha is you must have a metal spout, no plastics! Sourdough is another. Neither one of these is labor intensive, just a little time consuming, which is great when you think of the end result.

My new favorite is homemade yogurt. Since I am lactose-intolerant, I found limited choices when shopping. I was feeling a little left out when I thought, why not use lactose-free milk to make it? “Little success,” the experts said.

Hmmm. I don’t normally accept, “no, can’t, or not possible,” without trying variations of my own. So, I am going to tell you how to make my successful lactose-free yogurt. It’s so easy – I promise!

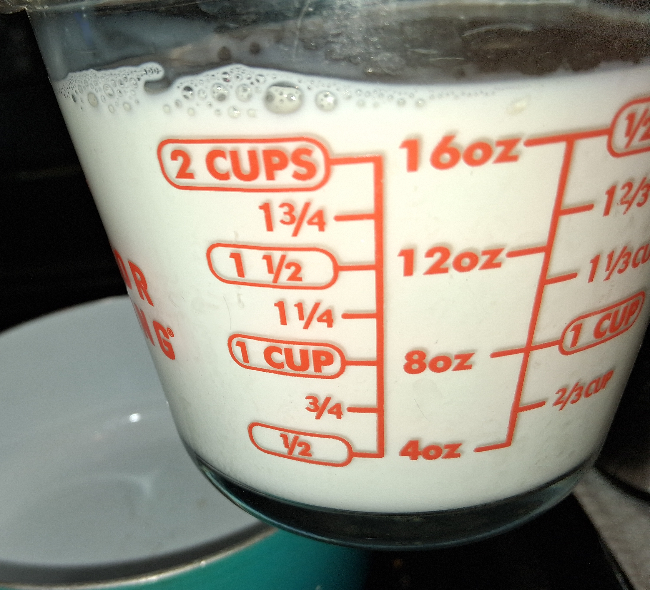
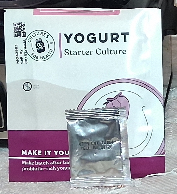
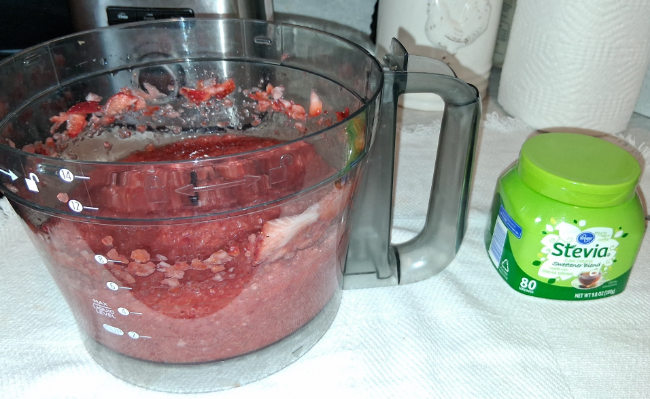
The first thing I did was put everything together I needed, which is in the banner picture above this article.

A dependable yogurt maker, which contains six – eight clear jars with plastic lids. It doesn’t have to be expensive at all. Mine was only $35 and weighs no more than a pound. You can also use a rice cooker which is configured for ‘yogurt,’ by following the recipe. Instead of putting it into individual jars, cook once the tempature comes down to 110 degrees. Do not put a tight lid on the metal cooker, but place a loose-fitting on over it instead. Process the same.

Other items needed:

1 Yogurt Starter (I ordered mine from Amazon – Cultures for Health)

2. Lactose-Free Whole Milk (any brand)

      3. Measuring Cup – (I used four cups of milk)

      4. Stainless Steel Wisk

      5, Plastic Spatula

      6. Electronic Temperature Guage

      OPTIONAL:

      Food Processor

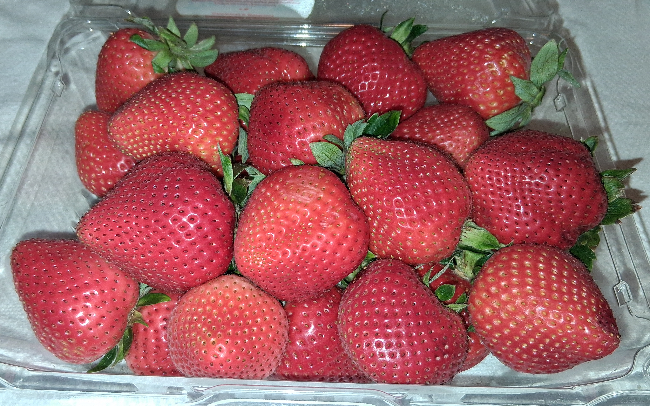
      2# fresh strawberries

      Stevia (per taste)

      Gather all your ingredients, You can use a smaller pan, but I use a larger one as it takes less time to get the temperature to 180 degrees. I use the spatchula to keep stirring the four cups of milk practically continually – about 5 minutes.

      Make sure to keep your thermometer handy and check often, as the tempature can go up very quickly.

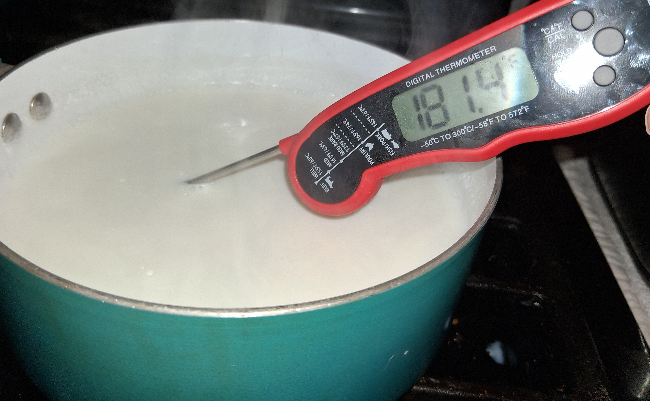
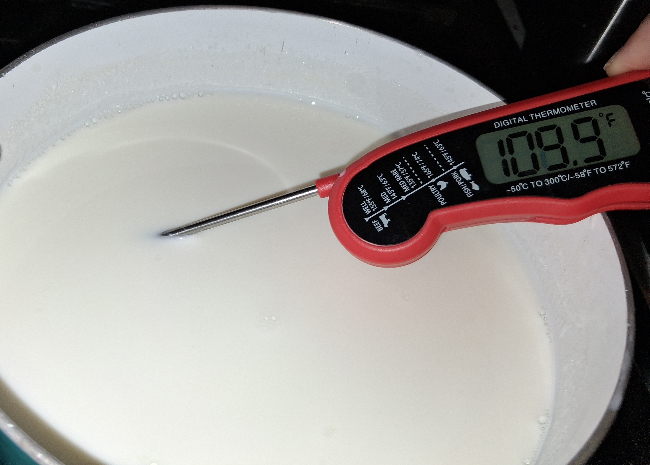
      Once it reaches 180 degrees, (or thereabouts), turn the burner off and move your saucepot to a cooler area of the stove. Monitor your milk with the thermometer until it comes down to 110 degrees.

      Open a single packet of yogurt starter and stir it in with your spatula, just enough to mix it throughout.

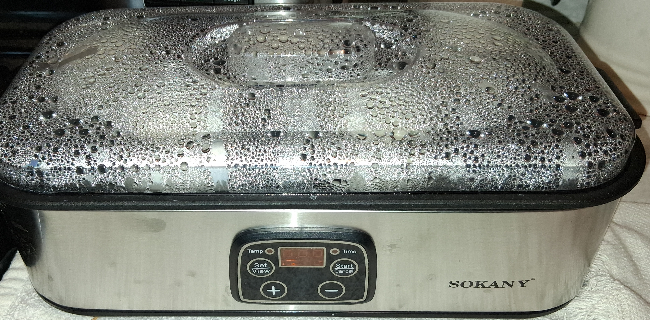
      I usually plug in my yogurt maker and pour a couple of 8 ounces of regular water so it will have a start. Keep the cup handy. You’ll need it again.

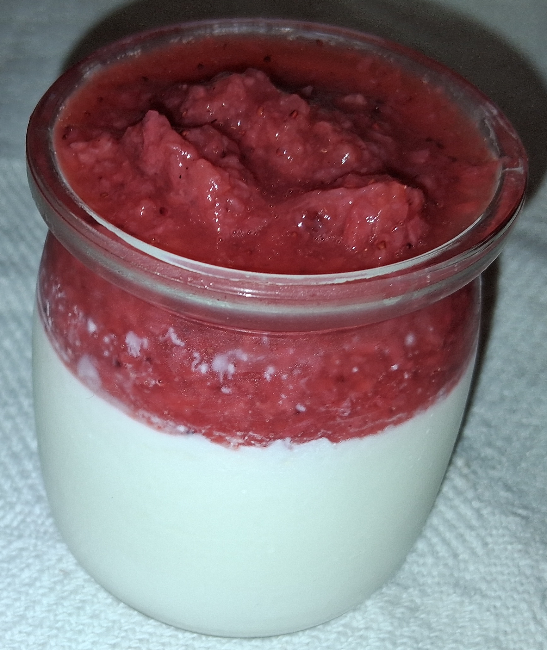
      With your clean yogurt jars ready, dip the milk out and pour into each jar. Usually, the jars are labeled for 100 ml and 180 ml. I fill mine to 180 mil, which will leave a small area to place your topping.

      After filling each jar, place each one into the yogurt maker bath – do NOT put the lids on them at this time. After you have each one filled and placed into the maker, make sure the water comes up to the smallest part of the jar. Make sure the water is not close enough to go into the jar itself.

      Place the yogurt maker’s lid on tight, set the temperature to 110 degrees and process for 8 hours.

      Just set it and forget it!!

      Once the 8 hours are complete, the yogurt maker should automatically shut off by itself. You may now take them out of the water, wipe them off, place the lids on each one, and place them in the refrigerator.

      Done and done!

      Well, almost. Hahaha! How about fresh strawberry sauce? Tis the season!

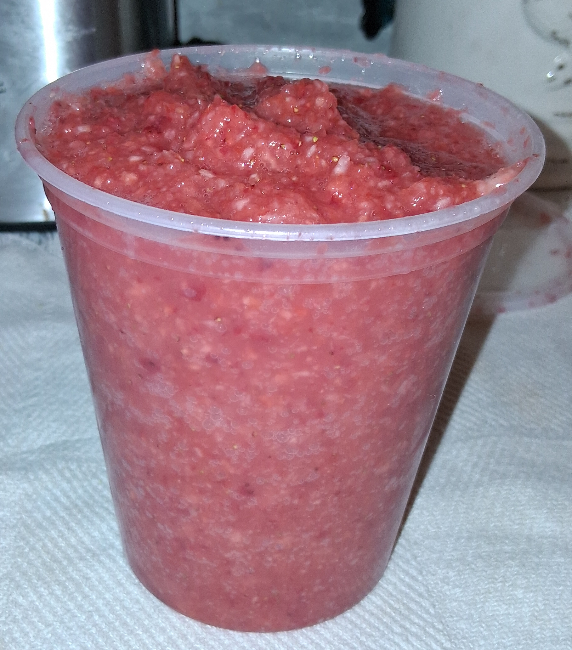
      You can use about anything you can think of to put in your yogurt. I bought 2 pounds of local, fresh strawberries, cut off the tops, and processed them in my food processor. You can make them as fine or chunky as you like. If you want them unsweetened, (your yogurt will be unsweetened except for whatever is in the milk to begin with), don’t add any sugar in them.

      I, myself, like them a bit sweeter; so I use Stevia while I am processing the berries. I add just enough for taste, the way I like it.

      I usually buy small freezer containers so,, if I have enough to put them in the freezer, I don’t have to thaw all of them at once.

      There you have it! Done and done!!

      By the way, I have also used powdered or fresh fruit like blueberry, lemon, passion fruit, and always add Stevia to taste. There are so many combinations. It’s all up to you!

      No more extra chemicals, preservatives, and artificial flavors. Make this recipe your own!

      Enjoy, ya’ll!

      Sheree

      Yum Yum!

      The end

      More Than Just ‘Water’

      Well, dear readers, you are expecting a post about Kitchari – I certainly was, but life has, once again, reminded me to be flexible.

      Circumstances derailed my expectations; so instead of healing soup, I’m going to talk about water.

      Once upon a time, I had a whole house water filtration system installed. Perfect!

      The resulting water tasted better than before; my dishwasher sparkled like brand new, and even my clothes felt better.

      Then I moved.

      Goodbye, filtered water.

      I am now living in a new part of the state, in a brand new house with PVC water pipes, and some funny pink film around the drain that builds up over time.

      “All harmless,” said the water district.

      Hmmmm. They are selling it; but I am not buying it.

      Plus, there’s a month in late winter when they change up filtration processes for some kind of a reset and the water tastes really unpleasant.

      “All perfectly safe,” mind you.

      No, thank you.

      But I can’t afford another whole house water filtration system. Sure, the refrigerator’s water filter gets changed every 6 months, but sometimes I do not want to drink ice cold water.

      So, we’re keeping our Brita water pitcher busy as we fill it countless times a day and change filters regularly.

      But – is there something else we can do?

      For that first glass of water we drink each morning before consuming our coffee, we are now drinking ‘copper water.’

      What?

      My response was the same when my daughter gifted me with a gorgeous copper water bottle.

      I learned there are benefits to drinking water from a copper bottle that surprised me.

      After water is stored in a copper container for 6-10 hours, optimally, it absorbs the copper mineral ions.

      One of copper’s more understood properties that it is naturally antimicrobial and can help kill harmful bacteria.

      Ayurvedic tradition indicates that it is also beneficial for digestion, immunity, skin health, hearth health, and can help reduce oxidative stress in the body.

      Check out these resources for more information:

      Healthopedia

      Copper Water Benefits

      Biology Insights

      I am now filling my new copper water bottle with filtered water each night so, in the morning, we can each have a large glass of copper water.

      One glass of copper water is sufficient. Drinking copper water all day could lead to an overdose of this trace mineral.

      In health –
      Deidre

      Pause For A Rest

      Bottom line, we’re on a rare family time together on the East coast; and I couldn’t experiment with the recipe for this calming soup to give you an accurate evaluation of ingredient balances.

      I can say that my first creation of Kitchari was, indeed – gentle, filling, and calming.

      Considered a ‘reset’ meal, Kitchari, a blend of basmati rice and yellow mung beans, – often used in Ayurveda for gentle, complete cleansing – and is often used at change of seasons or in times of stress.

      It proved to be a wonderful first meal to offer my daughter and family after a red-eye flight across six time zones! With the addition of grilled marinated chicken, it gave a gastronomic hug to weary bellies and bodies.

      Next week, I will prepare Kitchari again, possibly nudging the balance of rice and mung beans – based on my daughter’s experiences – and report back to you.

      I will take pictures to share – which I forgot to do last week when I was in a rush!

      Embracing cherished family times is feeding my soul right now; and you know, being kind to myself by not trying to meet a deadline for a full post is taking our message of balance to heart, right?

      In health –

      Deidre

      Making A Positive Entrance

      What kind of an entrance are you making?

      “To what? A meeting?”

      Well, let’s start with your day. How are you entering this new day?

      “Yawn, well after that first glass of water you told us about, it’s coffee for sure.”

      Is your cell phone already in your hands? Are you immediately scrolling for the latest?

      Or perhaps that mental reel is still playing in your mind, filling you with stress? You are supplying both sides of the conversation, and the message is full of labels – never good ones.
      We can’t make that good first impression entrance to an event, a conversation, or our day if we are pulling from empty or poorly replenished reserves.

      With the daily challenges that we are all facing with personal issues – let alone world issues – daily resets are no longer optional for me. How about you?

      I will offer two points and a change in perspective for you today.

      One. Find a happy place for daily resets.

      It could be a park bench on your lunch break. Perhaps the top step going to your front door.

      No cell phone.

      Listen.

      Be aware of what’s around you. Observe. Drop your gaze and mindfully breathe.

      Read something that inspires you, directs you to a higher path, and that gives you peace.

      Journal. The power of unfiltered brain dumps through journaling is not to be underestimated. Paper, pen and a few minutes of sharing with that page is utterly transformative – and cheap therapy.

      Release your cares to the fresh air above, the universe, or your higher power. Our fretting mental reels never solve our problems. Just make yourself open to receiving the answers or guidance for your next steps.

      Two. Assume a positive intent in others.

      Reading a quote from business executive and former CEO of Pepsi, Indra Nooyi, recently blew me away with its simplicity. She speaks of approaching others:

      “When you assume negative intent, you’re angry. If you take away that anger and assume positive intent, you will be amazed.”

      She goes on to explain how such an approach changes us – we become more intent on understanding the other person and are listening more carefully to them without being defensive at the onset. This sends a positive message to the other person that will often lead to more constructive, respectful interactions.

      A change in perspective:

      We’ve all seen those humbling, awe-inspiring images of Earth from space—our small, radiant planet suspended in darkness, wrapped in a thin, fragile atmosphere.

      Do those views stir something in you—a sense of love, protectiveness, even responsibility? From that distance, “world peace” begins to feel less like an abstract ideal and more like a shared necessity. Perspective changes everything.

      The minutia falls away – of no importance – as the big picture gives us pause.

      Taking that same kind of perspective on our own lives can help quiet the worries and negative loops, making space to reset—with more compassion for others and for ourselves.

      Find that happy place to regularly give yourself a reset and assume the positive in your daily interactions – now, that’s a good way to make a grand entrance!

      Deidre

      If you are looking for some resources to build up your resilience, get these FREE downloadable Resilience Practices HERE.

      Originally designed to help family caregivers, these resources are universally applicable and can guide you through practices that will help you build your inner strength.

      The Pancake of Champions

      Once again, I saw something healthy and yummy online and tried it – tweaking the ingredient’s list as always.

      There was already a great lineup of gluten-free, high-protein ingredients, but when I was through, it kind of looked like a recipe list for Kitchen Sink Pancakes!

      Any recipe for pancakes – for me – is more of a concept recipe. I might not have all the ingredients and/or I might make substitutions.

      So, knock yourself out with this one.

      The core of the concept is to create pancakes that are:

      1. Naturally sweet – needing no syrup to raise blood sugars

        2. Gluten-free – to be non-inflammatory and to support a happy belly

        3. High in fiber – to aide in digestion

        4. High in protein – to support growth and repair

        Pancakes are often the antithesis of these concepts because they are high carbohydrate, pro-inflammatory sponges begging for tons of butter and rivers of syrup.

        The original recipe featured 2 grated apples – which was great because I had two apples that needed to be used. I also had one last banana needing a home, so I added that, too.

        Because of the overall course texture from the apples, oatmeal, and nuts, this pancake batter started looking more like fritter batter. So, that’s what I am calling these – pancake fritters!

        Here’s the recipe for Pancake Fritters:

        First, stir 1 Tablespoon of chia seeds into 1/3 cup of water and set them aside to soak for at least 10 minutes to use in the wet ingredients. This provides fiber and protein.

        Then, combine the dry ingredients in a large bowl:

        -1 cup gluten-free oatmeal
        -1 teaspoon of baking powder
        -1/2 teaspoon cinnamon
        -Pinch of salt
        -2 grated apples

        Optional: a handful of chopped walnuts.

        In a food processor or in a bowl using an immersion blender, blend the following wet ingredients until smooth:

        • Soaked chia seed mixture
        • 2 eggs
        • 1 Tablespoon of olive oil
        • 2/3 cup of Greek yogurt
        • 2/3 cup of cottage cheese
        • 1 banana, broken into pieces
        • Vanilla to taste

        Add the wet ingredients to the dry ingredients, and combine. Add milk of choice to thin batter as needed or, if the batter is too thin, stir in 1-2 Tablespoons of gluten-free flour at a time, until desired consistency is achieved.

        Rather than normal-sized pancakes, I created smaller, fritter-sized ones, using a spoon to pat down a small scoop of batter placed on the hot, oiled griddle.

        This recipe will feed a small crowd, so feel free to cut this in half – I will, next time, for the two of us.

        The apple, banana, vanilla, and cinnamon help create a ‘sweet’ profile that simply doesn’t need syrup.

        Please download this delishiness, PANCAKE FRITTERS, HERE:

        The high-fiber and protein elements support lasting fullness and satisfaction.

        There are so many ways to adjust this according to personal preferences and what is in the cupboard or fridge at the time.

        I hope you enjoy it!

        In health –

        Deidre

        If you enjoy this post, you can subscribe with the knowledge that, after the three two emails and one personal introduction, you will just receive an email each Tuesday with the link to the new post. No annoyances in your inbox and no irritating pop ups while you read.

        To subscribe, scroll to the bottom of your device or to the left top on your computer screen to fill out the form. Thank you!


        Raspberry Tarts

        Ahhh … Raspberry!

        Raspberries are beloved by many; although there is a small cadre of folks who aren’t fans of their little, tiny seeds. That’s why I put cooked raspberries through a strainer at Thanksgiving, when I add the resulting raspberry ‘essence’ to my cranberry sauce.

        Today’s recipe does not require using a strainer. In fact, additional seeds are added just seem to melt away!

        Back story: I was in search of a tasty, light dessert which would offer the right touch of sweetness after a hearty meal that would not overwhelm.
        Inspired by a reel in my Facebook feed that paired raspberries with chia seeds in a crustless frozen dessert, I went in a different direction using phyllo shells – adding a creamy layer – and using refrigeration to set the creation.

        The result was everything I had hoped for, and our guests are still raving about it!

        Here’s what you do using two packages of the Athens Foods Mini Phyllo Dough Shells.

        Start with a cup of fresh raspberries in a small saucepan with 1 Tablespoon of chia seeds, along with 4 Tablespoons of water over medium low heat, stirring constantly to combine and to help break apart the raspberries.

        Continue to cook until the stirring spoon/spatula leaves a drag mark that lingers in the sauce as it crosses the pan’s bottom. (PIC)

        Remove pan from heat when desired thickness is achieved. Let cool while you prepare the chocolate.

        Melt approximately 2/3 of a bar of a 60 – 72% dark chocolate. I used Ghirardelli’s 60% chocolate, but Lindt’s 72% works fine.

        Using the tip of an iced-tea spoon, a baby’s spoon, or some other very small spoon, (PIC) put just enough melted chocolate in the mini-tart shell to cover the bottom.

        Prepare the creamy filling. Using the whip attachment to your hand mixer, beat 1/3 cup ricotta cheese, 1/2 cup cream cheese and 1/2 cup powdered sugar. I added a few drops of vanilla extract. The consistency needs to be suitable for piping and holding its shape. (PIC)

        Continue assembling the tarts by spooning in about 1/2 teaspoon of the raspberry mixture – enough to cover the chocolate. (PIC)

        Fill a piping bag fitted with a size 12 round tip with the cheese mixture. Pipe filling onto each tart. (PIC)

        There should be leftover chocolate, (otherwise, melt a bit more), adding just a touch, (1/2 pea-sized amount), of coconut oil to thin it for drizzling.

        Fill a small piping bag or a plastic sandwich bag. Snip off the tip/corner to create a small opening for drizzliing.

        Don’t skip the drizzle – it is the WOW Factor! (PIC)

        There you have it. The perfect light dessert with a big visual appeal!

        The chia seeds thicken the raspberries, yet there is no noticeable seediness. Refrigerate for 30 minutes to set the tarts before plating.

        Dark chocolate, chia seeds, raspberries – why, one could almost call this health food!

        In health –

        Deidre

        Shout-out to my friend, Cathy DuFour, who helped me finalize the proportions for the cheese mixture!

        Download our Raspberry Bite Tarts recipe below:

        Next week, I’ll share a recipe that promises to be The Pancake of Champions! Thank you for being a reader and for sharing our ideas with your family and friends using the options under the MORE button below.

        FAT! (No, It’s Not What You Think)

        It’s a holy trinity of sorts … the three macronutrients found in the food we eat: carbohydrates, protein, and fat. These three, along with the micronutrients in food – vitamins and minerals – are what keep our bodies functioning at optimum levels. Macronutrients are the three elements we need to consume the most, followed by the micronutrients we also need, but in lesser quantities.

        Like most things dealing with our health, each element is linked to others in ways which creates dependency for successful functioning.

        Case in point – a recent email from Chris Kresser, reminded me of one of these vital connections between a macronutrient having a crucial role in our ability to absorb micronutrients derived from vegetables.

        He emphasized – eating nutritious food is just half the battle. How we prepare that food, either in cooking or presenting it – with a sauce or dressing, totally influences how much of the vital micronutrients we will absorb. And, absorbing the nutritive elements is why we eat, right?

        How sad it would be if we bought the best organic produce we can find, only to miss out in absorbing the nutrients we need.

        Take the powerful carotenoids found in kale. Carotenoids are natural, fat-soluble yellow, orange, and red pigments synthesized by plants, algae, fungi, and bacteria. As powerful antioxidants, they protect cells from damage, support immune function, and are essential for eye health. 

        We want carotenoids, for sure!

        But in a 2025 study by the University of Missouri, researchers found that raw kale alone, produced very low carotenoid absorption, and cooking it slightly reduced the bioavailability further.

        A significant increase came when researchers added an oil-based sauce to either the cooking process or when the oil was added after cooking.

        You see, some of the micronutrients are fat-soluble nutrients, including vitamins A, D, E, and K – along with carotenoids like lutein, beta-carotene, and lycopene. These nutrients require dietary fat to be absorbed; and without it, a meaningful portion of these compounds pass through the digestive system largely unused.

        So, preparing and serving your healthy veggies without fat (eating raw or steaming), and then serving plain or with some kind of fat-free sauce or dressing, will work against your goal of absorbing the nutrients you are hoping to get.

        The no-fat craze definitely has its drawbacks.

        Another study by the University of Iowa found a dose-dependent relationship, with two tablespoons of oil producing a meaningfully greater absorption than smaller amounts.

        Whether you are sautéing greens, roasting veggies using a drizzle of oil, or using an olive oil-based salad dressing – these oil-enhanced methods are effective in ramping up absorption of the critical elements we need.

        Next week, we will look at various kinds of oils because, of course, there’s a difference there, too.

        In health –

        Deidre

        Sharing is caring. Copy and paste the URL for today’s post or use the options in the MORE button below to share this post with others.

        Thanks.

        Peace and Love? Groovy, Man!

        Is this a throw-back post about hippies?

        No, it’s about a change in a protocol we have all learned well.

        WELCOME TO KIM’S CORNER

        In our first issue of Kim’s Corner at Foodtalk4you, Physical Therapist Kimberly Attwood, PT, DPT, FDN, will explain something which surprised us during a recent visit to her office.

        You may have heard about the RICE method of treating soft tissue injury, such as a sprained ankle.

        Well, throw out the RICE to make way for PEACE and LOVE!

        Remember, the inflammation that happens with soft tissue injury acts as a defense and cleanup crew to initiate healing by sending immune cells and repair substances to the site, removing pathogens and debris, and setting the stage for tissue regeneration. While prolonged inflammation can hinder recovery, making a balanced response is crucial.

        Here’s Kim with information about the better approach for soft tissue injury in the acute phase, 1 – 3 days after injury, and the days that follow:

        The latest research shows that treating minor acute injuries with RICE is outdated and potentially detrimental to your overall recovery. 

        RICE = Rest, Ice (NSAIDs), Compress, Elevate 

        Anti-inflammatories (commonly ibuprofen, naproxen, ice, etc.) are very effective at interrupting the inflammatory process. 

        Knowing this relationship, hopefully you can see how anti-inflammatories on board during the first stages of healing could slow down the healing process.  

        But wait, it hurts! What should I do about my pain?

        Well, this is where the elevation and compression come into play. Being able to keep swelling to a reasonable level will help with the pain that you have during those first few weeks. Keep in mind that pain is a sign from your body, and it’s meant to protect you!

        What exactly do PEACE and LOVE mean for me after an injury?  As Physiopedia quotes: “Immediately after a soft tissue injury, do no harm and let PEACE guide your approach.”

        PEACE = Protect, Elevate, AVOID anti-inflammatories, Compress, Educate 

        P = Protect; give the injured body part a break from strenuous activity. Not complete rest, but don’t go jogging on a freshly sprained ankle! 

        E = Elevate; the injured body part needs to be above the level of your heart to help reduce swelling .

        A = Avoid anti-inflammatories; stay away from ice and medication that reduces inflammation – let your body do what it is designed to do! 

        C = Compression; use an ace wrap or other bandage to help reduce swelling.

        E = Educate; ask your favorite physical therapist to teach you about your injury, recovery expectations, and prevention strategies

        Then, after the first days have passed, soft tissues need LOVE:

        LOVE = Load, optimism, vascularization, exercise 

        L = Load; gradually increase your activities and weight bearing  

        O = Optimism; A positive mindset can carry you a long way in your recovery 

        V = Vascularization; participate in low impact cardiovascular exercises to encourage blood flow 

        E = Exercise; Go see your favorite physical therapist to learn how to best restore motion, strength, endurance and balance

        While diving into the anti-inflammatories and ice packs is what we have all learned previously, Kim reports that the PEACE and LOVE methods are shortening healing times!

        Here’s an excellent video that recaps these concepts.

        Kim may be reached at kimberly.attwood@ivyrehab.com for your questions or concerns.

        In health –
        Deidre