
If you’ve followed this site for even a minimal amount of time, you know I’m on the up side of improving my health compared to last year which, as I refer to it, was a complete disaster.

Since then, I’ve made a few changes in my life – some more significant than others. My daughter, Abby, taught me to make kombucha. The important thing with kombucha is you must have a metal spout, no plastics! Sourdough is another. Neither one of these is labor intensive, just a little time consuming, which is great when you think of the end result.
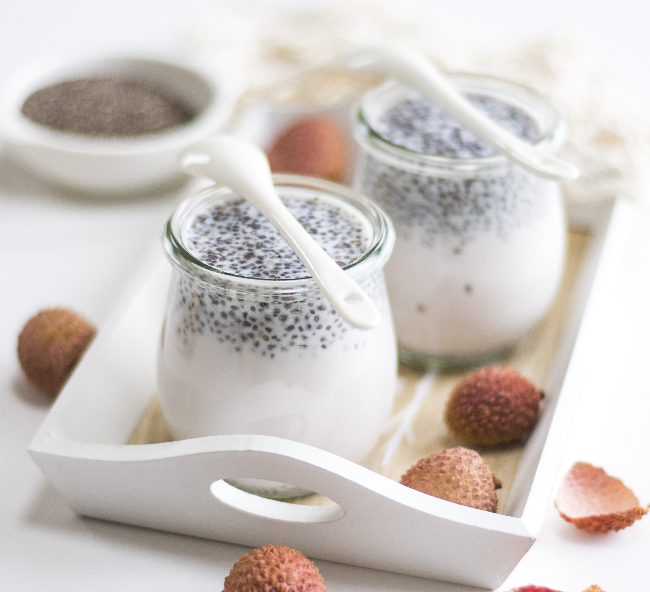
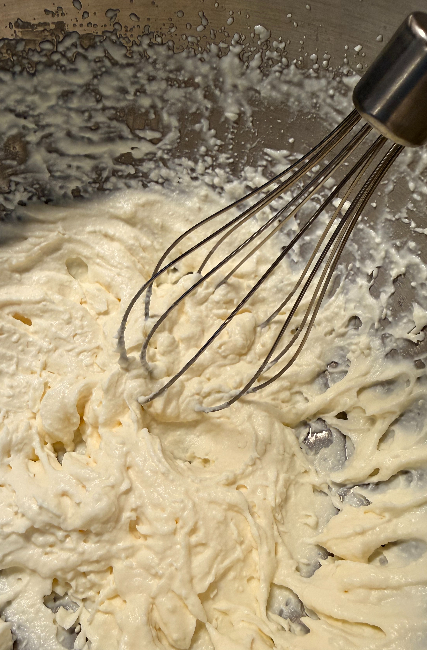
My new favorite is homemade yogurt. Since I am lactose-intolerant, I found limited choices when shopping. I was feeling a little left out when I thought, why not use lactose-free milk to make it? “Little success,” the experts said.

Hmmm. I don’t normally accept, “no, can’t, or not possible,” without trying variations of my own. So, I am going to tell you how to make my successful lactose-free yogurt. It’s so easy – I promise!
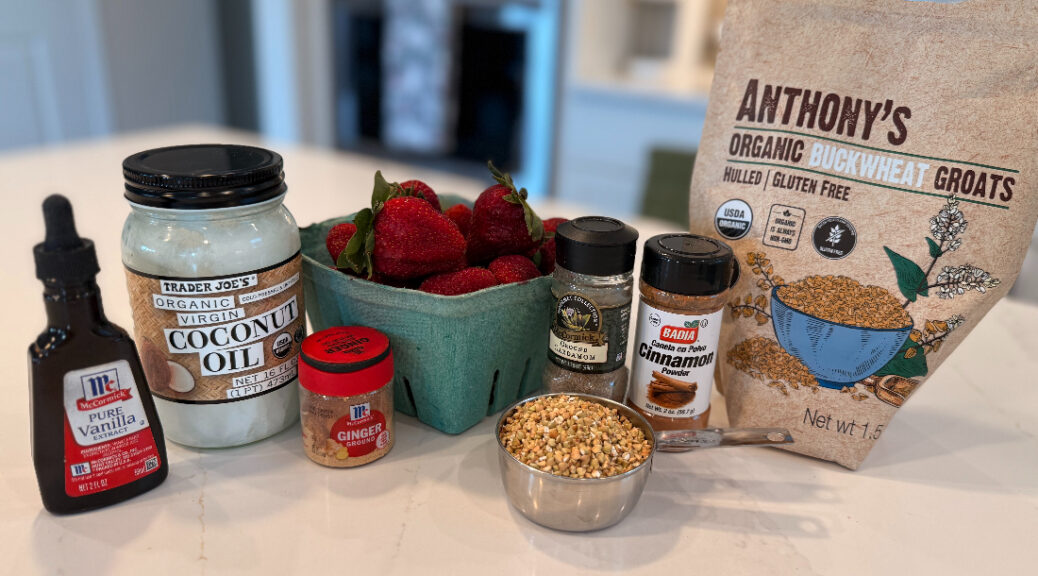
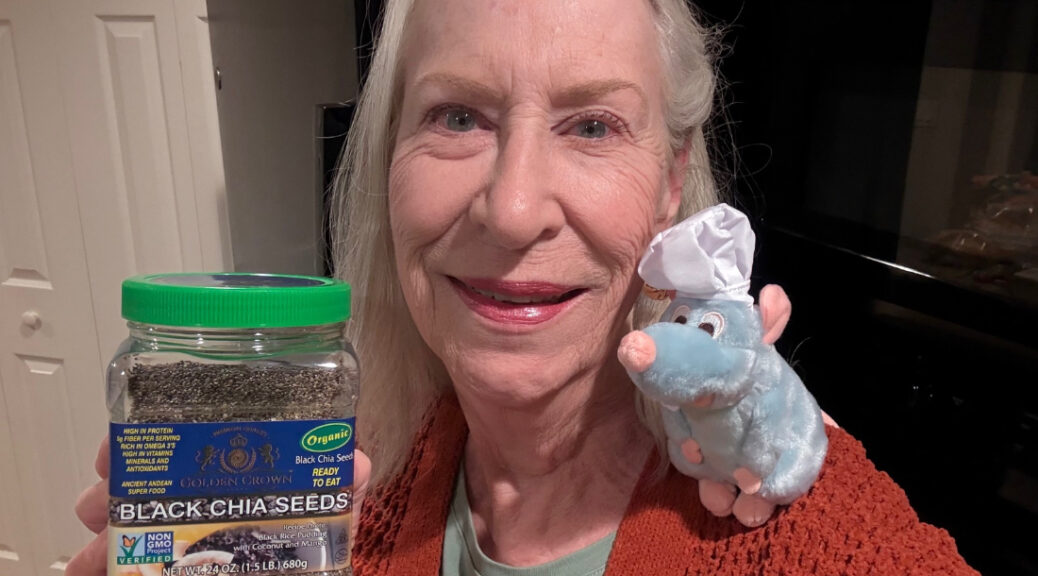
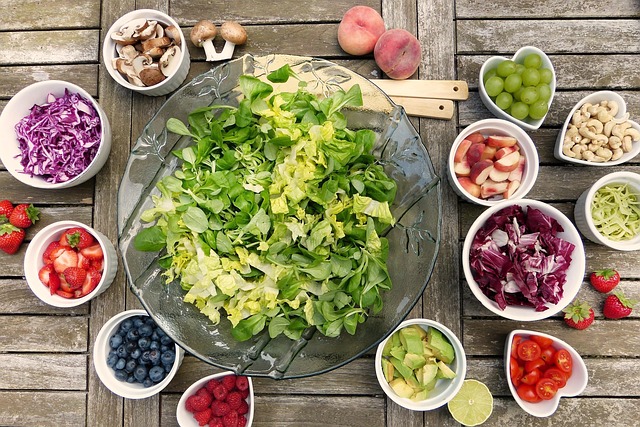
The first thing I did was put everything together I needed, which is in the banner picture above this article.
A dependable yogurt maker, which contains six – eight clear jars with plastic lids. It doesn’t have to be expensive at all. Mine was only $35 and weighs no more than a pound. You can also use a rice cooker which is configured for ‘yogurt,’ by following the recipe. Instead of putting it into individual jars, cook once the tempature comes down to 110 degrees. Do not put a tight lid on the metal cooker, but place a loose-fitting on over it instead. Process the same.
Other items needed:
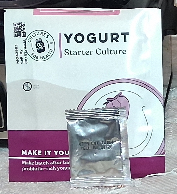
1 Yogurt Starter (I ordered mine from Amazon – Cultures for Health)
2. Lactose-Free Whole Milk (any brand)
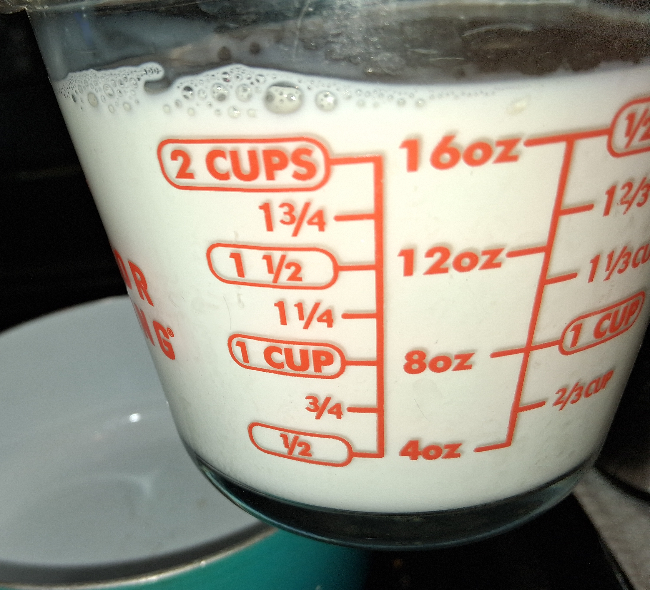
3. Measuring Cup – (I used four cups of milk)
4. Stainless Steel Wisk
5, Plastic Spatula
6. Electronic Temperature Guage
OPTIONAL:
Food Processor
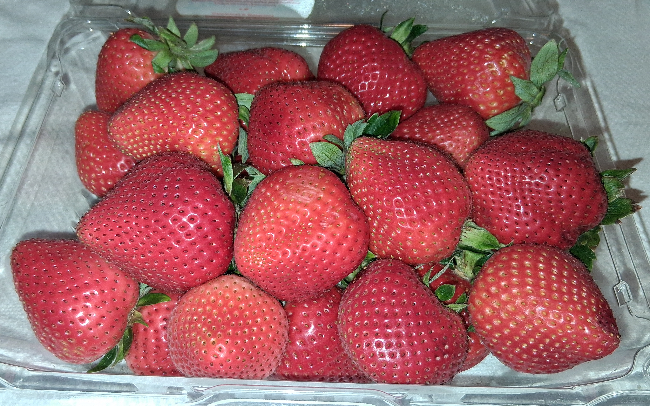
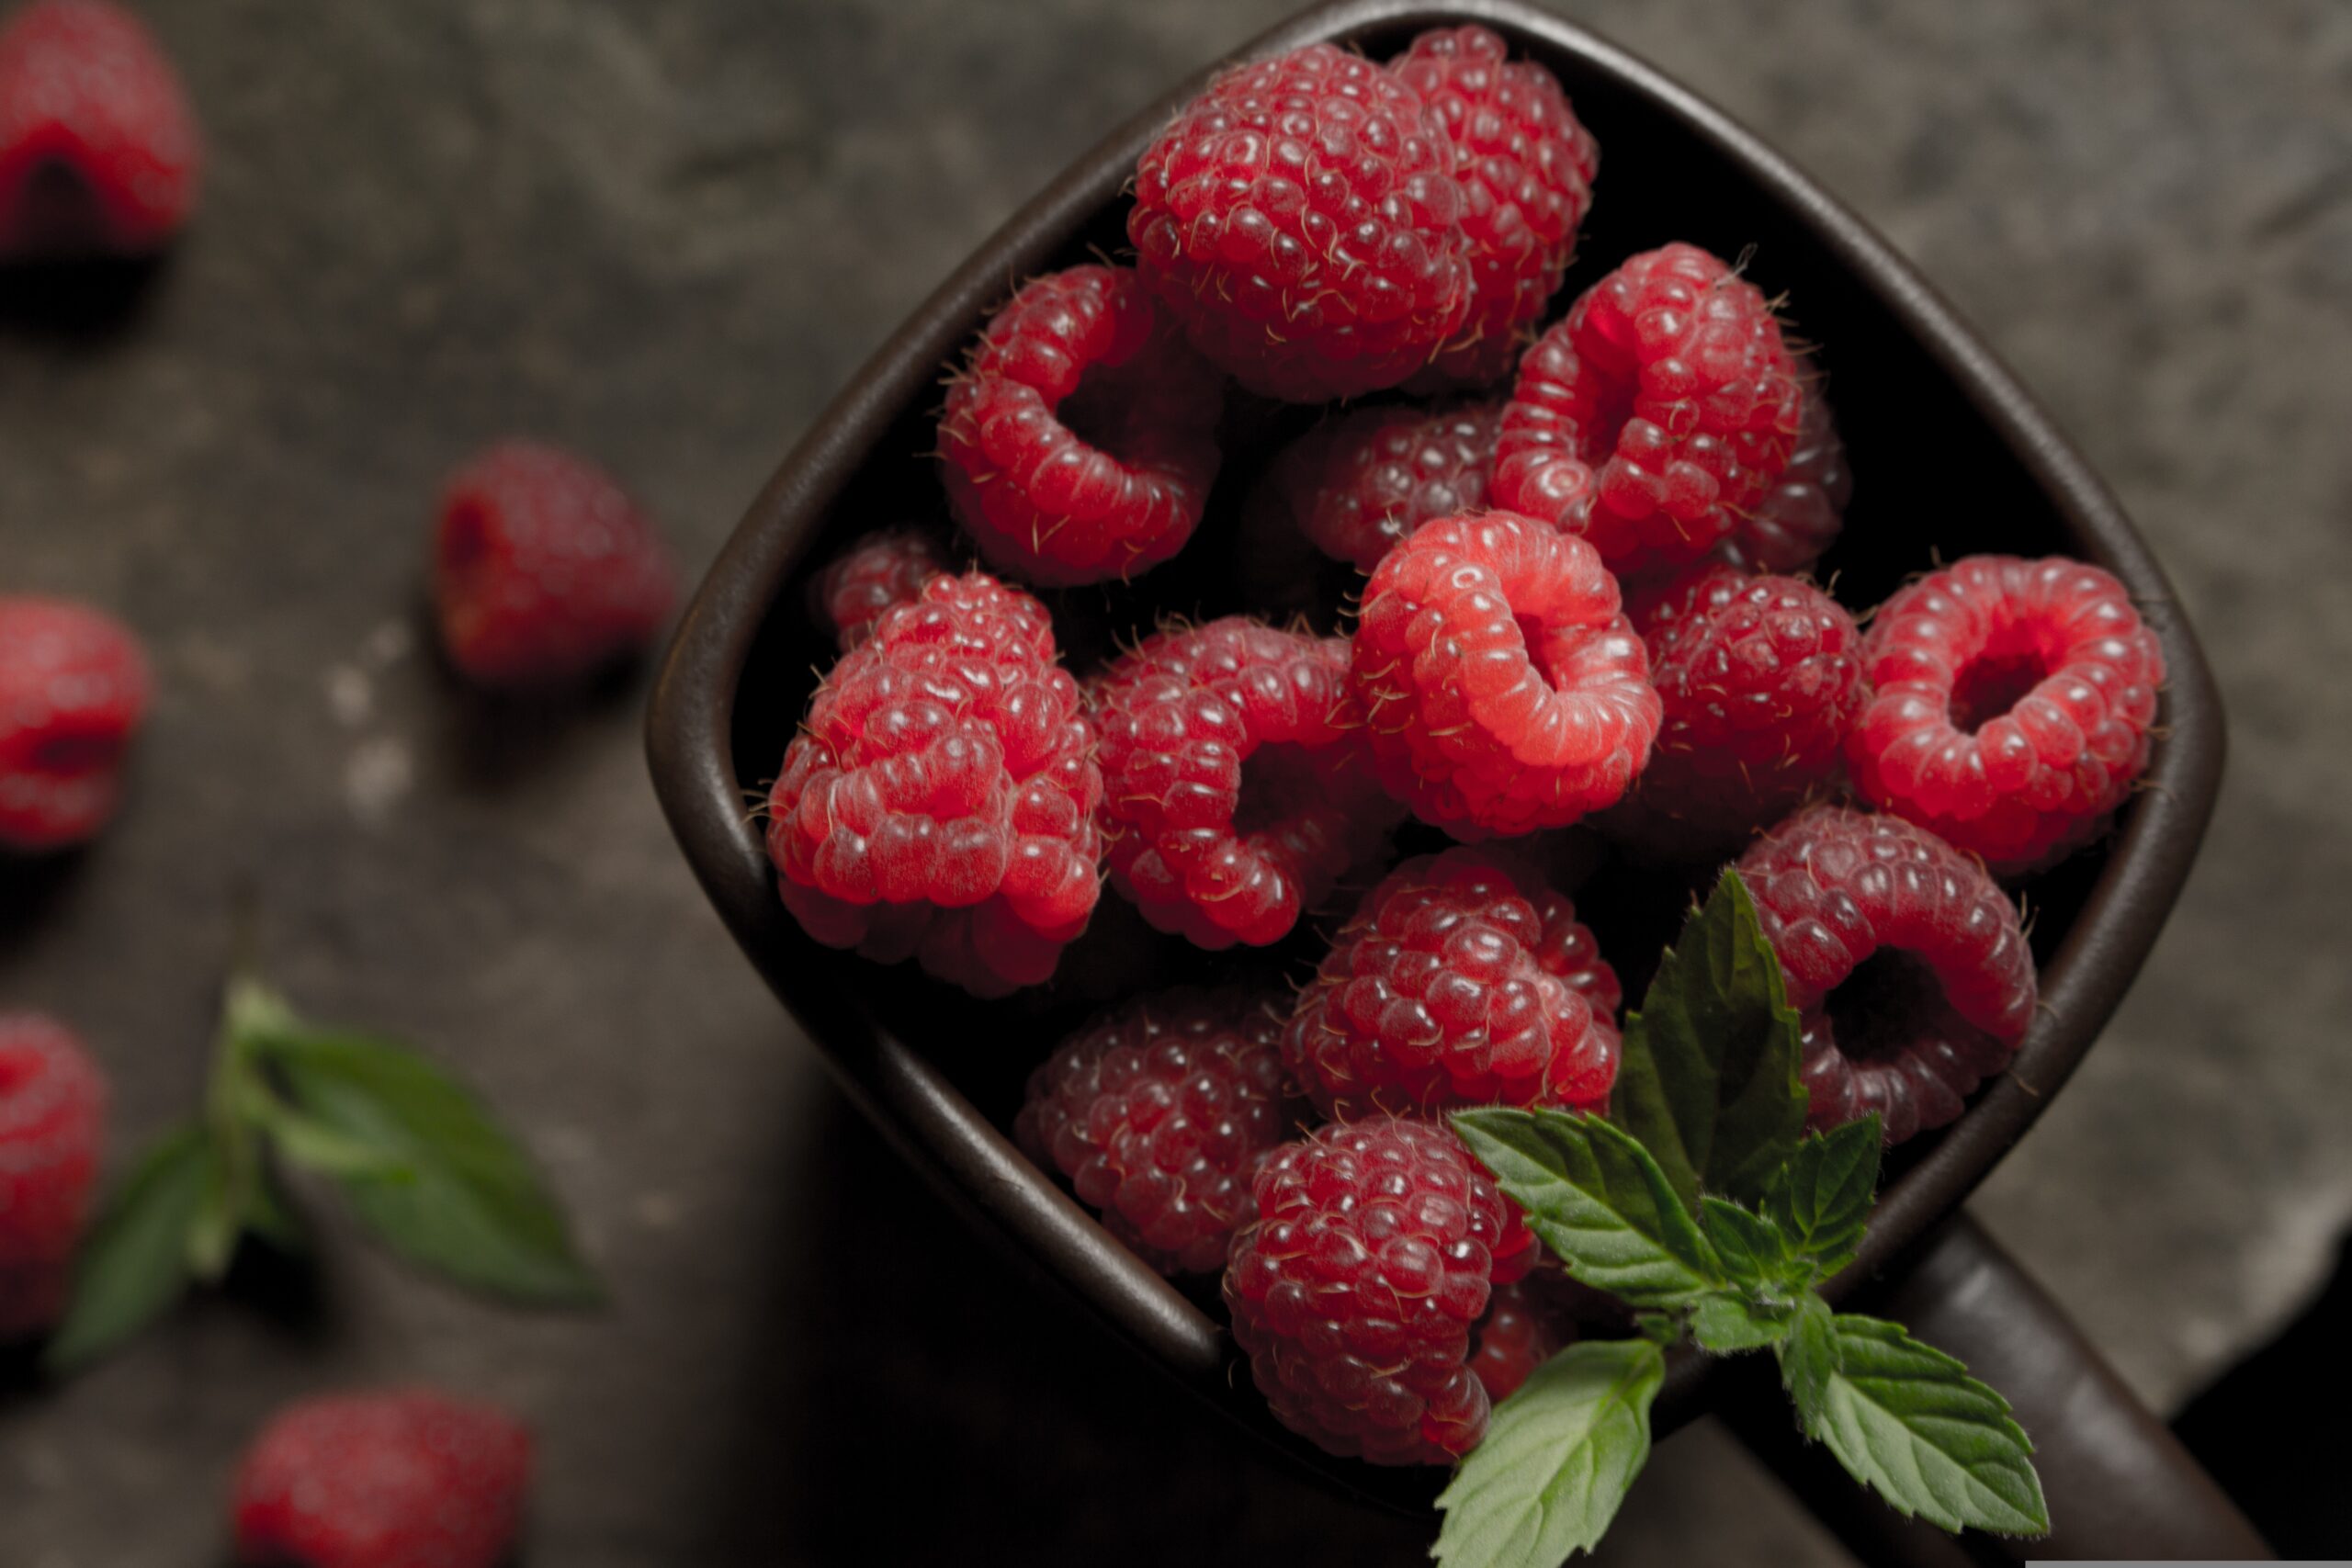
2# fresh strawberries
Stevia (per taste)
Gather all your ingredients, You can use a smaller pan, but I use a larger one as it takes less time to get the temperature to 180 degrees. I use the spatchula to keep stirring the four cups of milk practically continually – about 5 minutes.
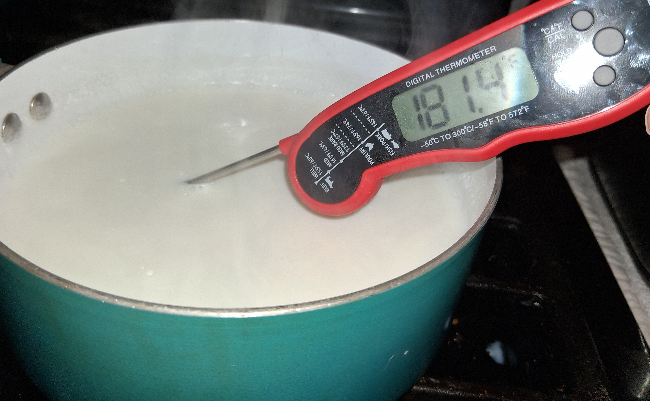
Make sure to keep your thermometer handy and check often, as the tempature can go up very quickly.
Once it reaches 180 degrees, (or thereabouts), turn the burner off and move your saucepot to a cooler area of the stove. Monitor your milk with the thermometer until it comes down to 110 degrees.
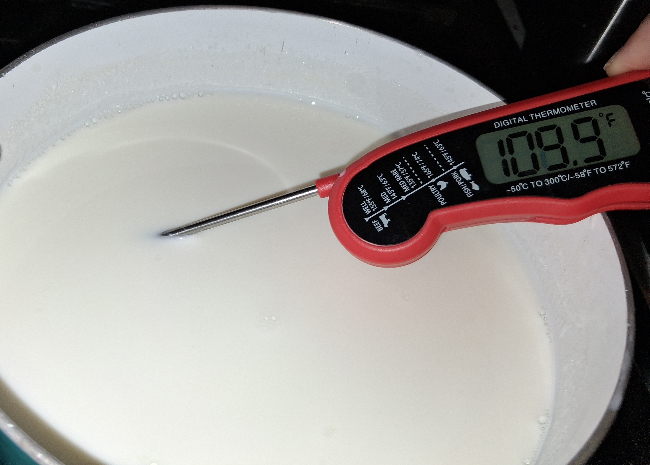
Open a single packet of yogurt starter and stir it in with your spatula, just enough to mix it throughout.
I usually plug in my yogurt maker and pour a couple of 8 ounces of regular water so it will have a start. Keep the cup handy. You’ll need it again.
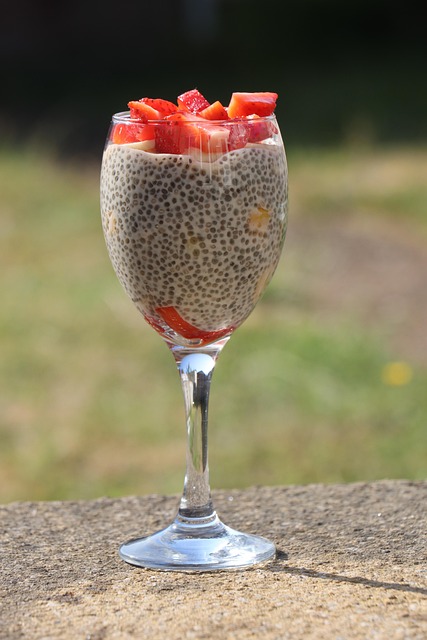
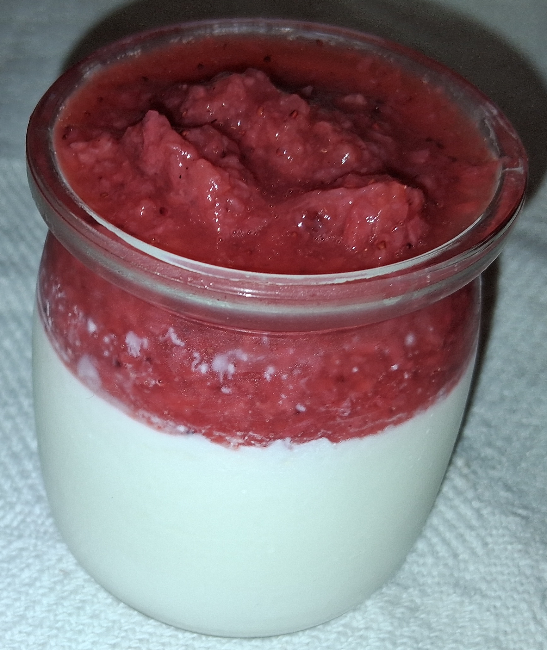
With your clean yogurt jars ready, dip the milk out and pour into each jar. Usually, the jars are labeled for 100 ml and 180 ml. I fill mine to 180 mil, which will leave a small area to place your topping.
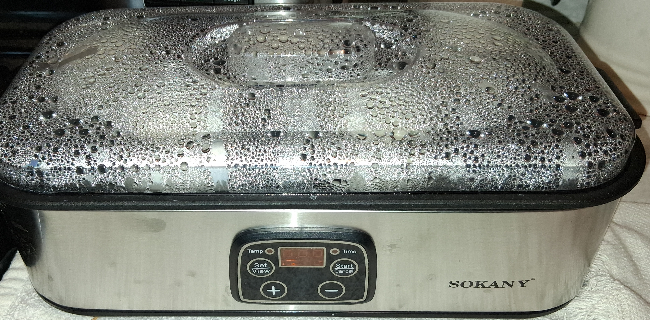
After filling each jar, place each one into the yogurt maker bath – do NOT put the lids on them at this time. After you have each one filled and placed into the maker, make sure the water comes up to the smallest part of the jar. Make sure the water is not close enough to go into the jar itself.

Place the yogurt maker’s lid on tight, set the temperature to 110 degrees and process for 8 hours.
Just set it and forget it!!
Once the 8 hours are complete, the yogurt maker should automatically shut off by itself. You may now take them out of the water, wipe them off, place the lids on each one, and place them in the refrigerator.
Done and done!
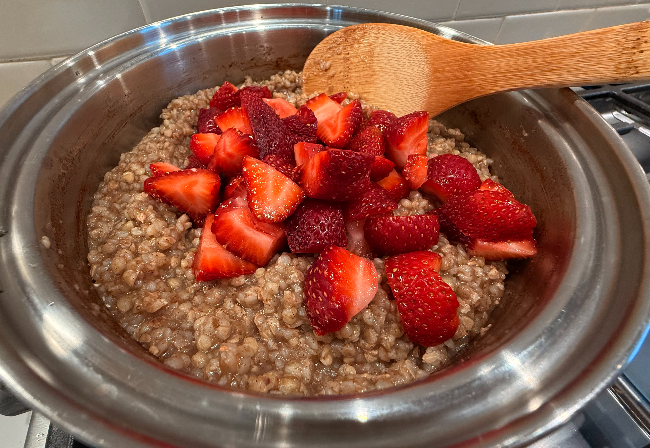
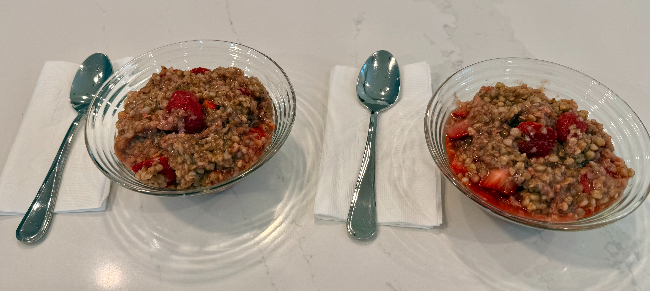
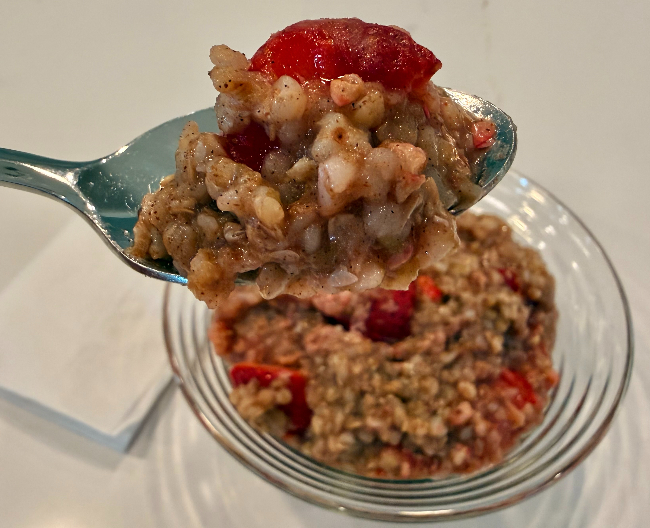
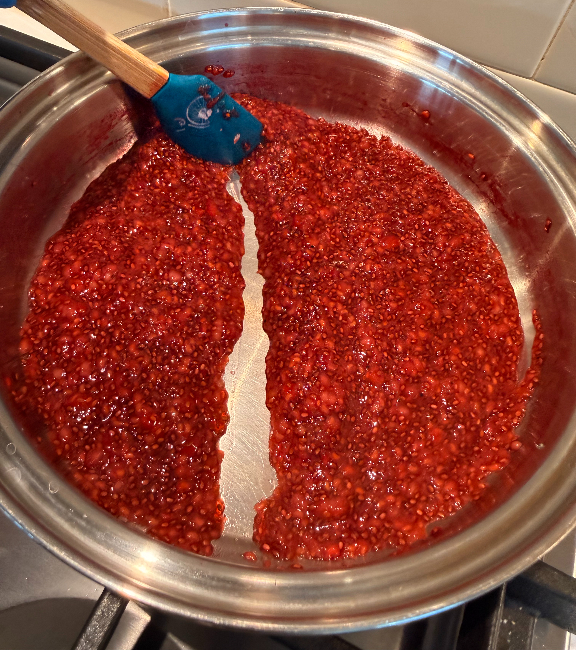
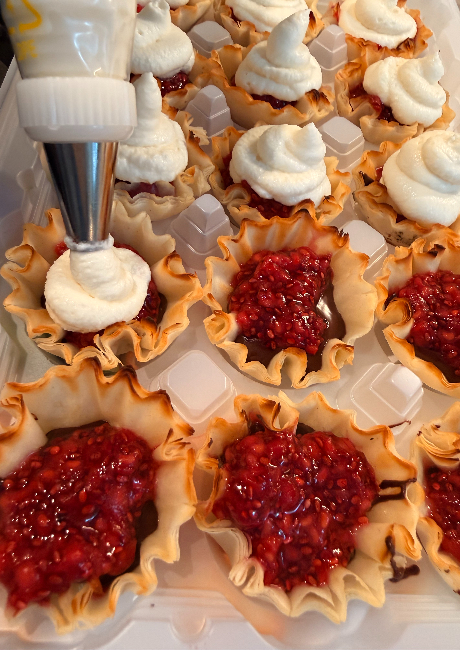
Well, almost. Hahaha! How about fresh strawberry sauce? Tis the season!
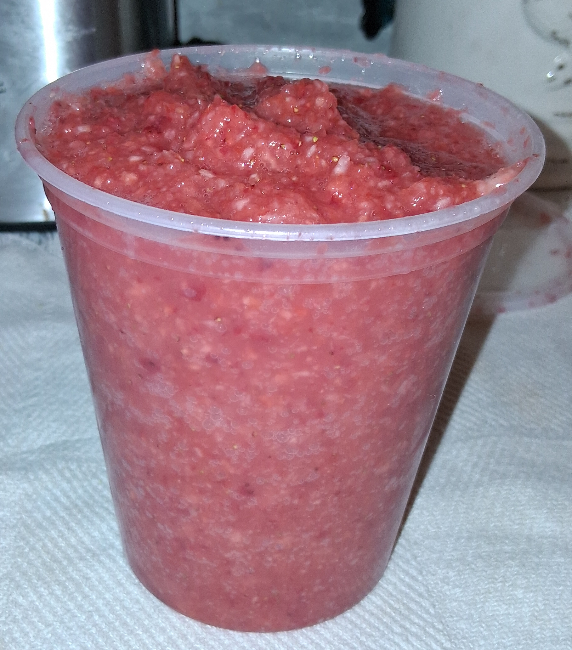
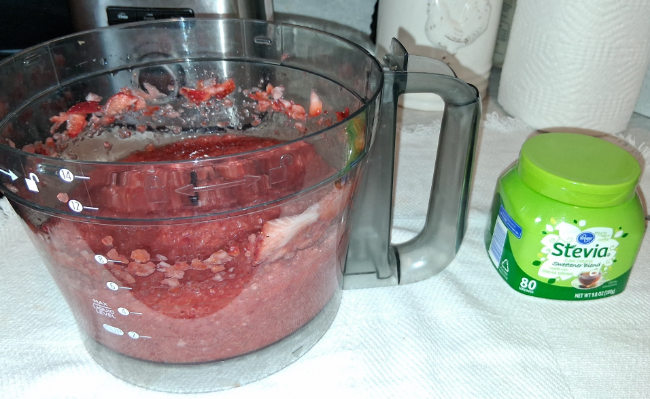
You can use about anything you can think of to put in your yogurt. I bought 2 pounds of local, fresh strawberries, cut off the tops, and processed them in my food processor. You can make them as fine or chunky as you like. If you want them unsweetened, (your yogurt will be unsweetened except for whatever is in the milk to begin with), don’t add any sugar in them.
I, myself, like them a bit sweeter; so I use Stevia while I am processing the berries. I add just enough for taste, the way I like it.
I usually buy small freezer containers so,, if I have enough to put them in the freezer, I don’t have to thaw all of them at once.
There you have it! Done and done!!
By the way, I have also used powdered or fresh fruit like blueberry, lemon, passion fruit, and always add Stevia to taste. There are so many combinations. It’s all up to you!
No more extra chemicals, preservatives, and artificial flavors. Make this recipe your own!
Enjoy, ya’ll!
Sheree
Yum Yum!
The end