
Do you do a happy dance when all things pumpkin-flavored reappear 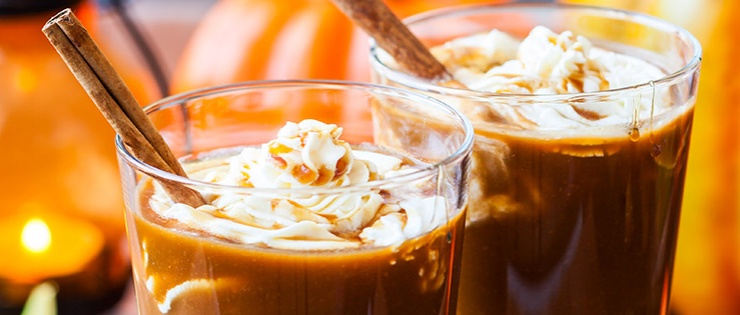 in the fall? It’s a short season, so I look for every way imaginable to ramp up pumpkin goodness. I have two pumpkin delights to share with you today. First, a pumpkin version of Bulletproof Coffee, and a pumpkin spice version of my Breakfast Cookie recipe.
My early morning solo-brew is either loose leaf green tea or Bulletproof Coffee. It’s a part of my Series of Good Things that starts most days:
Large glass of water after swishing out the cobwebs first thing each morning.
Water on face to open eyes – a real must to enjoy what follows.
Open all the curtains.
 Head for my mat in the guest room to do full and half planks, full and half push-ups, and a slant. (All exercises are explained in my Toolkit for Wellness which is finished, but still needs formatting, subtitle, and a NEW book cover- more on that in a bit).
Make my way into the kitchen to preheat tea pot/French press pot and start heating water.
Do my step-to-jog-to-run-in-place exercise while the water is heating.
Brew either the coffee or the tea for 5 minutes.
Do squats and lifts with a kettle bell or arm exercises during brew time.
Pour and enjoy.
Bulletproof Coffee is special coffee made from mold-free coffee 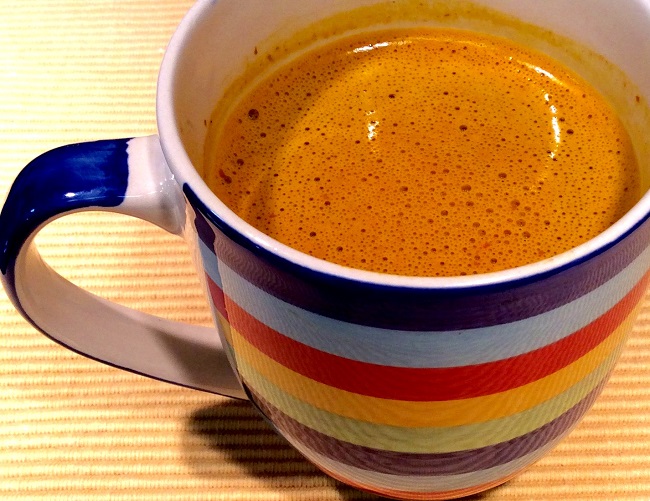 beans. I learned from Dave Asprey, who writes the Paleohacks newsletter and sell it, that most all coffees are polluted with mycotoxins that can adversely affect people. Think sinus congestion, headaches, and other ailments. Enter mold-free Bulletproof Coffee.
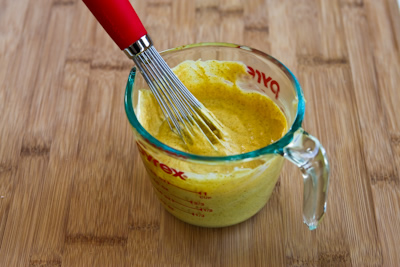
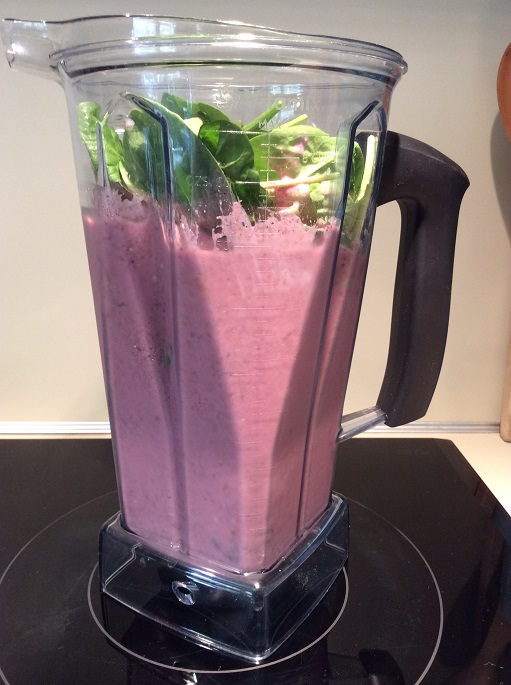
After the coffee is brewed, I add the healthy fat of 1-2 teaspoons of organic ghee and blitz it in my Vitamix. Ah-mazing!
Being it is pumpkin season, I have been adding a couple tablespoons of pumpkin puree, pumpkin pie spice, and -yes- a half teaspoon of sugar! This is truly a sensory delight! My own pumpkin spice latte right at home! Even GOOD for me!
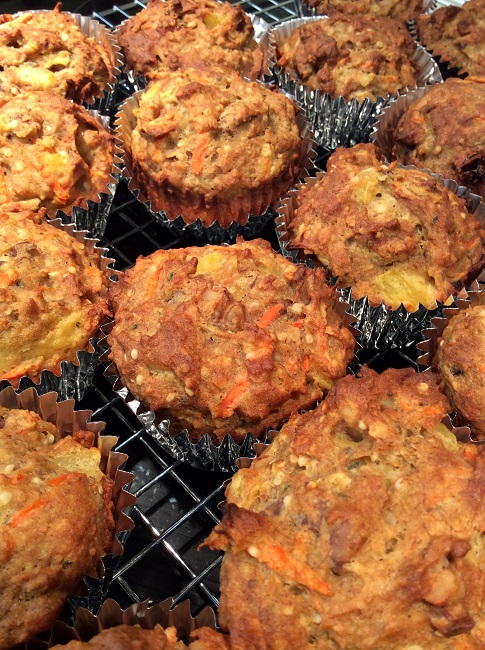
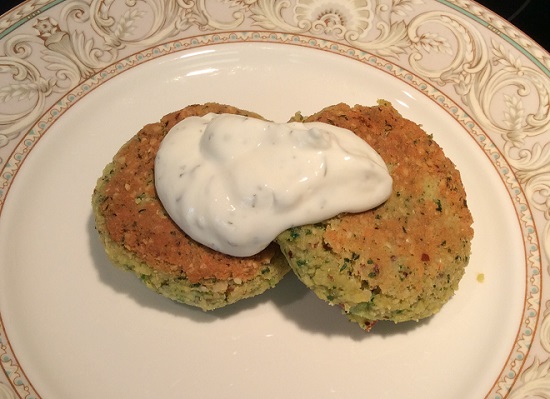
What would go great with a  pumpkin latte, but Pumpkin Breakfast Cookies? Below is the annotated recipe I have published before on this blog and am putting into my new book, Toolkit for Wellness. We are not interspersing pictures this time so you can see it all together.
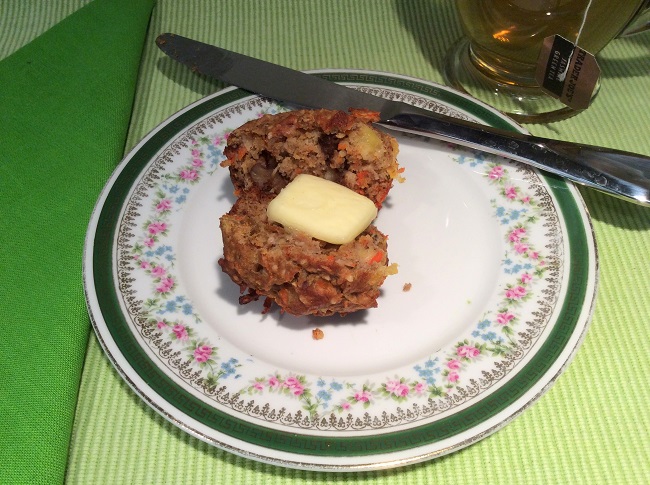
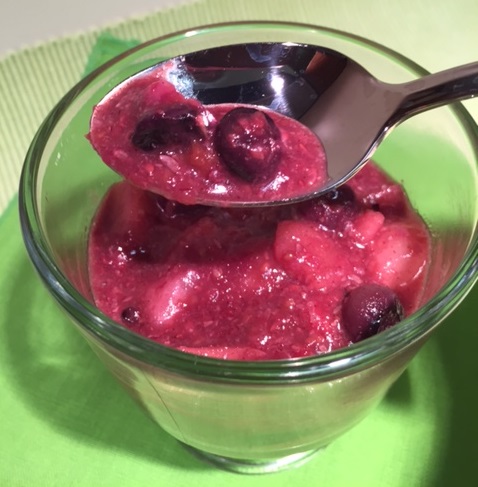
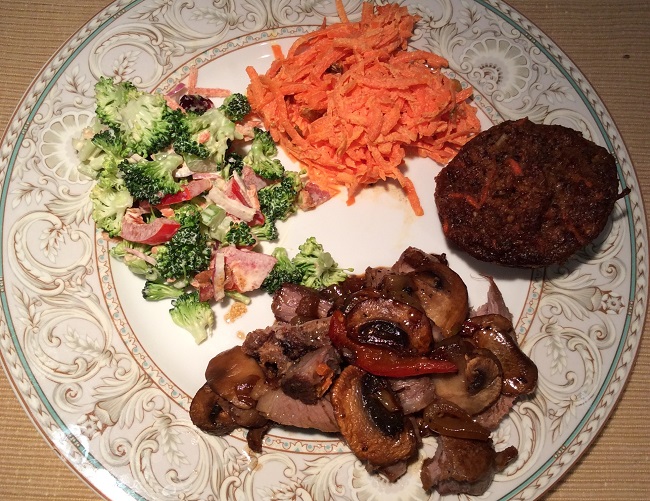
Breakfast Cookies freeze well and are a staple to have around for a light meal (2 cookies) or a light snack (1 cookie).
This is like a sneak preview of what is in the recipe chapter of the book!
Breakfast Cookies
Adapted from a recipe by Danielle Walker
This is a large recipe that makes about 27 cookies using two large parchment covered cookie sheets. I use an 11-cup food processor to mix most of this, followed by a final stirring using a large bowl to incorporate the two batches of ingredients.
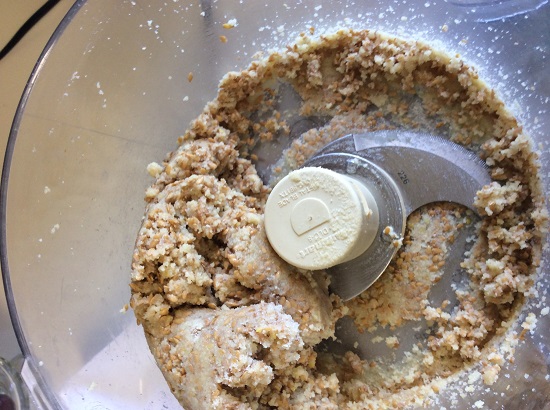
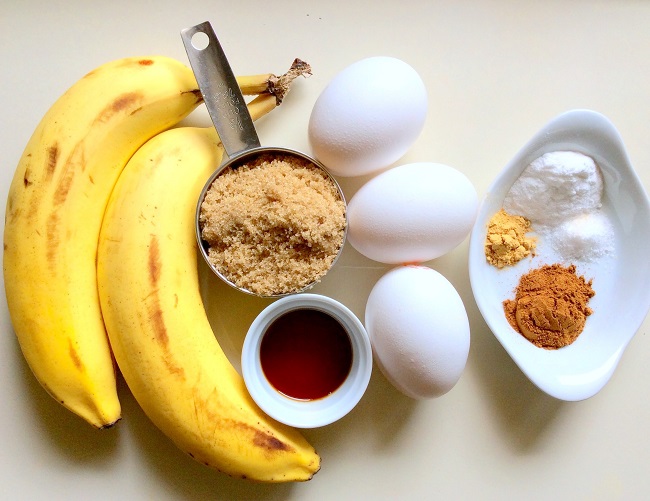
In a food processor, place the following ingredients and pulse 2-3 times for 15 seconds each. Pulse until dates are in very small pieces and bananas are smooth:
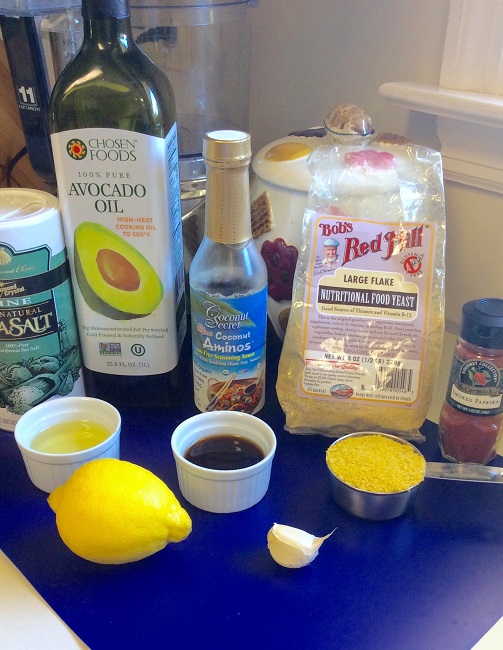
1 Tbsp. lemon juice
3 large, ripe bananas broken into chunks
7 medium-sized dates /or/ 5 large Medjool dates, soaked in warm water for 15 minutes and drained
2 Tbsp. ghee /or/ palm shortening
1 cup unsweetened applesauce /OR/ replace with pumpkin puree
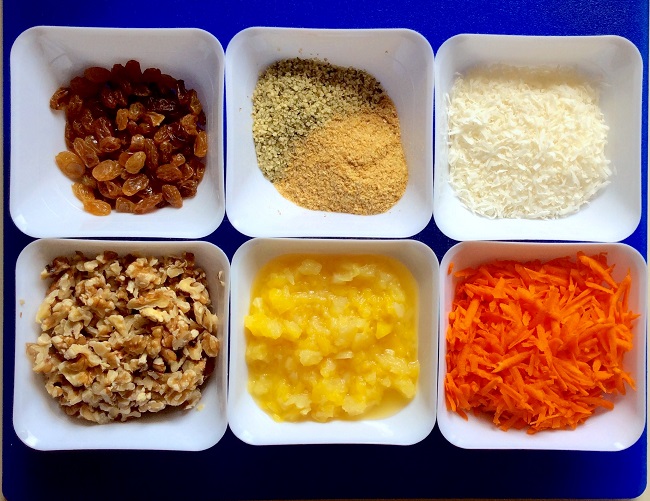
Pour the majority of this mixture into a large bowl. Scraping is not needed. Then place the following ingredients into the processor bowl and pulse for 5-6 bursts until incorporated:
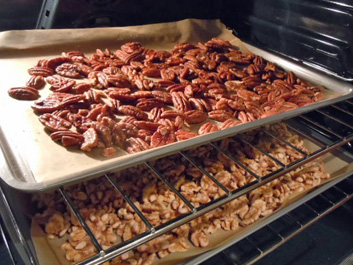
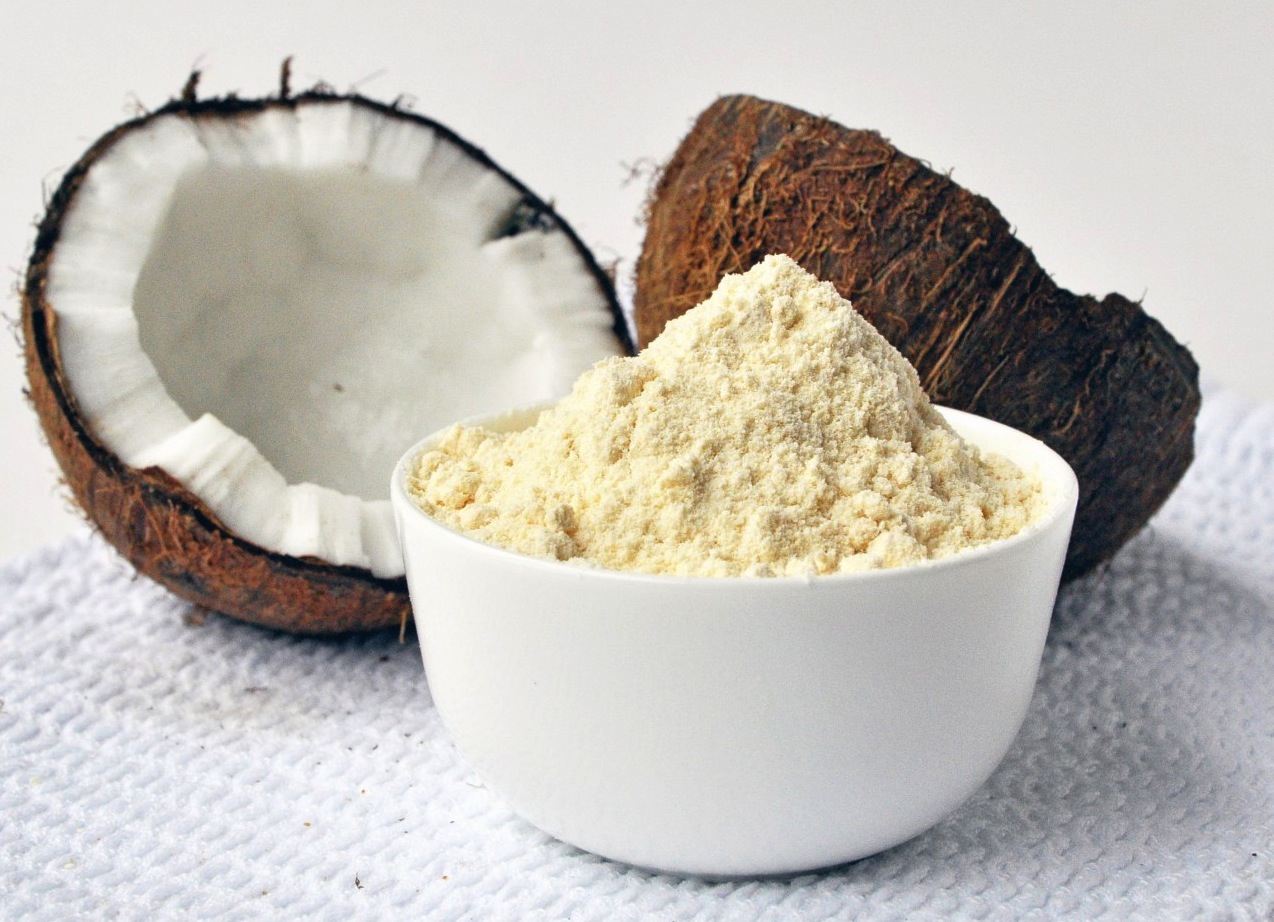
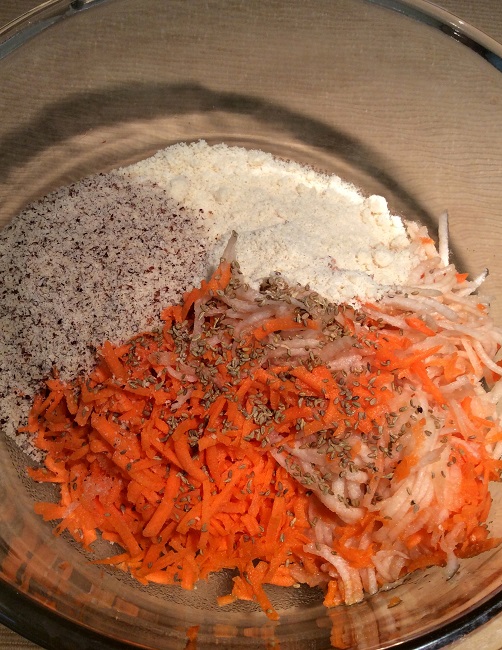
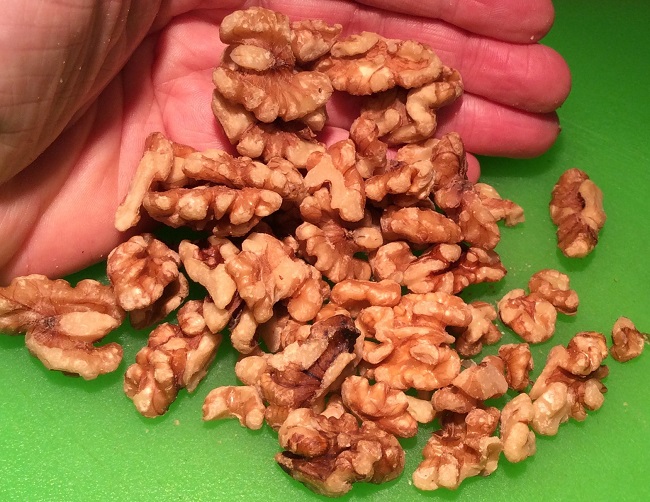
1 cup of hazelnut /or/ almond flour* – This time, I used 2/3 cup almond and 1/3 cup coconut flour
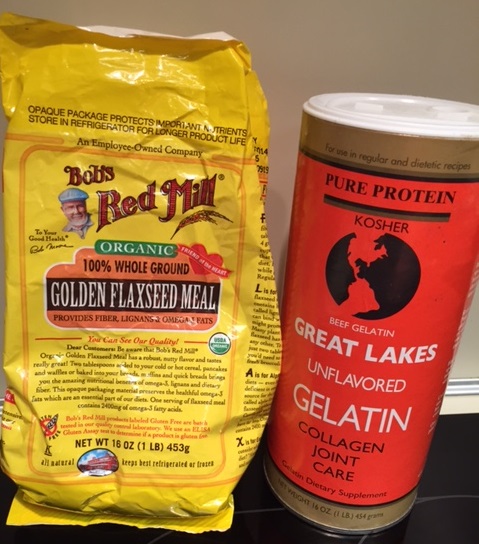
1/4 cup ground flax seed
1/4 cup hemp seed hearts
1/4 cup Great 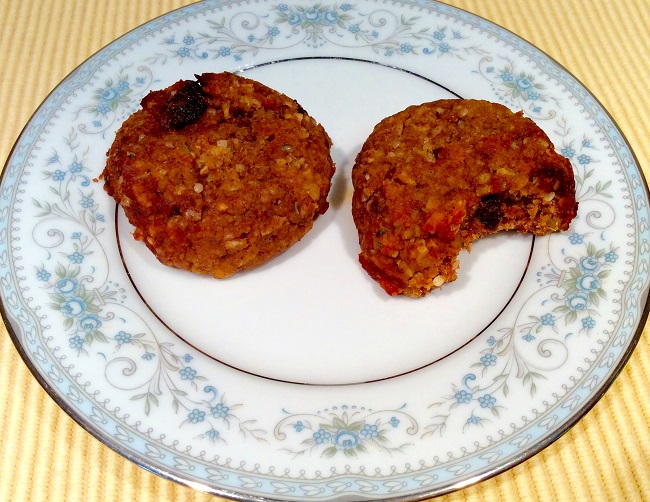 Lakes gelatin
3 tsp. cinnamon /OR/ replace with pumpkin pie spice
2 tsp. vanilla extract
2 tsp. baking soda
Add the following to the nut flour mixture and pulse 3-4 bursts until incorporated:
1 cup unsweetened coconut flakes
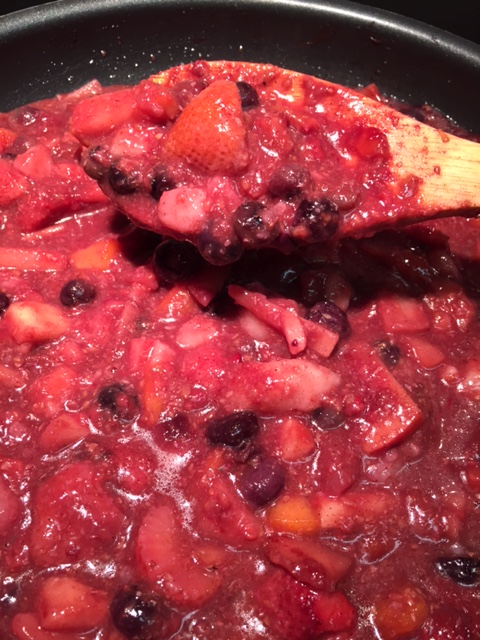
1/2 cup dried fruit of choice usually a berry /OR/ golden raisins
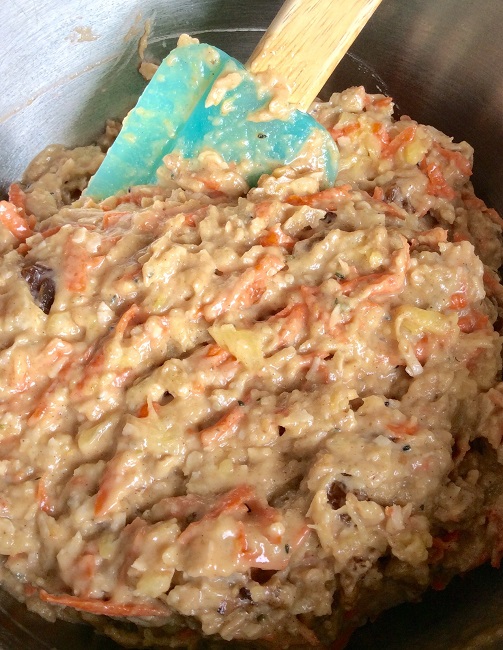
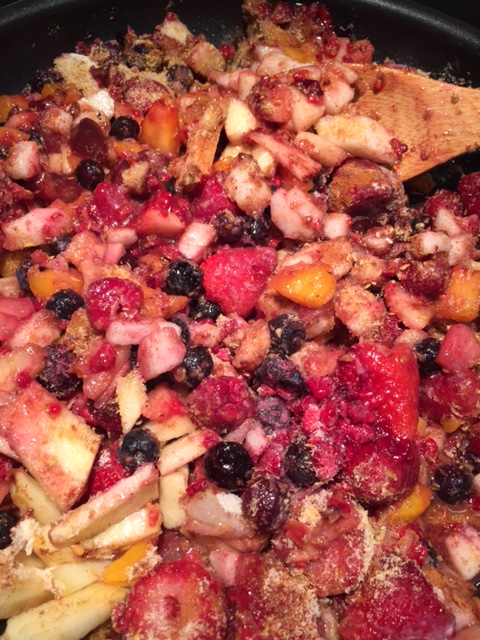
Add contents of food processor to those in the large bowl and hand mix using a large wooden spoon or spatula until well-combined. The batter is a bit wet, but should hold its shape well. If it seems too wet, add some more nut flour.
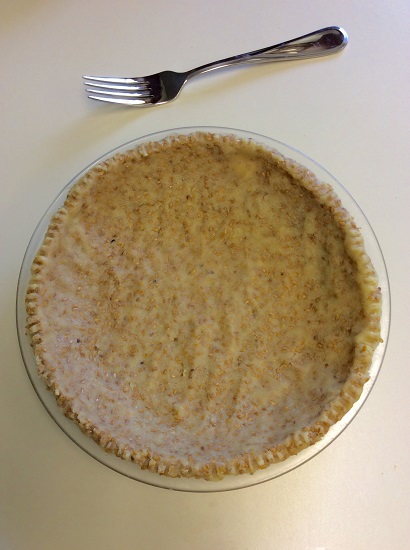
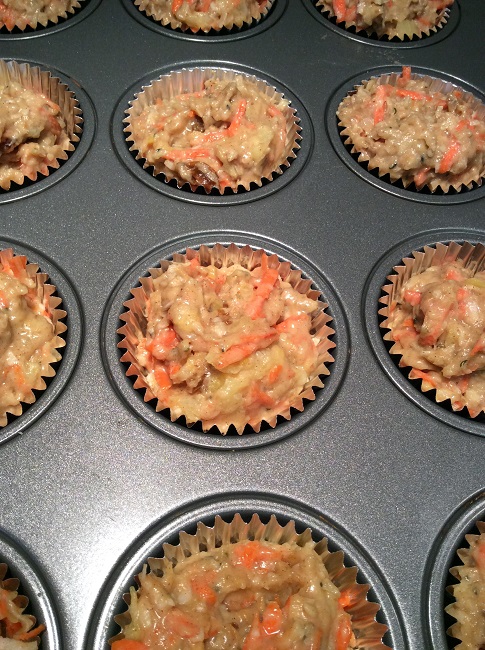
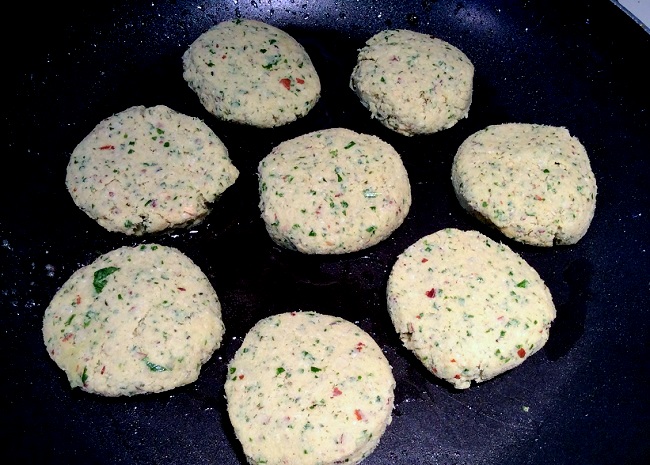
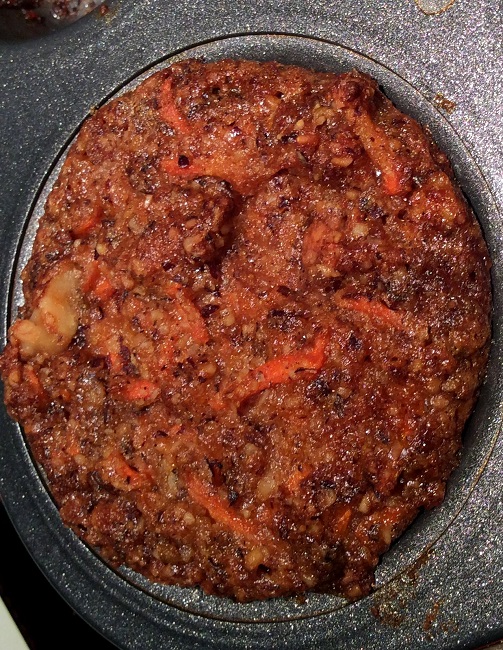
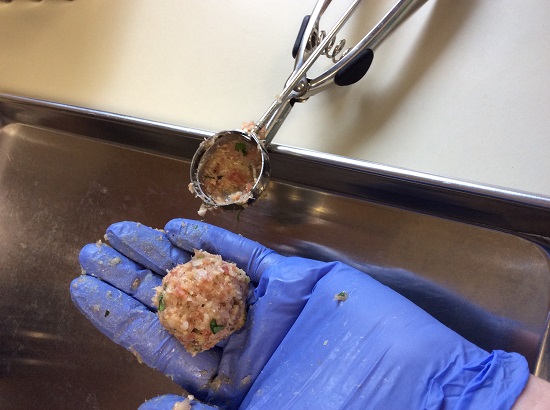
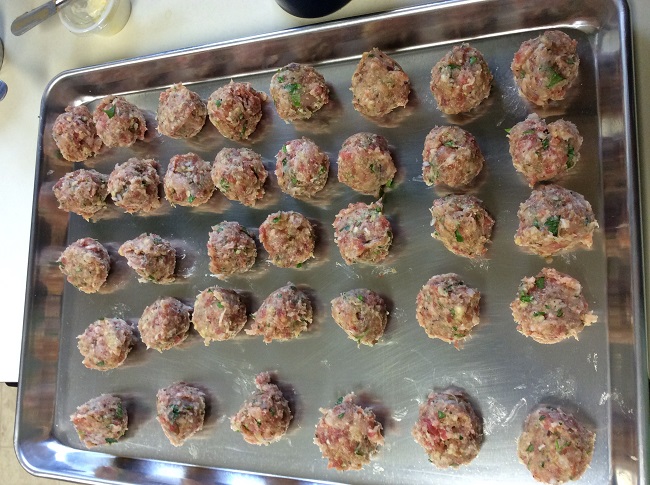
Using a golf ball-sized cookie scoop, form dough and place onto parchment paper-covered cookie sheets.
Using damp fingers, gently press each on down a bit.
Bake at 350 degrees for 20-25 minutes. I used a convection oven, which automatically lowers the temp to 325 degrees. A regular oven may take a little less time at the higher setting. Cookies will still be a little bit soft but not mushy when done. Place cookies on a cooling rack where they will firm up.
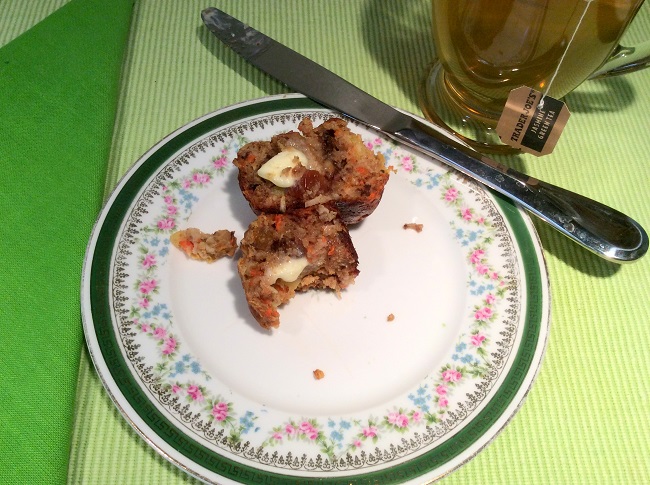
A couple of these make an awesome breakfast, especially when 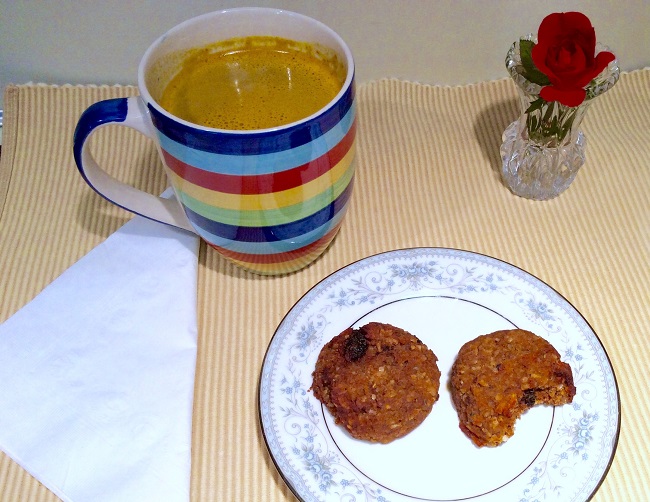 spread with almond butter alone or almond butter mixed with a tad of Justin’s Chocolate Hazelnut Butter. Justin’s version of Nutella has organic cane sugar as the third ingredient after hazelnuts and almonds and contains only 8 grams of sugar compared to the others 21 grams of sugar as the first ingredient!
* I have used various combinations of flours depending upon what I had in stock. Coconut flour will dry dough, so the amount of moistness will change depending on how much coconut flour you use.
Click this link for a printable recipe of FoodTalk4U-Breakfast Cookies
NEWS from Toolkit for Wellness!
 The book cover currently posted on our Facebook site is NOT the one I’ll be going with! I know everyone just loved the “blue cover” but deep down inside, I just knew it was not representing the larger message. A member of a Facebook Community I am in, not only gave me some pointers as an author, but also shared with me a concept cover based on what he had gotten from my book. Well, folks, he was spot on! So, off to a graphic artist I went and I am waiting to see how this turns out!
A new cover means a delay, but if something is worth doing, it’s worth doing right! I look forward to sharing the new look with you as soon as possible.
Like us on Facebook!
Here’s to pumpkin!
Deidre