
If you’ve followed this site for even a minimal amount of time, you know I’m on the up side of improving my health compared to last year which, as I refer to it, was a complete disaster.

Since then, I’ve made a few changes in my life – some more significant than others. My daughter, Abby, taught me to make kombucha. The important thing with kombucha is you must have a metal spout, no plastics! Sourdough is another. Neither one of these is labor intensive, just a little time consuming, which is great when you think of the end result.
My new favorite is homemade yogurt. Since I am lactose-intolerant, I found limited choices when shopping. I was feeling a little left out when I thought, why not use lactose-free milk to make it? “Little success,” the experts said.

Hmmm. I don’t normally accept, “no, can’t, or not possible,” without trying variations of my own. So, I am going to tell you how to make my successful lactose-free yogurt. It’s so easy – I promise!
The first thing I did was put everything together I needed, which is in the banner picture above this article.
A dependable yogurt maker, which contains six – eight clear jars with plastic lids. It doesn’t have to be expensive at all. Mine was only $35 and weighs no more than a pound. You can also use a rice cooker which is configured for ‘yogurt,’ by following the recipe. Instead of putting it into individual jars, cook once the tempature comes down to 110 degrees. Do not put a tight lid on the metal cooker, but place a loose-fitting on over it instead. Process the same.
Other items needed:
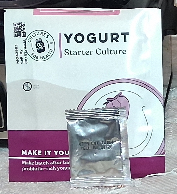
1 Yogurt Starter (I ordered mine from Amazon – Cultures for Health)
2. Lactose-Free Whole Milk (any brand)
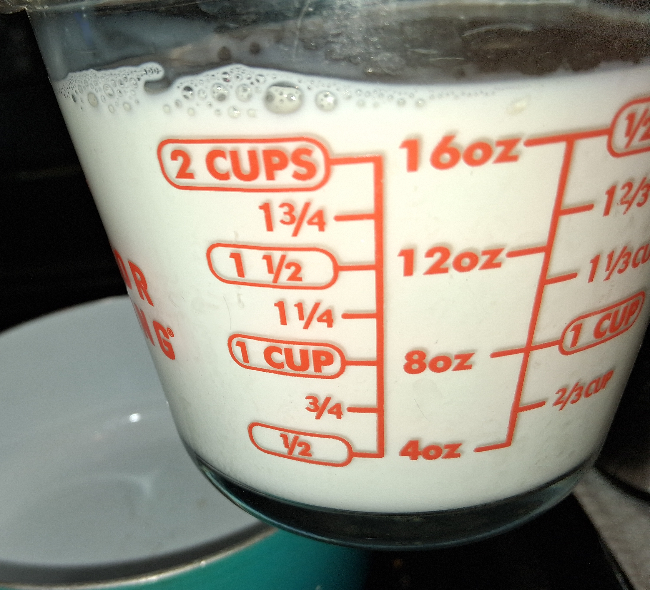
3. Measuring Cup – (I used four cups of milk)
4. Stainless Steel Wisk
5, Plastic Spatula
6. Electronic Temperature Guage
OPTIONAL:
Food Processor
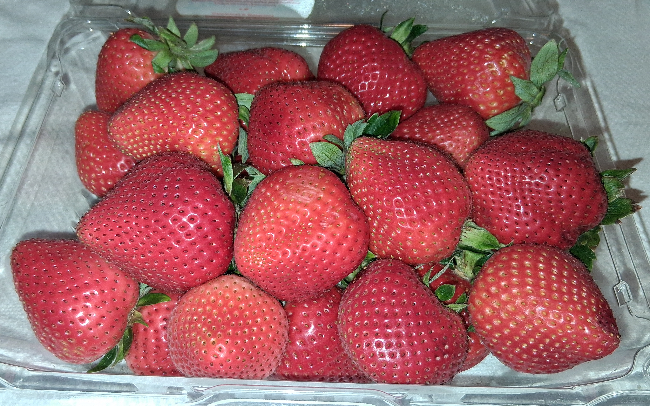
2# fresh strawberries
Stevia (per taste)
Gather all your ingredients, You can use a smaller pan, but I use a larger one as it takes less time to get the temperature to 180 degrees. I use the spatchula to keep stirring the four cups of milk practically continually – about 5 minutes.
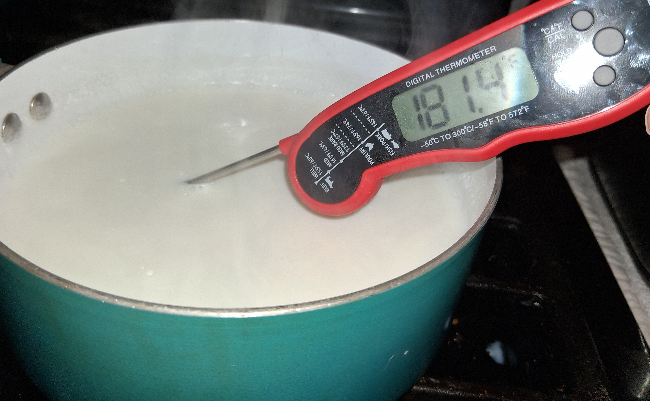
Make sure to keep your thermometer handy and check often, as the tempature can go up very quickly.
Once it reaches 180 degrees, (or thereabouts), turn the burner off and move your saucepot to a cooler area of the stove. Monitor your milk with the thermometer until it comes down to 110 degrees.
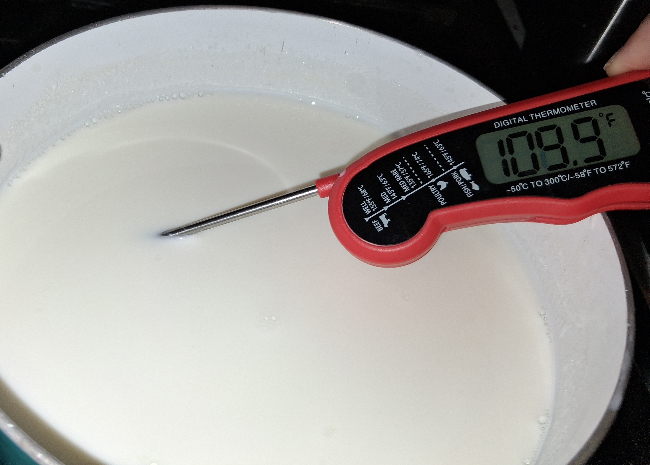
Open a single packet of yogurt starter and stir it in with your spatula, just enough to mix it throughout.
I usually plug in my yogurt maker and pour a couple of 8 ounces of regular water so it will have a start. Keep the cup handy. You’ll need it again.
With your clean yogurt jars ready, dip the milk out and pour into each jar. Usually, the jars are labeled for 100 ml and 180 ml. I fill mine to 180 mil, which will leave a small area to place your topping.
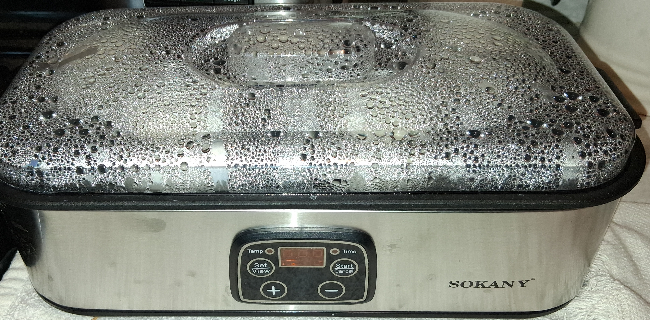
After filling each jar, place each one into the yogurt maker bath – do NOT put the lids on them at this time. After you have each one filled and placed into the maker, make sure the water comes up to the smallest part of the jar. Make sure the water is not close enough to go into the jar itself.

Place the yogurt maker’s lid on tight, set the temperature to 110 degrees and process for 8 hours.
Just set it and forget it!!
Once the 8 hours are complete, the yogurt maker should automatically shut off by itself. You may now take them out of the water, wipe them off, place the lids on each one, and place them in the refrigerator.
Done and done!
Well, almost. Hahaha! How about fresh strawberry sauce? Tis the season!
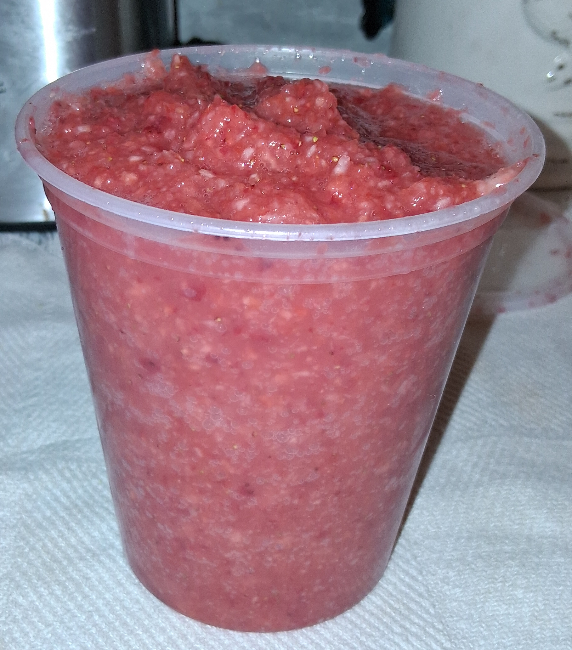
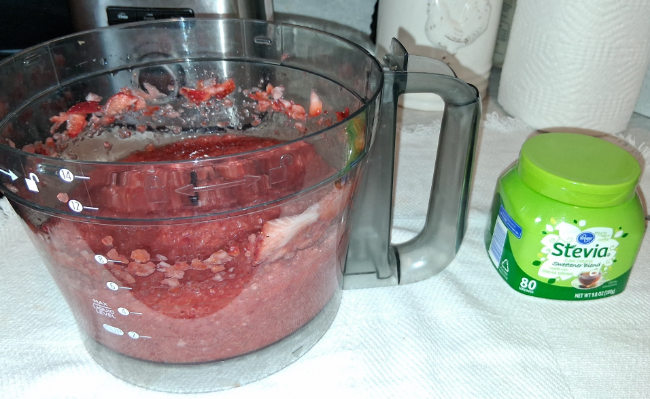
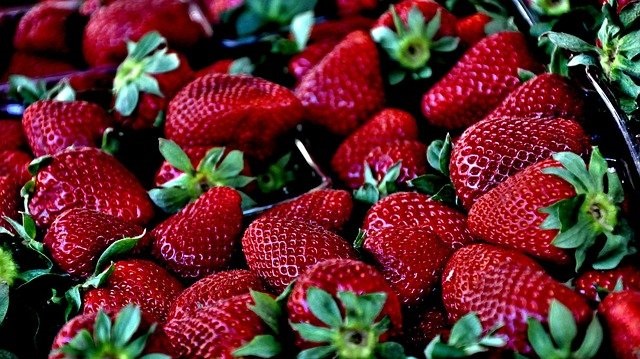
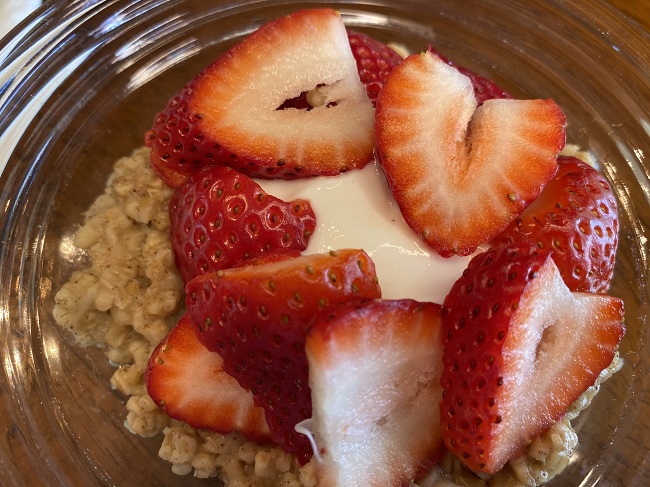
You can use about anything you can think of to put in your yogurt. I bought 2 pounds of local, fresh strawberries, cut off the tops, and processed them in my food processor. You can make them as fine or chunky as you like. If you want them unsweetened, (your yogurt will be unsweetened except for whatever is in the milk to begin with), don’t add any sugar in them.
I, myself, like them a bit sweeter; so I use Stevia while I am processing the berries. I add just enough for taste, the way I like it.
I usually buy small freezer containers so,, if I have enough to put them in the freezer, I don’t have to thaw all of them at once.
There you have it! Done and done!!
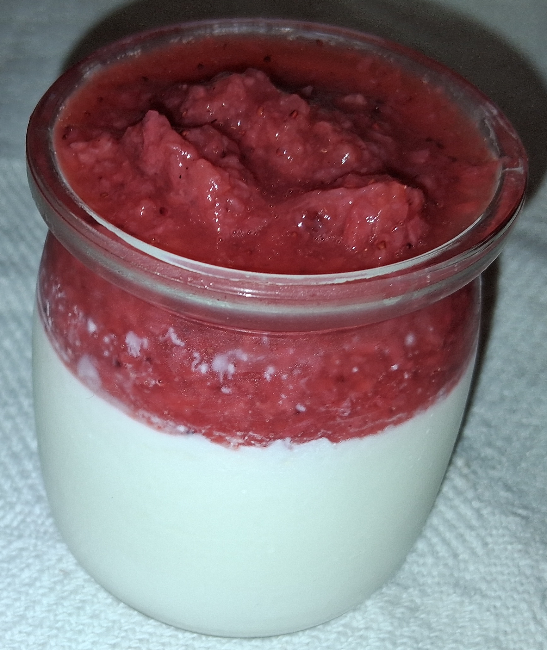
By the way, I have also used powdered or fresh fruit like blueberry, lemon, passion fruit, and always add Stevia to taste. There are so many combinations. It’s all up to you!
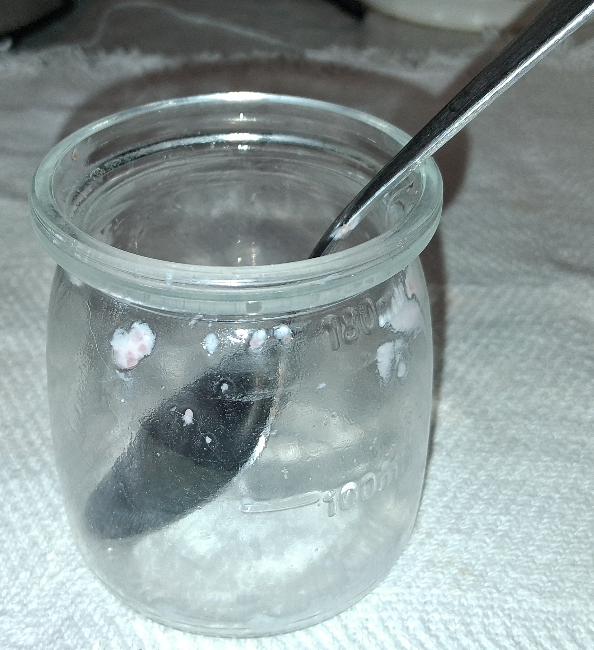
No more extra chemicals, preservatives, and artificial flavors. Make this recipe your own!
Enjoy, ya’ll!
Sheree
Yum Yum!
The end


 world turn while watching the clouds above float by.
 forests of Northern California was a holy experience. Quietly stepping into the ancient tabernacle of giant redwoods was life-changing! I return to that experience often to relive the awe and wonder of it. Presently, extended slow walks to the mailbox and some time spent on the back porch swing have to satisfy that deep need for now.
 boat on the river or time sitting on one of our beautiful beaches satisfies many. Time to unplug from the rat race and reconnect to the REAL WORLD of nature.
 The best indicator of longevity turned out to be the number of daily face-to-face connections we had. Smiling at people. Striking up brief conversations with strangers. Laughing about the human condition with someone while in line at the bank. Lamenting about the price of tomatoes with a fellow shopper. Little connections. With humans. Face-to-face.
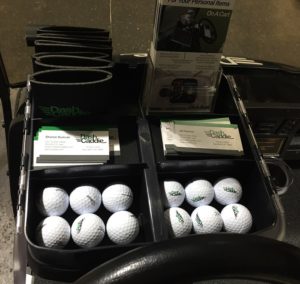 Yours truly won one of the main door prizes! I had never heard of a Dash Caddie before, so the young inventor and his wife had to show and demonstrate it to me.
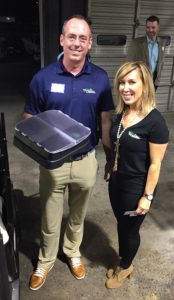 Caddie, which is a portable box that can mount into almost any golf cart or suction-cupped onto the dash of an RV or boat with ease.

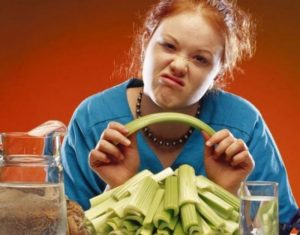

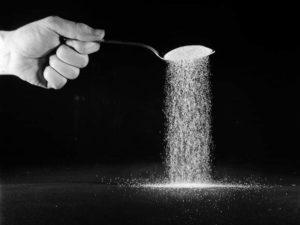 may have some sense of a lack of fulfillment – or downright panic -with no added sugars. Dessert seems to be a thing of the past.
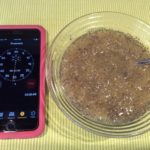
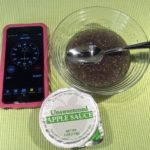
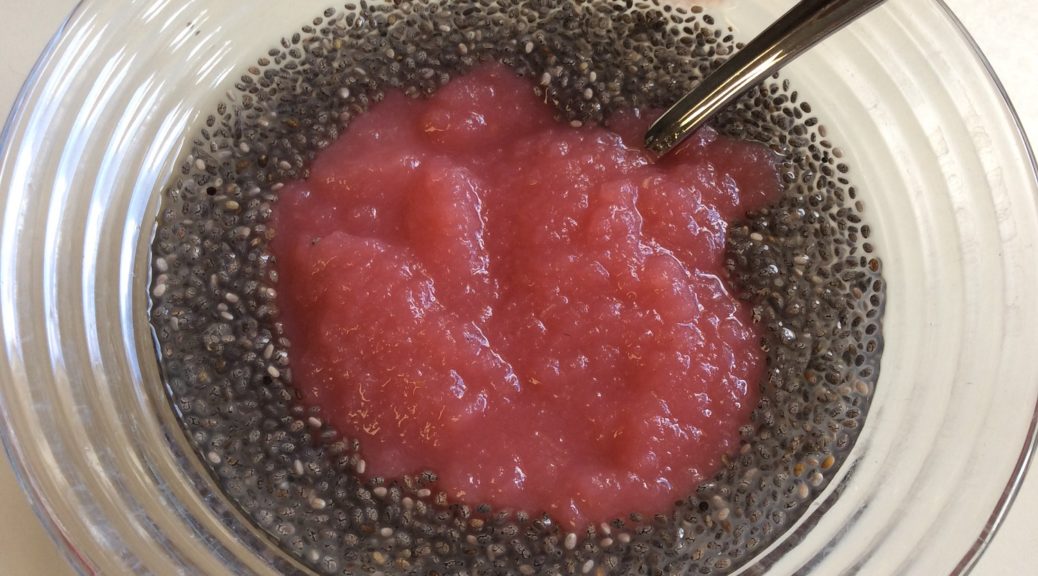
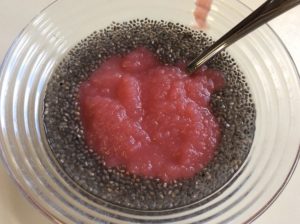 In the recipe section of Toolkit for Wellness, I included a few ideas to dress up these seeds into what I call a jam. If you add berries and cook them in on the stove, you can get a bowl of chia goodness (that will be prettier).
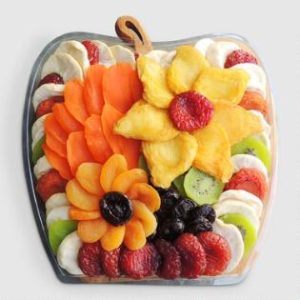 add creates the flavor. A small handful of dried fruit works well, too.

 Forget the New Year’s party hats. Where’s the chicken soup?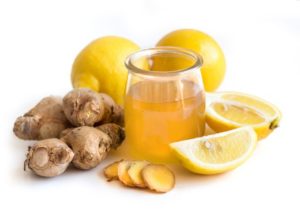
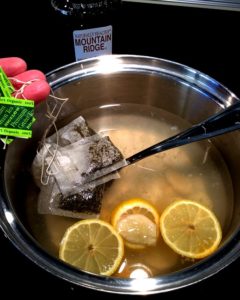 In a saucepan, assemble: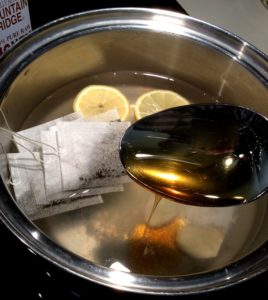
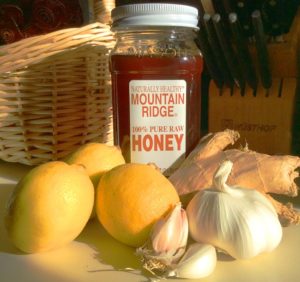
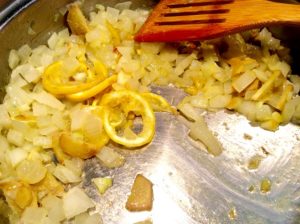
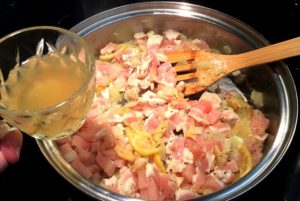 Sauté the onions, garlic, ginger, and lemon slices in butter and olive oil until onions are translucent.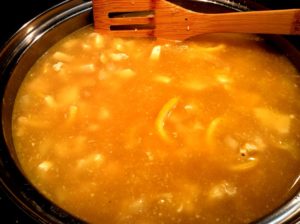
 There is nothing like Mama’s TLC and chicken soup, to be sure, but this comes in at a close second- especially if you are the source of your own TLC!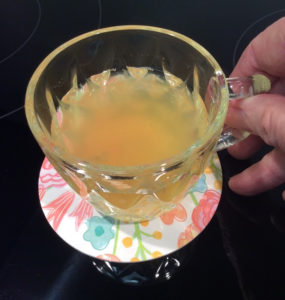


 those muscles and joints feeling? Headaches again? Unhappy belly? More bloating, gas, constipation, or diarrhea?
 g that is going to cause a bad reaction.
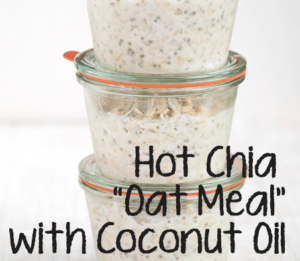 how I had ramped up oatmeal’s “goodness” factor by adding chia seeds and coconut oil. I created another oatmeal recipe by adding collagen hydrolysate and coconut oil. Ramped-up protein and brain healthy fat! What could be better?
 husband’s room (he is confined to a hospital bed at home). On top of that, I am currently writing another book, “Caregiver’s Handbook for Caring for the Bedridden,” which requires more sitting at the computer. Efforts to go to the gym once or twice a week are being met, along with home stretches to break up sitting sessions, and almost daily planks.
 Everything from my waist down hurt. Heels first. Then hips. Then legs. Is it possible to get that old so fast? Is this my life forever?
 l.
l.
 different things. As my beloved continues to slumber more than 15 hours a day now, it would be easy for me to just ‘spin in place’ as I watch his winding down. The three rounds of planks that energized me on Tuesday, are just not motivating me today. My yoga mat is not calling to me.
 oncept instead.
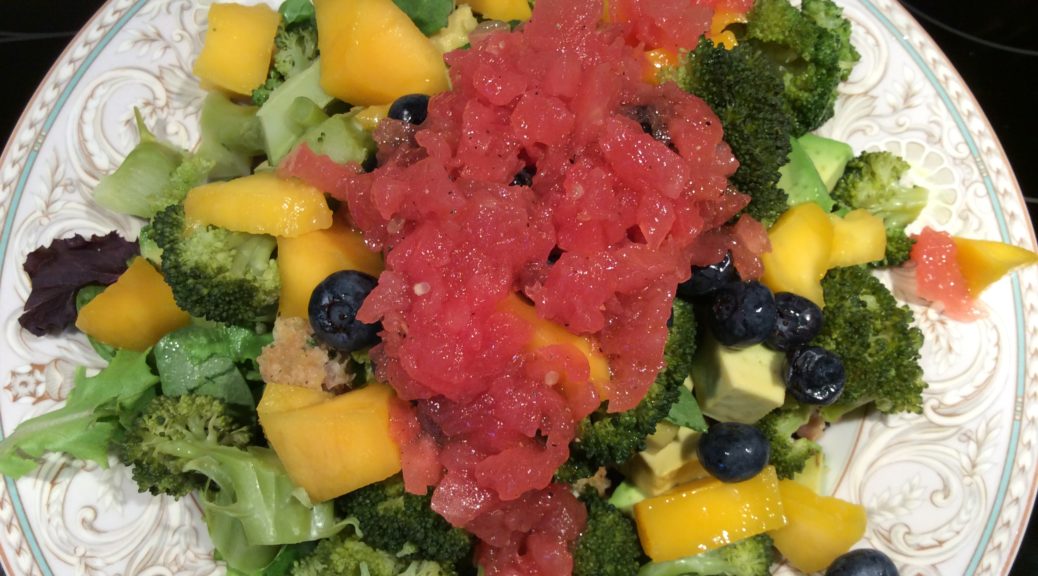
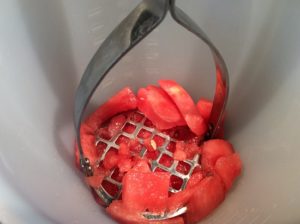 The first step is to smash-up some watermelon.
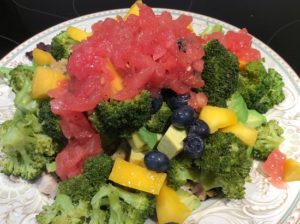 Having made this three times this week, my salad contents have varied with the addition of leftover sautéed okra, avocado, mango, blueberries, steamed broccoli, and of course that chicken.
 gulping in fresh air before taking another dive? That’s me, too! Taking vacations can definitely help, but we need to “breathe” more often than that.
 ly! Yikes!

 In my case as a 24/7 caregiver, just getting away several times a week has helped – but only so much. Solo trips to the gym or walks around the waterfront answered only a part of my needs.
 t has its place. Usually in group conversation, however, the talk bounces around; others throw thoughts into the mix, and more diverse news is shared.
 week-check
 appreciate its full brilliance.
 enjoy a big game, final tournament, or the Olympics, (YES!), every once in a while. What’s a big game without big game food? Can the words, ‘big game food,’ even be uttered by someone trying to, “Do my body good,” at every turn?
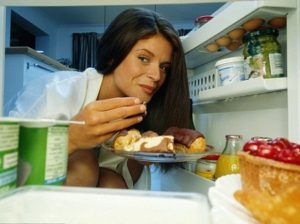 Wonder why that weight is not melting away after holding back on gluten? It’s probably because you have a cupboard full of gluten-free equivalents. In other words, you are still eating pretzels, pizza, brownies, pasta, cakes, and cookies. That’s a lot of carbs, folks.
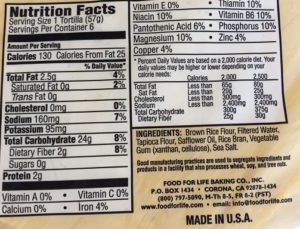 done in such a rush, you know? I was hastily scanning the gluten-free frozen foods section when I spied what I thought was frozen thin crusts for pizza. A quick read of the very short ingredient list passed the test for no chemicals or high fructose corn syrup. Okay. Grab it. Done. Out of the store.
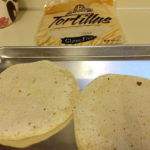
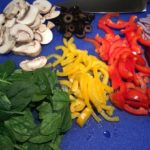 Prep an assortment of vegetables. I used purple onion, red and yellow bell peppers, mushrooms, baby spinach leaves, and olives. Use your imagination- colors and textures abound!


 Maybe this paper thin crust pizza will become your go-to big game or Friday night treat. It has for me!