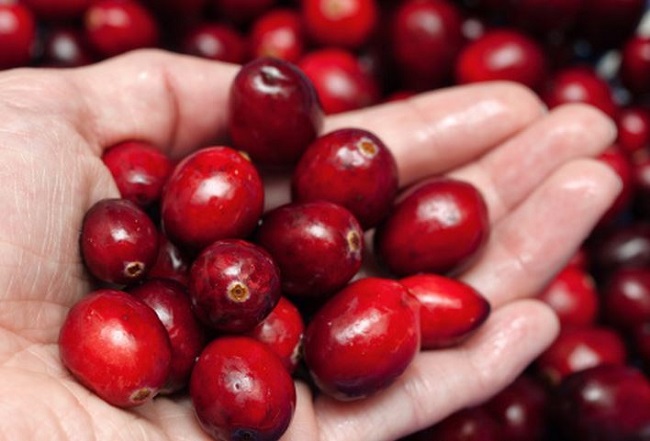
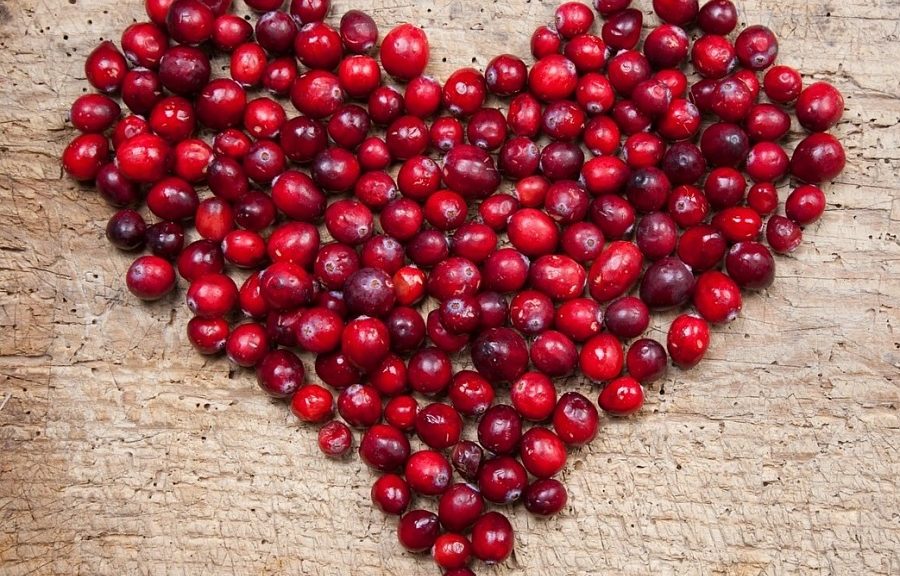
Are you like me? I simply crave seasonal offerings, and right now… it’s ALL things CRANBERRY!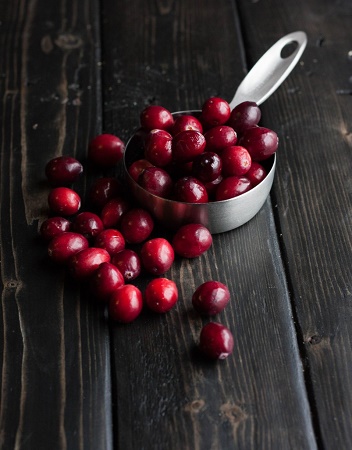
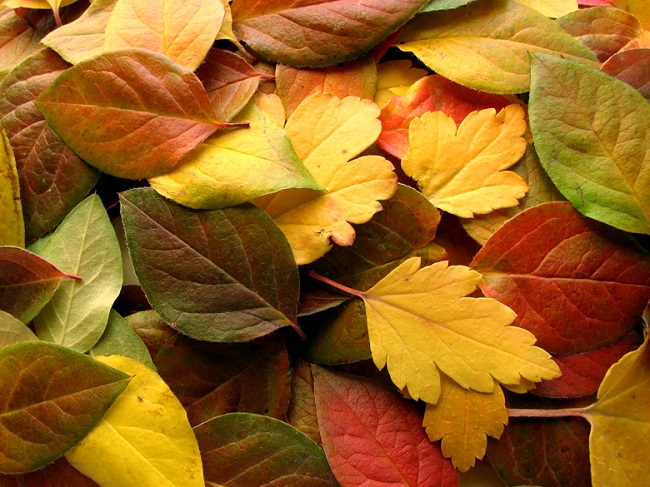
Long-time readers of this blog know I am a strong believer in seasonal fruits and vegetables. Sure, we can get most every fruit and vegetable year round, but it’s “fresh” from the opposite side of the world. certainly not “fresh” from our area – and NOT meeting our unique cyclic nutritional needs of the season.
My visions are not of sugar plums, but of cranberries. Their tartness compliments turkey, chicken, and pork based protein dishes, as well as a green vegetable that’s oven roasted in the second recipe below.
 As we weigh each food choice with the question, “Will this do my body good?” Cranberries are a seasonal choice that sing the reply, “Yes! This will do my body good!”
Remember the mantra frequently heard: “Go for the color!” Rather than lists of “eat this and not that,” just heading for the seasonal colorful fruits and vegetables, will ultimately steer us on a path of exceptional nutrition.
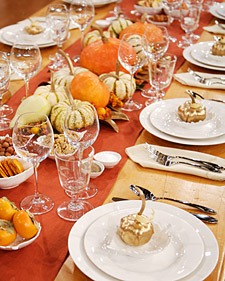
With holiday meals abound, cranberries will add, not only a divine color, but also an abundance of great nutrition and health benefits.
Long touted for ingredients that prevent urinary tract infections, cranberry PILLS are best suited for medicinal levels of such ingredients rather than just cranberry juice.
But the nutritional profile of EDIBLE cranberries WILL deliver powerful levels of:
- Vitamin C
- Fiber
- Vitamin E
- Antioxidants
- Phytonutrients
Consult your health care provider if you take warfarin (blood thinner) or have a history of kidney stones, as cranberries may aggravate your condition or alter the effects of your medication.
So let’s dive into two of my favorite cranberry recipes.
CRANBERRY SAUCE
This is not your normal Ocean Spray cranberry sauce which uses a full cup of sugar. This uses half that and yet maintains sweetness levels through the addition of other healthy fruits.
I actually recommend doubling this recipe – trust me, you’ll want to – in which case, in addition to doubling most ingredients, still use just the one orange but use the rind from half of it.
Ingredients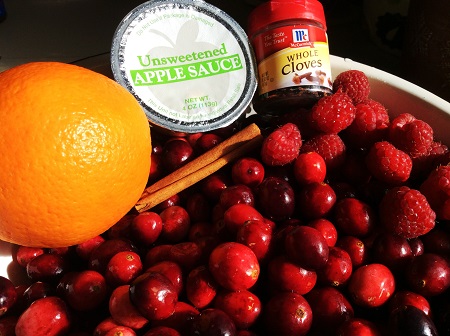
12-ounce bag of fresh cranberries, rinsed and culled of soft berries
½ cup unsweetened applesauce (or one whole cup if not using grated fresh apple)
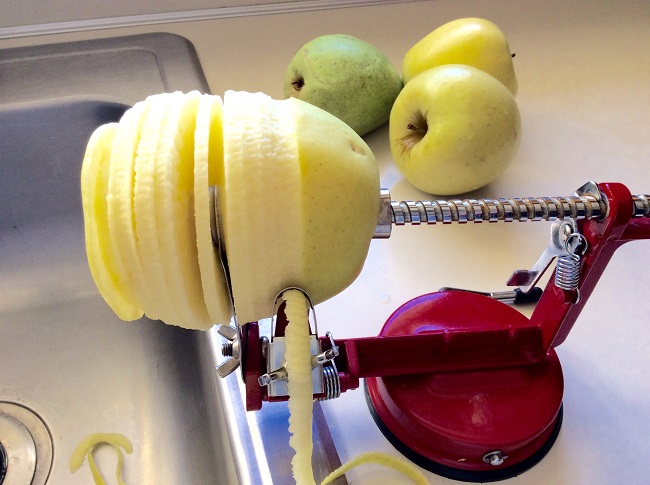
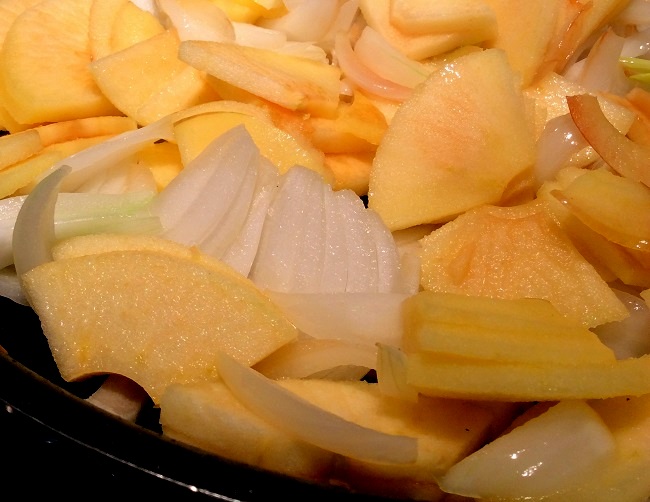
½ apple, peeled, grated
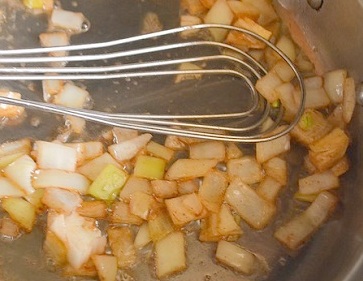
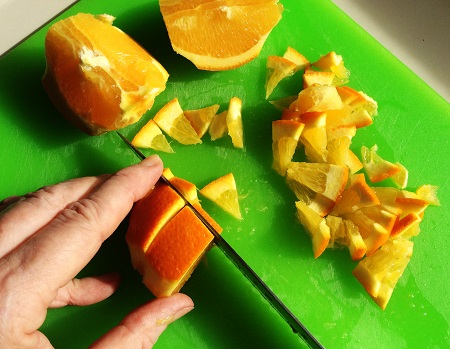 1 orange – cut rind off top and bottom, quarter, and peel three of the sections and slice cross ways; thinly slice the remaining section with the peel remaining (see photo)
Secret ingredient: 1 cup of raspberries or 2-3 Tbs. of Penzey’s Spices Raspberry Enlightenment
½ cup sugar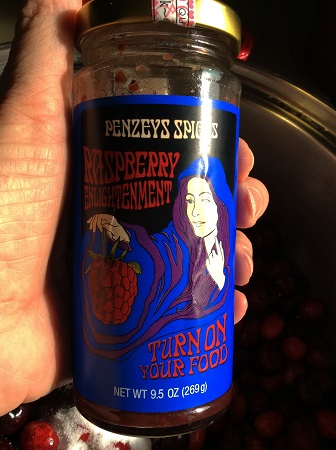
½ cup water
Whole cloves – about 10 buds removed from cloves
1 cinnamon stick
Dash of nutmeg
Method
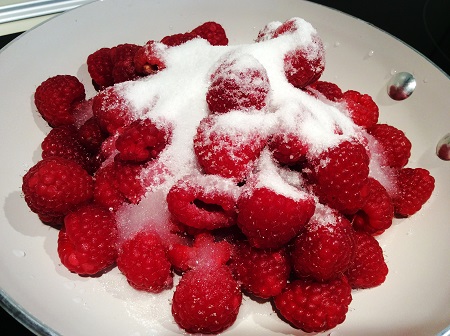
I actually precooked my raspberries using half of the sugar and then 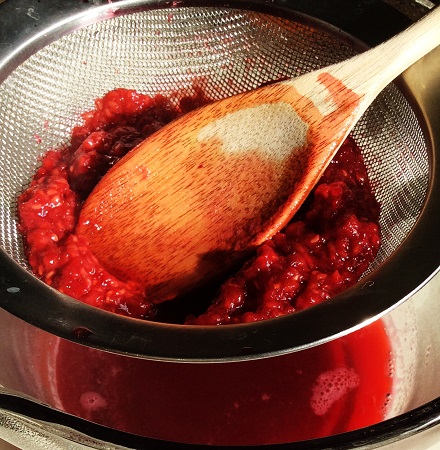 pressed them through a sieve to yield a perfect seedless raspberry essence! Ummm!
Using a large sauce or soup pot, add all ingredients and cook over medium heat. As the berries heat up, they will pop. Stir occasionally. As things heat up, you can lower the temperature a bit and “smush” the berries against the pan to assist in “popping.” Continue to cook until ingredients meld into a thick sauce.
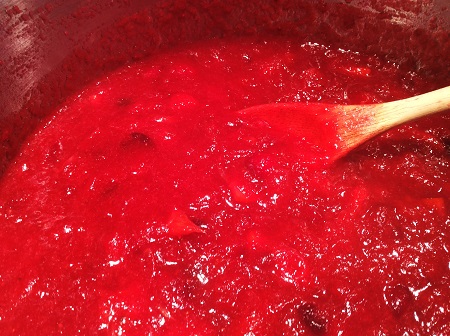 Transfer into a serving or storage dish, remove cinnamon stick, and cool. The resulting sauce more closely resembles a jam.
In addition to being offered as a colorful relish to accompany turkey, chicken, or pork, this sauce/jam can be spread on top of nut butters (almond is my favorite) as a twist on PB and J.
_________________________
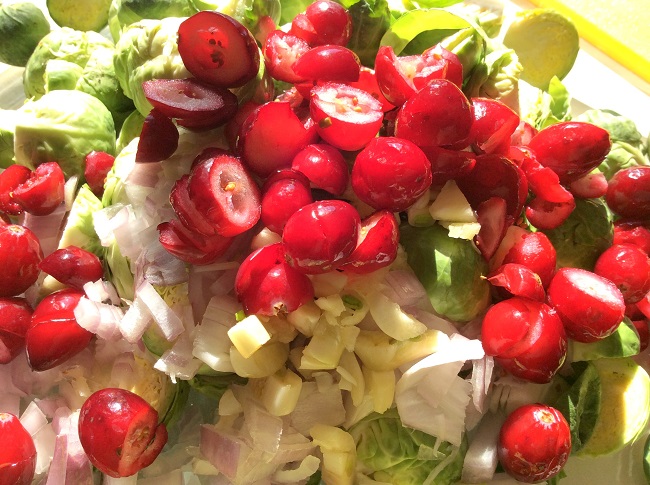
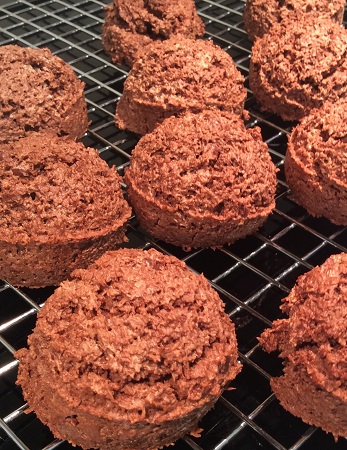
Next, I pair cranberries with Brussels sprouts. If you are one of those who is not “in love” with this awesome mini cabbage unless it’s hidden in a vat of melted Velveeta (a nonfood for sure), try this!
If there ever was a vegetable “candy” this recipe is it, and it “will do my body good!”
Take a quick check on the benefits of Brussels sprouts and you will be inundated by page after page of information about phytonutrients, anti-inflammatory factors, antioxidant support, detox support, anti-cancer factors, heart health, digestive health – you name it.
Definitely worth a second look to those who have been leery of these little jewels.
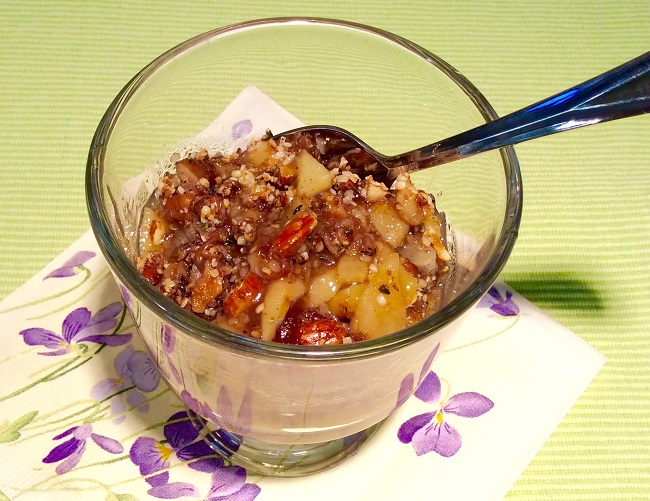
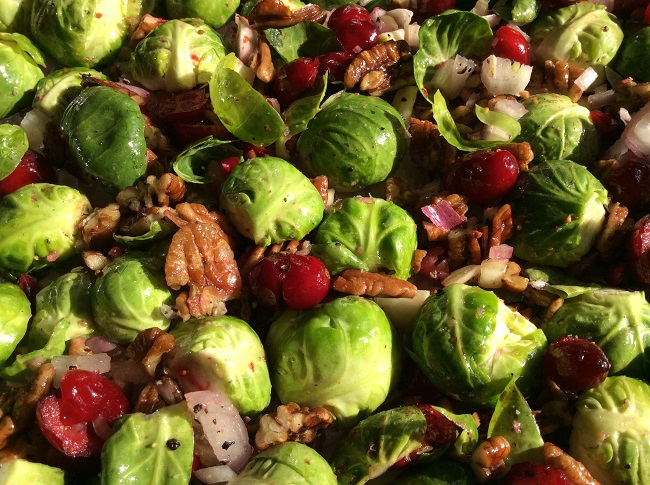
ROASTED BRUSSELS SPROUTS WITH CRANBERRIES AND PECANS
INGREDIENTS
1 lb. fresh Brussels sprouts, trimmed and cut in half lengthwise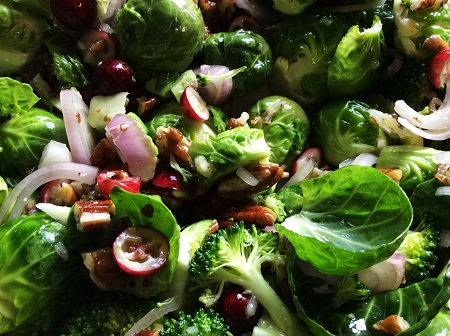
Optional: 1-2 cups broccoli florets
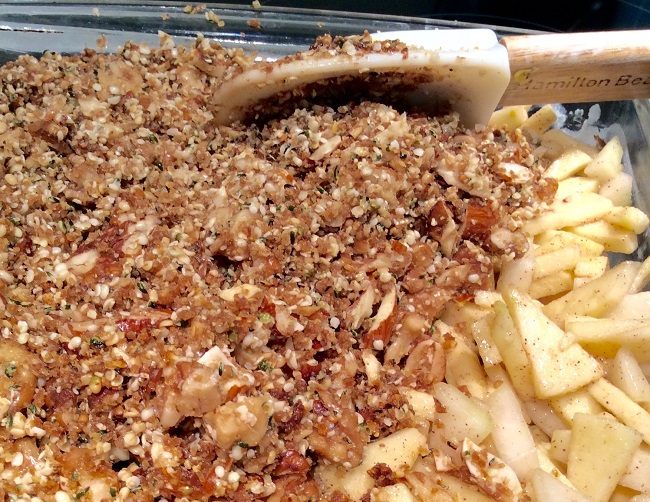
1 cup pecans, roughly chopped (see the recipe chapter of my book Toolkit for Wellness to learn how to make all nuts more digestible and better for you)
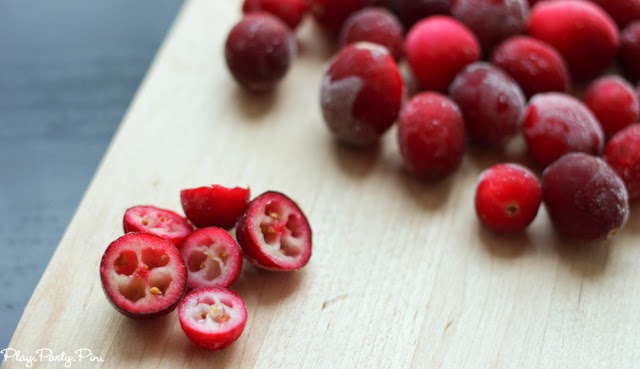
½ – 1 cup fresh or frozen cranberries, coarsely chopped or cut in half
4 Tbs. olive oil (use more if also adding broccoli florets to the recipe)
1-2 shallots, thinly sliced
3-5 cloves of garlic, minced or put through a garlic press
1 tsp. salt
½ tsp. pepper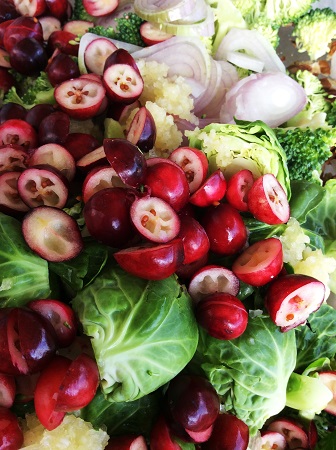
METHOD
Preheat oven to 375 degrees.
Using a large baking pan or baking sheet, toss all ingredients until mixed, evenly distributed, and are covered with oil. Turn the Brussels sprouts cut side down. Roast for 25 minutes or until edges of sprouts start to turn golden and crispy. Serve.
Wishing all of my readers the happiest of holidays, the merriest of Christmases, and the happiest and healthiest of New Years!
We can celebrate and STILL have food that will, “Do my body good!”
 ‘Til next year-
Deidre