Things happen in the kitchen around here. New recipes are born, some tweaked, some are made once and forgotten, some are made over and over, and some are shared.
Let’s start with the spankin’ new baby of a recipe I made this morning for the second time – just to make sure it wasn’t an accident – and I even remembered to take a few pictures this time.
As two well-ripened bananas stared at me begging to be used, I was trying to recall a recipe that used bananas to make pancakes.
Couldn’t remember it.
Meh. Never stopped me before.
Pancakes don’t hold me long enough to eat just on their own. Nope – I need protein.
How about getting all the needed protein, fiber, and potassium in the pancakes themselves?
Done and done! Check this out:
Almost Flourless Banana Nut PANCAKES
2 very ripe bananas – peeled, and smashed with a fork in a separate dish
3 large/extra-large eggs – whip eggs in medium bowl using a wire whip.

Then add the eggs:
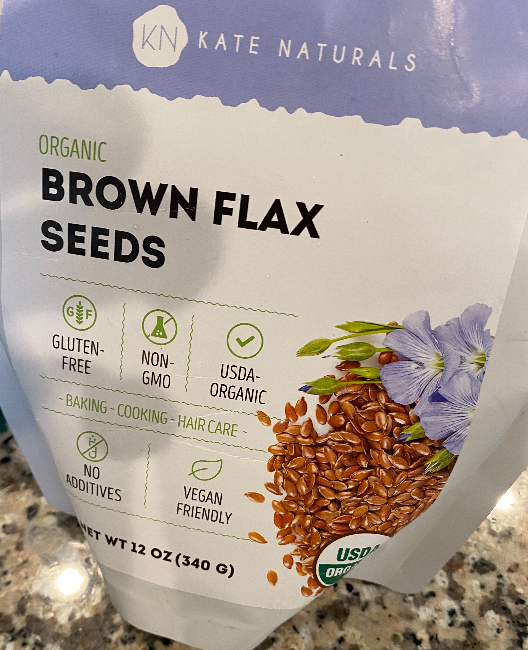
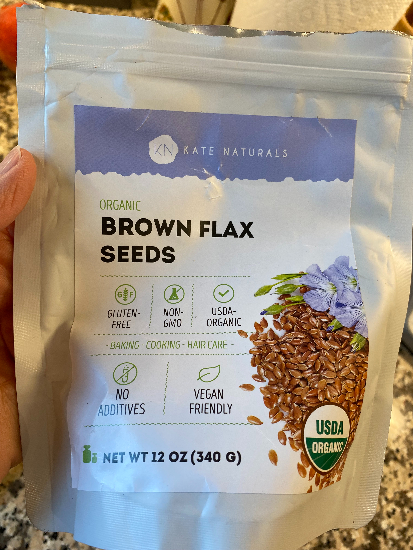
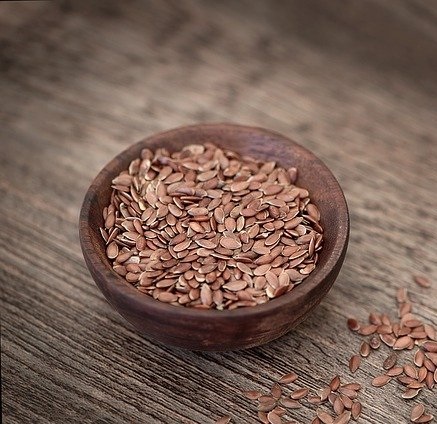
3 Tbs. whole flax seeds, freshly ground
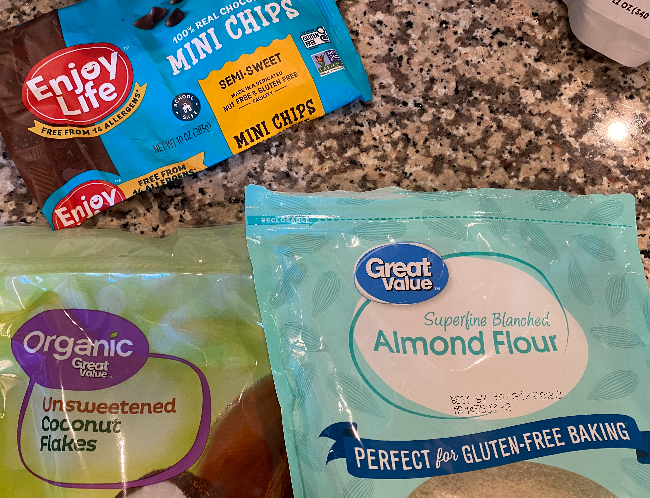
¼ cup almond flour
¼ cup 1-to-1 gluten free baking flour
Salt to taste
Cinnamon to taste
½ tsp. vanilla extract
¼ tsp. baking powder
¼ tsp. baking soda
½ cup coarsely chopped nuts – pecans or walnuts work great
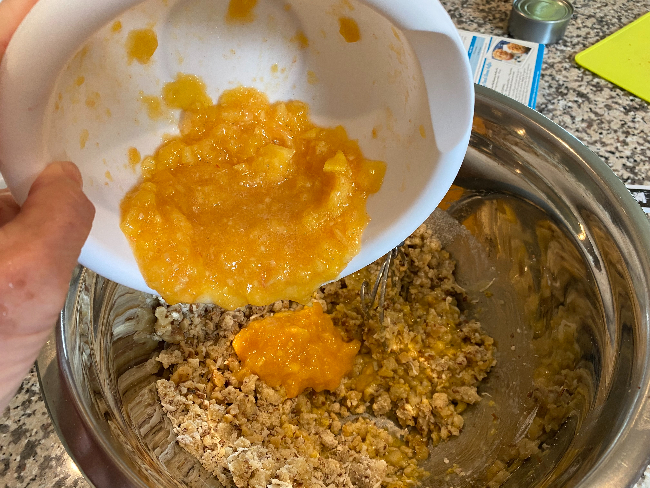
Stir together and then add the mashed bananas.
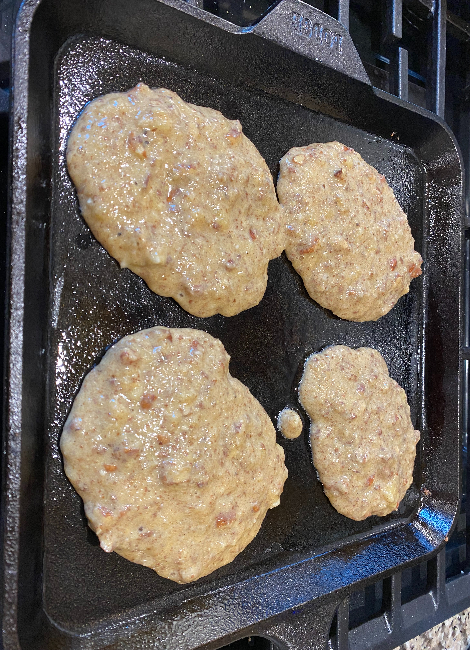
Ladle the pancake mixture on a griddle that has been coated with oil over medium heat and cook the pancakes.
The sweetness in the bananas can cause rapid browning, so watch the timing and level of heat.
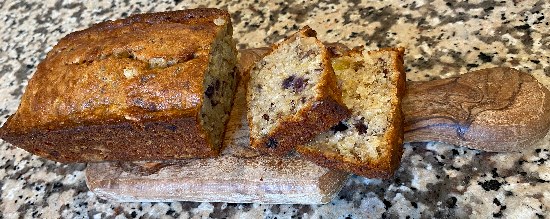
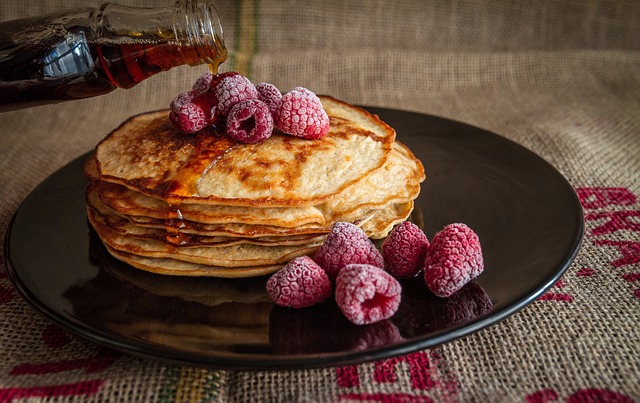
We found these to be pretty yummy, naturally sweet, and not needing vast amounts of maple syrup to make them moist.
This recipe was enough for two people with a couple of pancakes to spare.

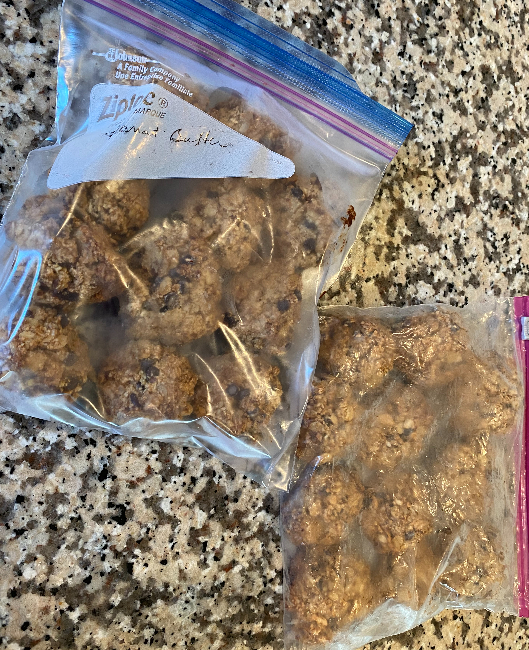
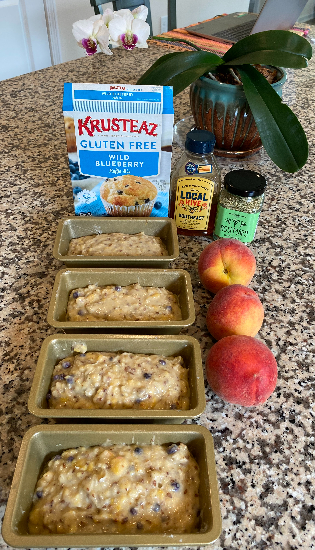
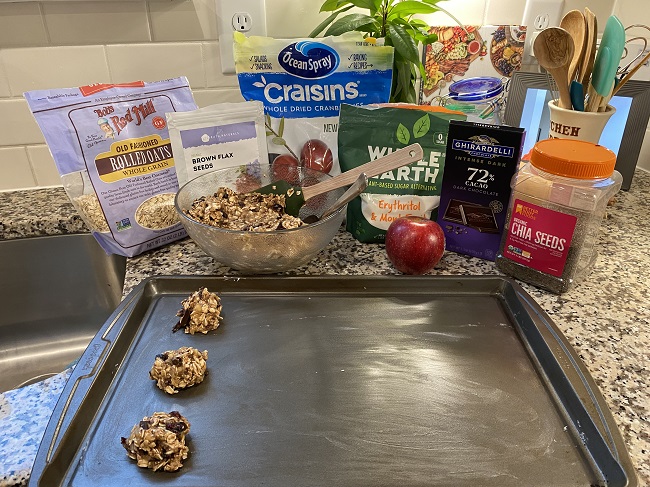
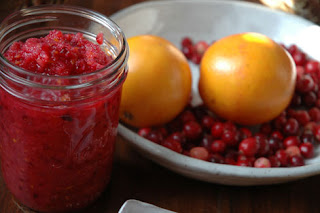
Anytime I can cook in advance, I’ll do it – especially as holiday events unfold – so today, in early November, I am prepping ingredients for my very popular Cranberry Sauce. Once made, this will be divided into smaller portions and frozen.
I’ve shared this gem before with you, but thought it merited being seen again. People who avoid cranberry sauce often rave about this one and ask for the recipe – so, let’s get to it:
CRANBERRY SAUCE
This is not your normal Ocean Spray Cranberry Sauce which uses a full cup of sugar for each bag of cranberries. We use half that, and yet maintain sweetness levels through the addition of other healthy fruits.
Ingredients
2 – 12-ounce bags of fresh cranberries, rinsed and culled of soft berries
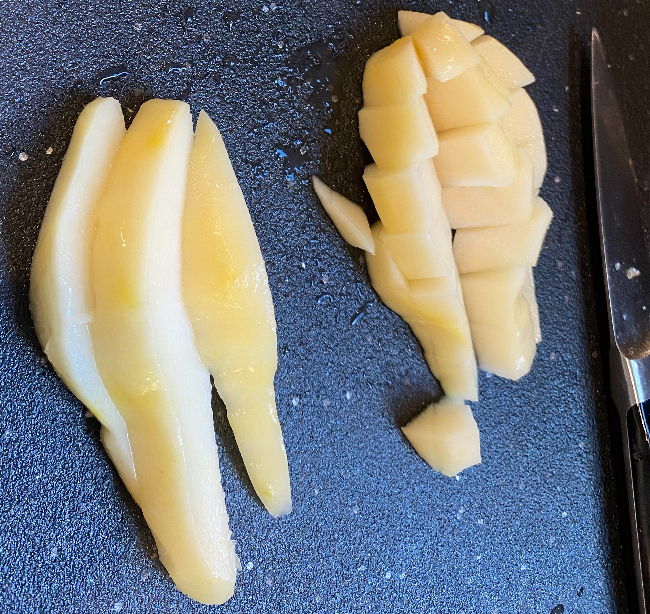
1 pear, cored, peeled, and diced
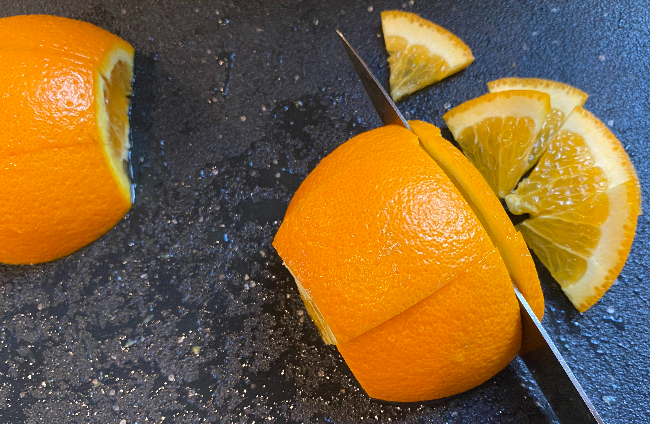
1 orange – cut rind off top and bottom, quarter, and thinly slice
Secret Ingredient: RASPBERRY ESSENCE – method to follow
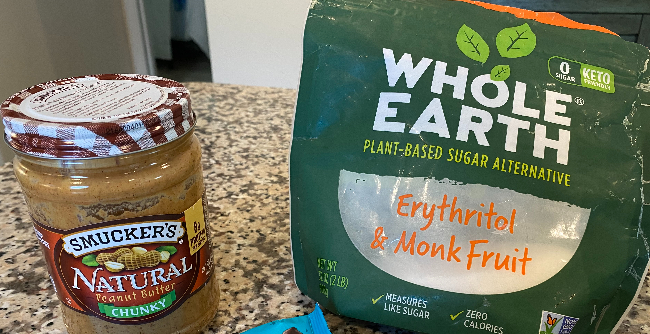
¾ – 1 cup sugar – can be a combination of sugar and erythritol/monk fruit sugar equivalent
¾ – 1 cup water
Whole cloves – about 15 buds removed from cloves
1 – 2 cinnamon sticks
Dash of nutmeg
Raspberry Essence Method
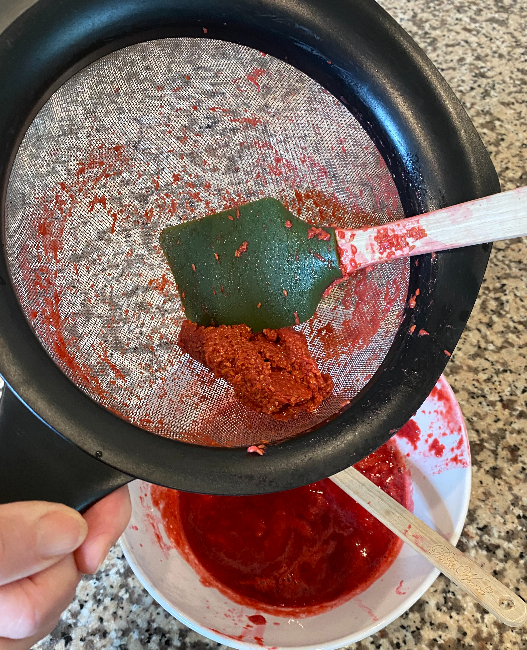
Essence: In a small saucepan, gently cook 1 cup fresh raspberries with about 1 Tablespoon sugar and 1 -2 Tablespoons of water. Pour cooked berries into a strainer above the large pot being used for the cranberries. Using a silicone spatula, press raspberry pulp through the strainer. This takes a while. Press, scrape, press, scrape. The raspberry pulp will accumulate on the outside of the strainer – scrape off this essence into the big pot. Note: use a different silicone scraper to scrape the essence so seeds do not transfer.
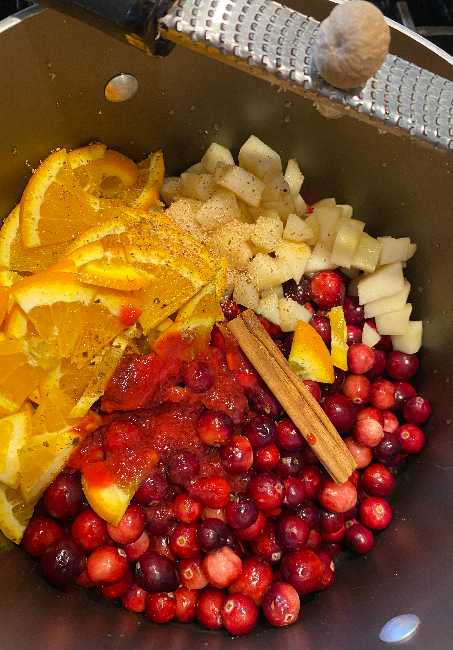
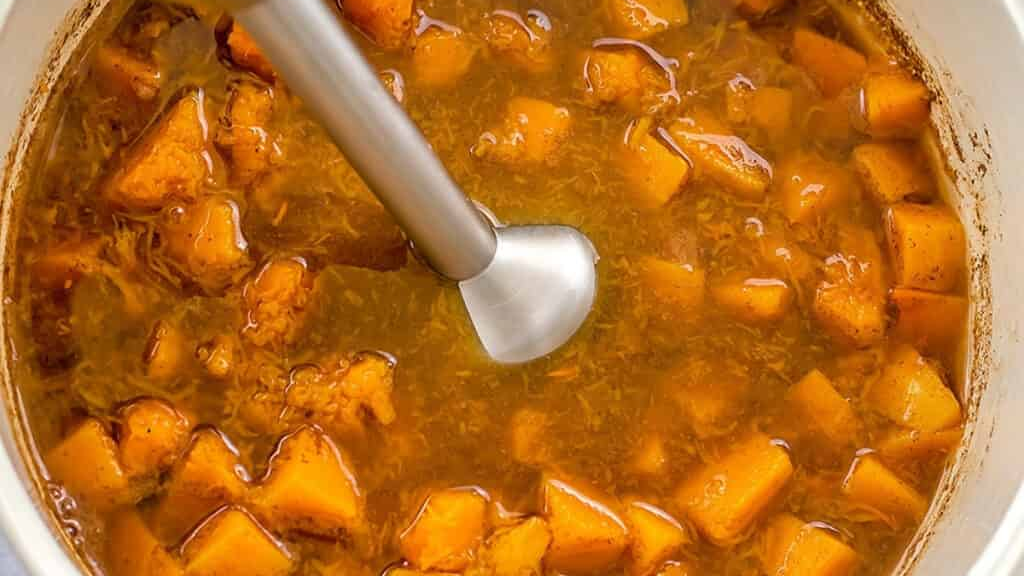
Add all remaining ingredients into the large pot and cook over medium heat. The berries will pop as they cook. Stir occasionally. When heated and bubbly, you can lower the temperature a bit and “smush” the berries against the pan to assist in popping. Continue to cook until ingredients meld into a thick sauce. Adjust for sweetness, if desired.
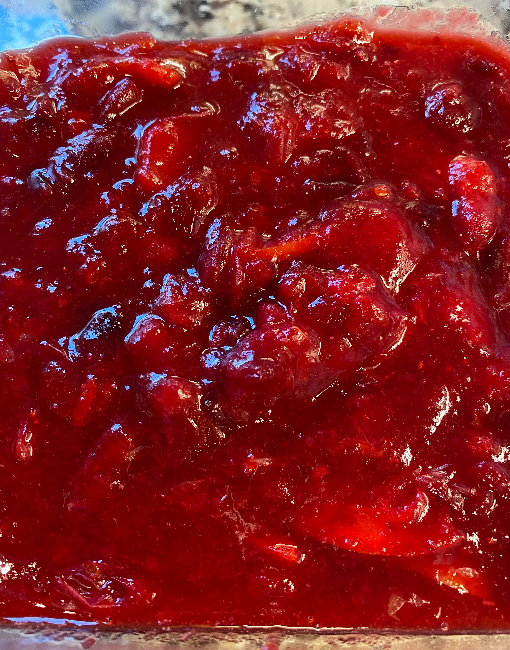
Transfer into a serving or storage dish, remove cinnamon stick, and cool. The resulting sauce more closely resembles a jam.
In addition to being offered as a colorful relish to accompany turkey, chicken, or pork, this sauce/jam can be spread on top of nut butters (almond is my favorite) as a twist on PB and J.
We are making both recipes downloadable so you can keep them handy.
Click Here for: ALMOST FLOURLESS BANANA NUT PANCAKES
Click Here for: CRANBERRY SAUCE
Eating healthy and staying in health through the holidays –
Deidre
If you think someone you know would enjoy this post, please share using the options under the MORE button below.