

We had our first big snow of the year the other day. Yup. A whopping 3.5 inches of the white stuff in my new central North Carolina home. Back nearer the coast, my former hometown dealt with ice and a bit of snow – sorry, guys.
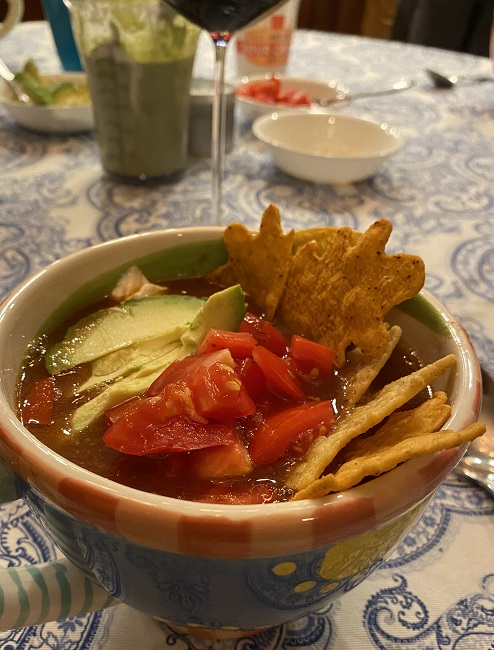
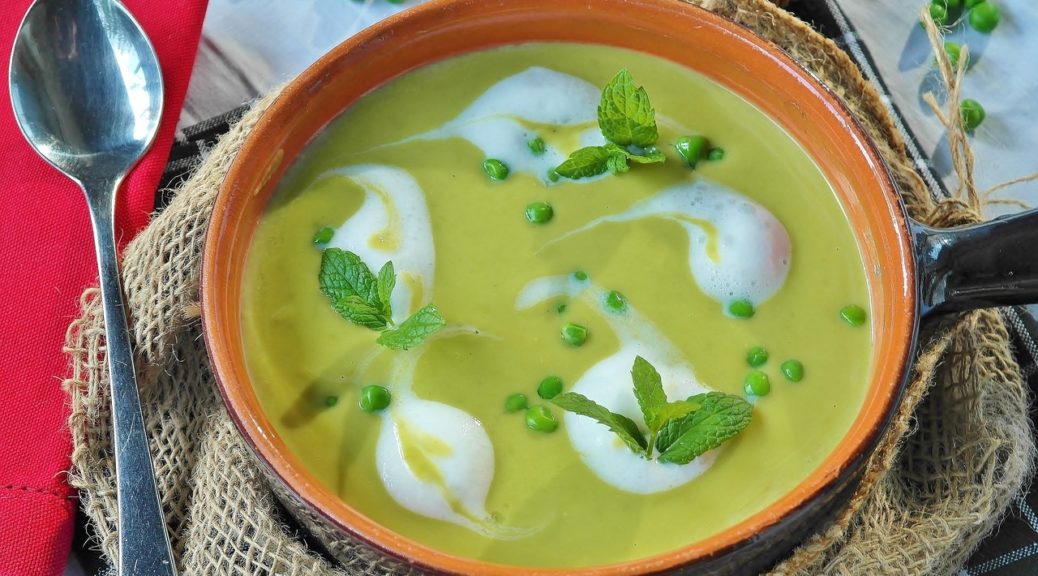
We are all looking for big bowls of soup or soupy stews to warm our insides here in the Northern Hemisphere. Our down-under friends can file these ideas away for comforting food in a few months.
Over these last few weeks, there have been several soups – including:
Potato Leek Soup – with chunks of leftover ham added after blending, mmm …
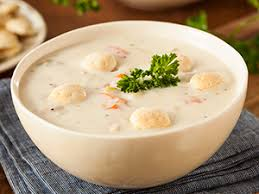
Clam Chowder
Spicy lasagna soup with gluten-free lasagna noodles as a substitution
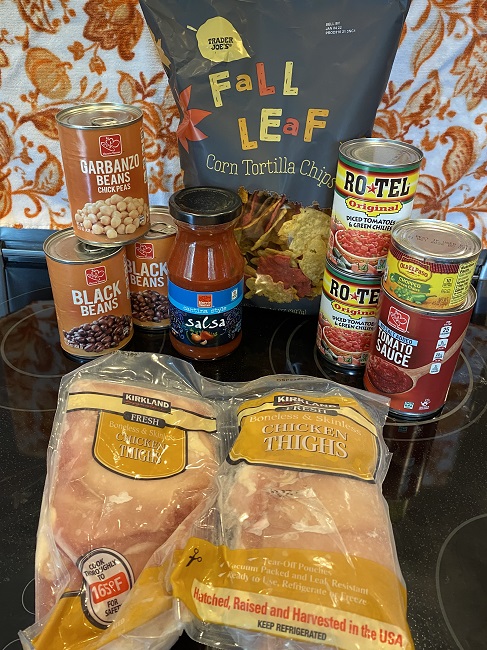
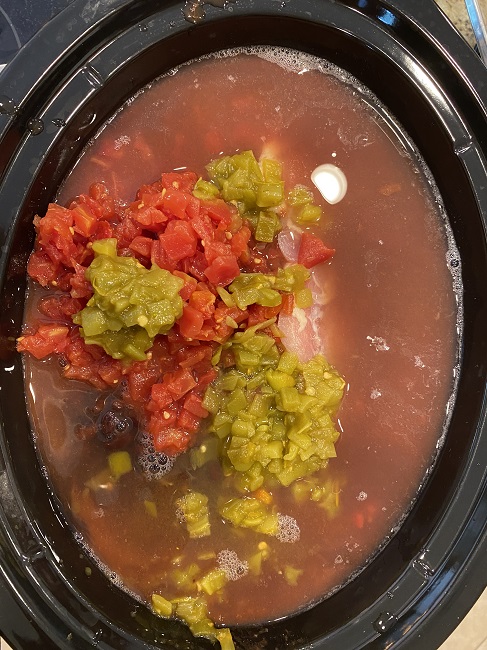
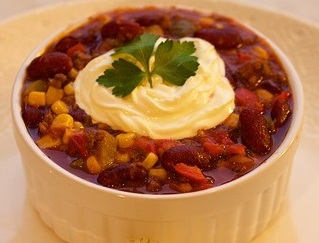
Chili
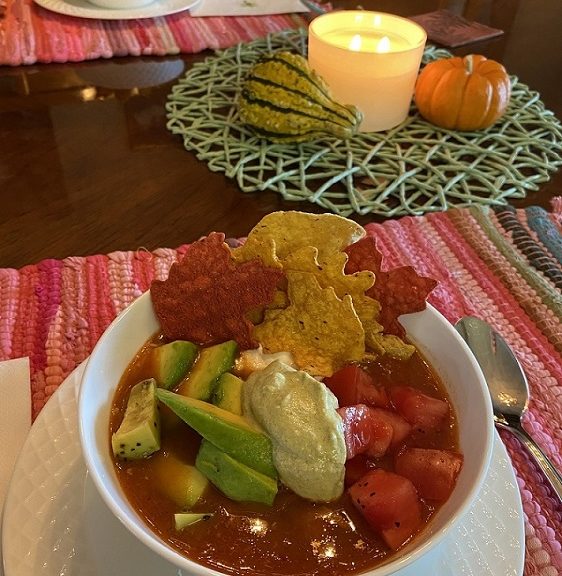
Plus, a couple of stew-like chicken and vegetable concoctions served over rice using these:
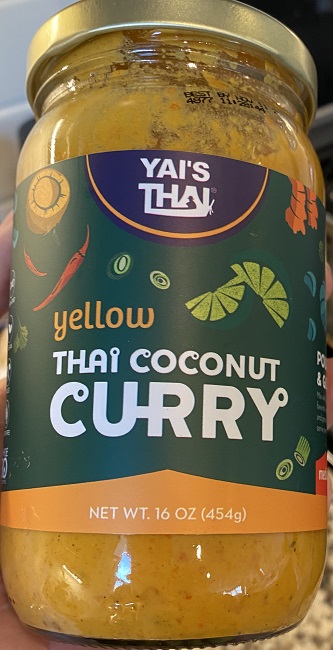
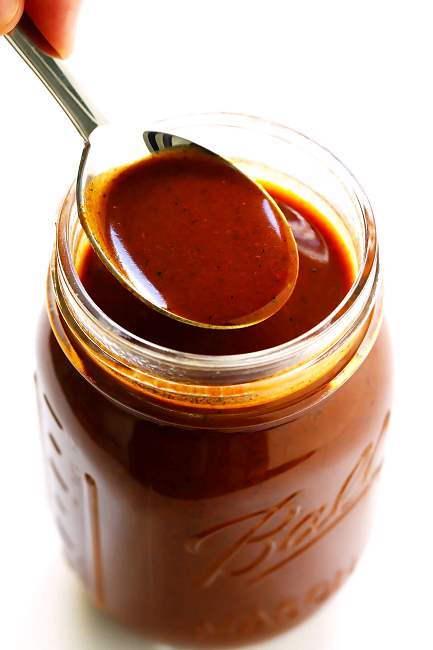
Yai’s Thai brand yellow Thai coconut Curry, and
Mina brand Shakshuka Moroccan Tomato Sauce
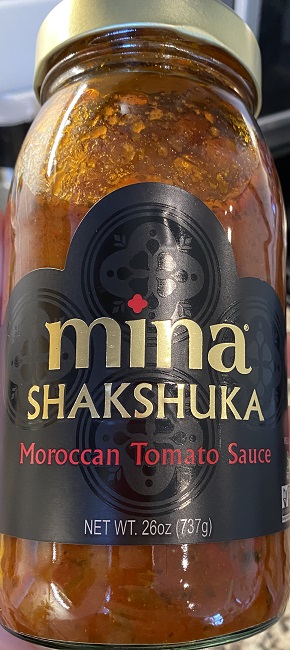
These two jarred sauces added just enough punch in their respective stews to make our tastebuds sing. And, in keeping with eating real foods, the ingredient lists are short with only real foods listed. No chemicals or preservatives. Yay.
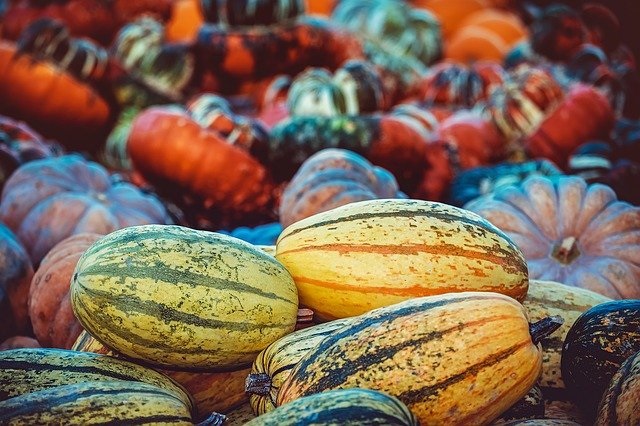
The chicken-based stews both featured cubes of butternut squash and potatoes. The added potassium in these two have quelled my nighttime foot cramps. Review the post about potassium HERE.
Vegetable components varied using what was on hand for the Shakshuka sauce to bags of frozen Asian stir fry veggies for the curry.
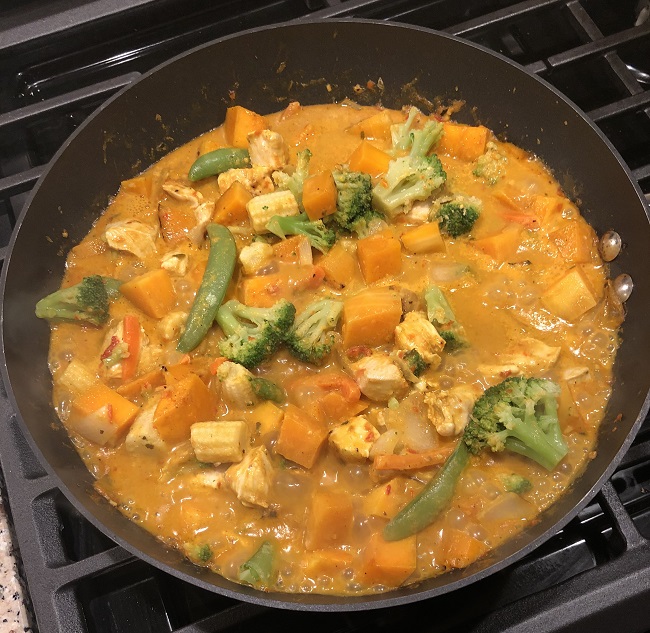
All I had to do was throw the chicken into the crockpot or into a large pan with lid – I prefer boneless and skinless thighs – with the sauce, potato and butternut squash chunks, and onion, and forget about it. When the chicken was tender, extra veggies were added to finish.
Easy-peasy.
I must give a shout-out to Half-Baked Harvest for the yummy Spicy Lasagna Soup. That one is a keeper! Tieghan Gerard has some wonderful recipes on her site. I just eschew most of the dessert and bready items – foods that cause spikes in blood sugar are truly evil – more on that as we revisit Metabolical in a coming post.
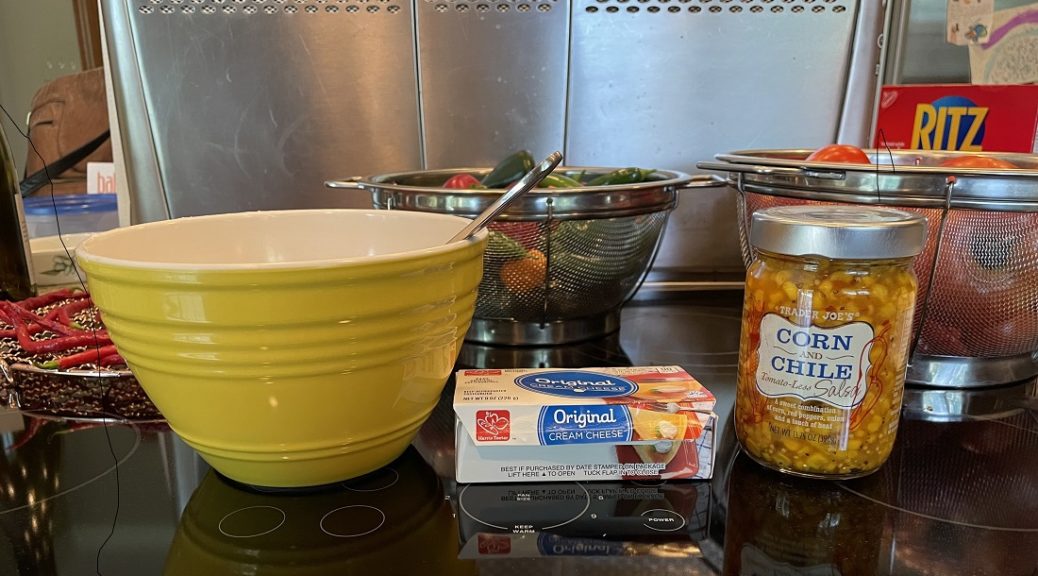
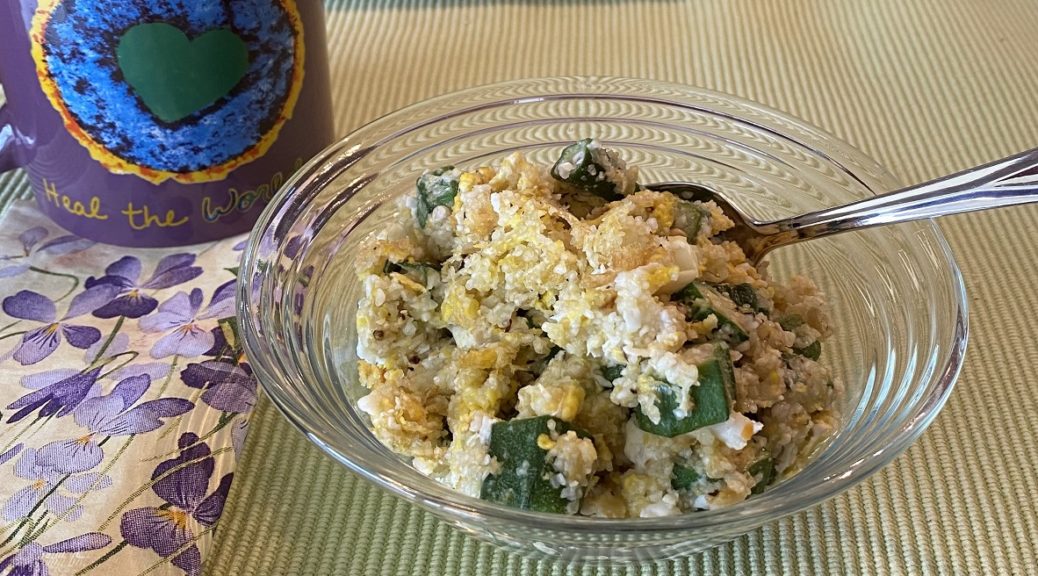
Lastly, as I was stationed in the kitchen chopping veggies for these soups and stews, I answered the call of my rumbling tummy with an old childhood favorite.
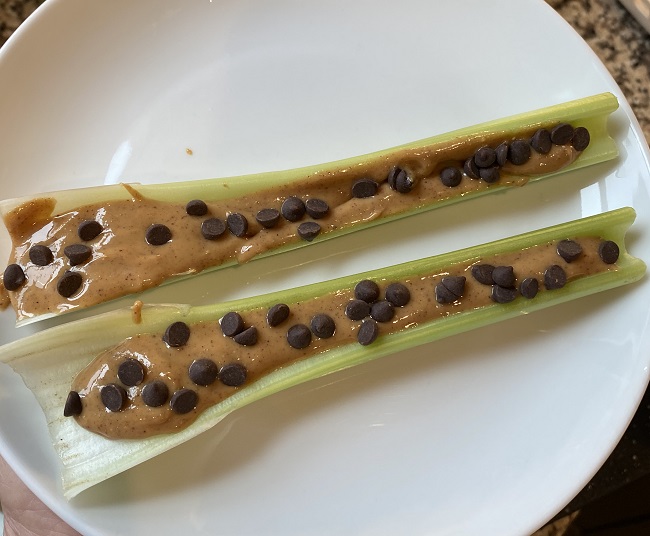
Do you remember stuffed celery? The kind with peanut butter? Maybe you called it Men in a Boat if raisins were added?
Check out my Reece’s version of Men in a Boat using mini semi-sweet chocolate chips – delish!
In health – fall, winter, spring, and summer – one decision, one bite at a time –
Deidre
We’re all about sharing good information and links at foodtalk4you – if you found this post helpful, please share using the options below one the MORE button. Thanks.