

We have always liked hummus. We buy it frequently, and I have made it on several occasions. But, during our Tucson adventure recently, we ate A LOT of it!
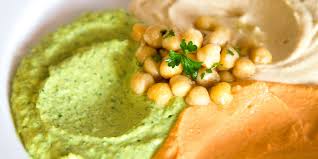
A restaurant soon became our favorite in Tucson because of its hummus. The Pita Jungle offers an appetizer plate with three kinds of the delicious spread, along with enough pita bread to dip into – until your heart’s content.
And we did!

Especially our two-and-a-half year old grandson. We couldn’t figure out which of the three flavors was our favorite – tried as we might.
So, upon returning home, we longed for some delicious hummus – homemade, please! Why? Because, there is a difference!

Good hummus is, generally, thick and smooth; and gives you the impression of heaven – floating on a pillow-soft, airy-like fluffy cloud! Ahhhh!
After perusing old messenger entries – I use messenger like a filing cabinet for things I want to remember. Do you do that? I found a video of some fellow who seemed to know his way around a chickpea, so I followed his lead.
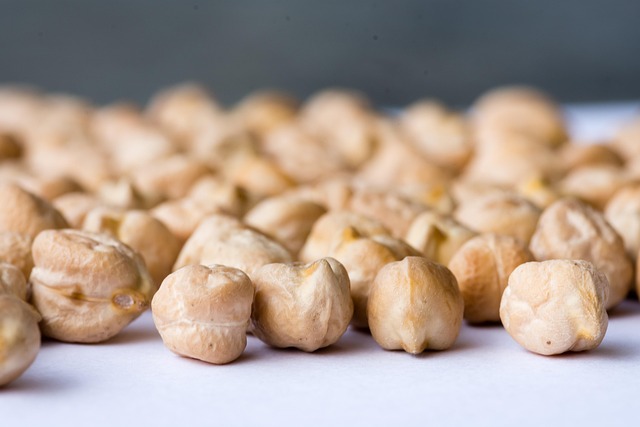
While the ultimate recipe for hummus may start with dried chickpeas/garbanzo beans, I used the tried-and-true canned variety, using two cans – equal to 3 cups – of chickpeas.
Before throwing those chickpeas into the food processor, however, there’s a secret first step!
After draining and rinsing the canned chickpeas, put them into a saucepan, cover with water, and add 2 teaspoons of baking soda. Bring it up to boil and lower it to a simmer for 5 minutes. The hull of each chickpea will be released.

When the time is up and the hulls are starting to release, remove the pan from the stove, pour off the water and the hulls, adding cold water to stop the cooking and aid in eliminating the hulls.
In practice, the hulls were released but did not easily pour off. I ended up skimming and manually removing most of the hulls as I placed the hull-less chickpeas into the food processor. I look forward to improving my pouring-off technique. If most of the hulls are removed, that will be fine.
To the food processor with the chickpeas, add the juice of one lemon, ½ teaspoon of Kosher salt, and 2 cloves of garlic.
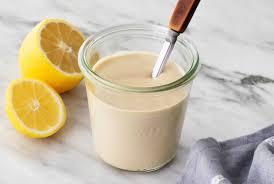
Process this mixture for 7-8 minutes. The mixture will get warm so don’t be alarmed.
Add 1/3 cup of tahini to the mixture, about 2 tablespoons of extra virgin olive oil, and process for 3 more minutes. The tahini is added late because its proteins would otherwise cause a coagulation of the hummus, which cannot be reversed.

Taste test for any desired seasoning adjustments. We felt it needed more salt and garlic, but I couldn’t add more raw garlic at this point, so we settled on a couple additions of garlic salt with a tasting in between additions to guide us. A few pulses from the food processor did the trick.
Transfer this very warm cloud of hummus to a bowl and place it in the refrigerator for three hours to cool.
Please feel free to download the recipe below!
At home, we used tortilla chips to scoop up this delightful dish. It can be stored for a week in the fridge.
We served it at a party we held; and are now enjoying lunches consisting of a few chips and our hummus and some leftover homemade guacamole – you couldn’t ask for a healthier snack.
I hope you will try making your own cloud of hummus soon!
In health – (and hummus!)
Deidre

November is National Family Caregiver month! Show your love and concern for caregivers you know by sharing my caregiver series with them:
Toolkit for Caregiver Emotions
Thanks!