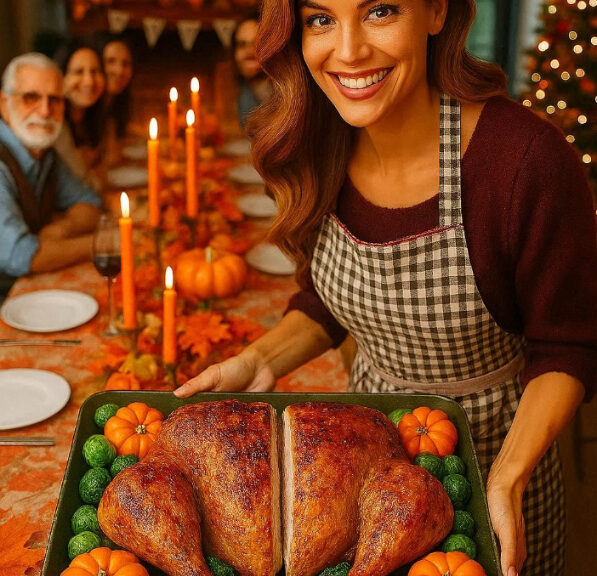
The results are in!
What could go wrong?
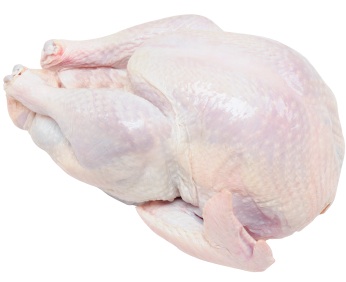
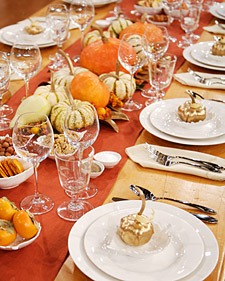
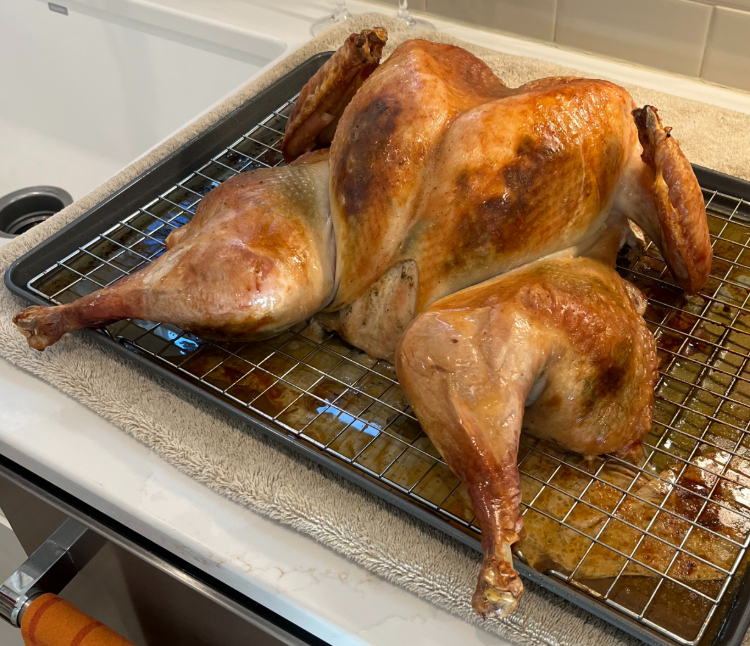
We enjoyed the largest turkey I’ve ever bought.
Harboring serious doubts about having a pan and rack large enough to accommodate the bird all splayed out; but comforted by the adequate instructions I shared last week – bolstered by the insider tips my daughter gave over the phone.
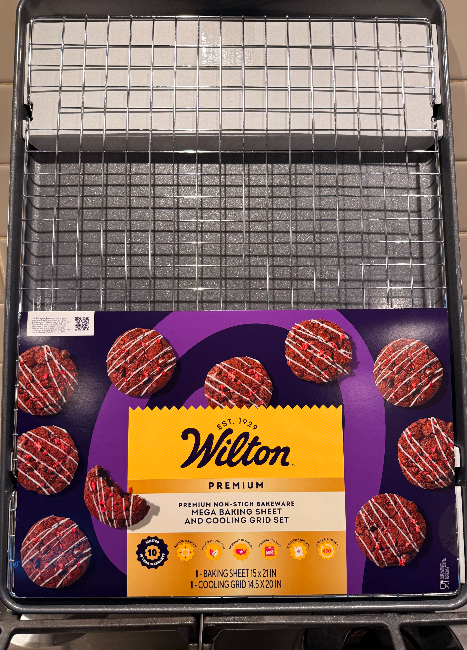
After securing the great find of a Wilton Mega Baking Sheet and Cooling Grid at Walmart, I felt pretty confident going into the spatchcocking arena.
Plus, I had a partner in crime to share duties.
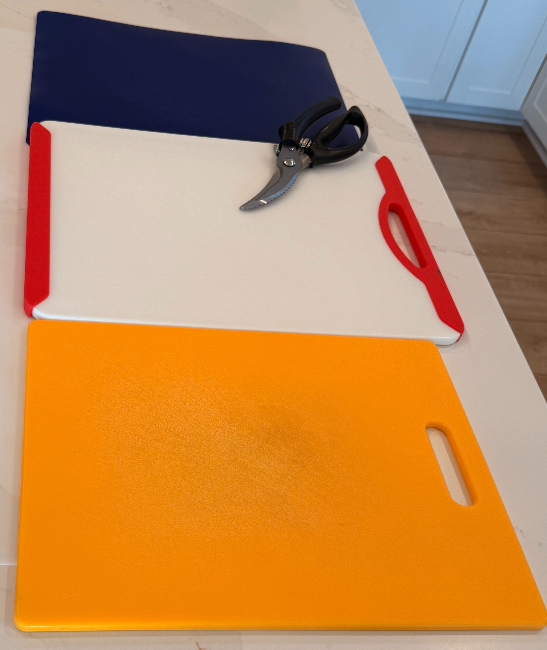
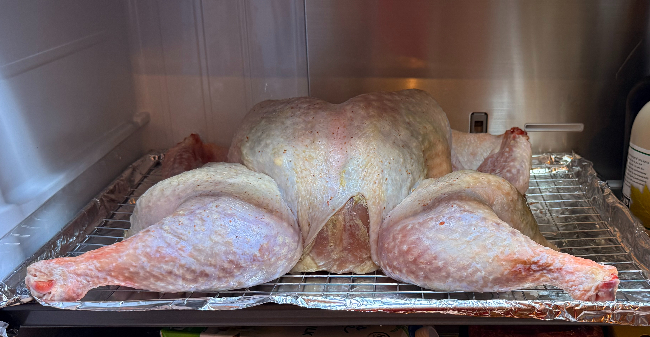
The day before Thanksgiving, I removed the mostly thawed bird from the fridge, freed it from the package, and placed it on the cutting boards set up on the counter. In retrospect, I should have covered the countertop with an opened up garbage bag, and used just one large cutting board on top.
Things will get juicy. Have paper towels close at hand.
After removing the apparatus, keeping the drumsticks together and setting the neck and giblets aside for gravy duty, we were ready!
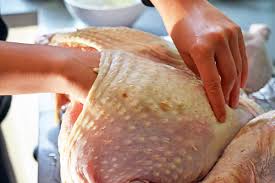
The newly purchased poultry shears worked flawlessly. This process does take some strength – especially when navigating around the bird’s hip juncture. Thanks to my daughter’s tip, we manipulated the leg every which-a-way and avoided plowing through the bones themselves.
I often used a two handed grip on the shears to avoid hand strain.
My sweetheart and I took turns and we assisted each other when doing the cut around the turkey’s hip. Once the spine was removed, we repositioned the turkey with the inside surface facing the cutting board.
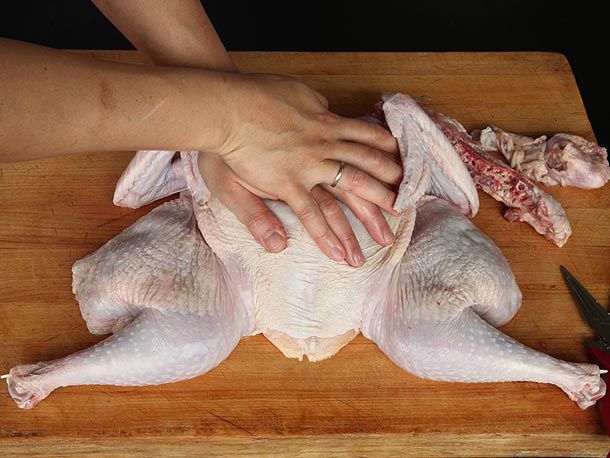
Some describe flattening the breast like CPR. I followed my daughter’s excellent tip of getting up on a step stool to put myself above the bird while doing ‘compressions.’
But, unlike CPR, the goal IS to hear and feel the crunch as the breast cage gives way and flattens out.
Still with me?

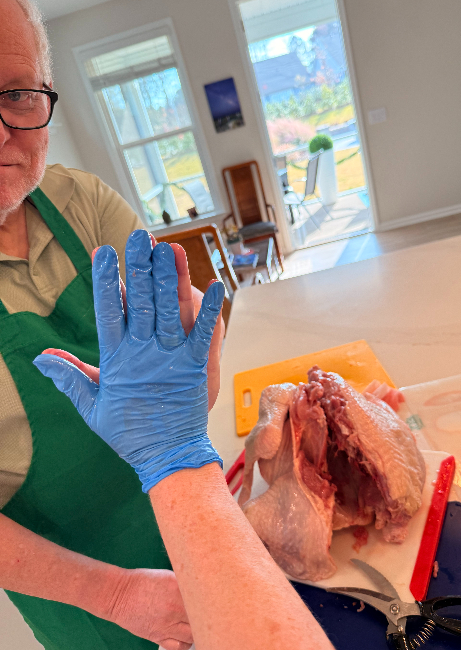
Somewhere in here, we were either ready to never eat turkey again or to become vegan!
But there was a high-five moment as we celebrated our accomplishments, and we were very grateful for this turkey feeding us and our friends the next night – and providing us with meat for countless meals in the future.
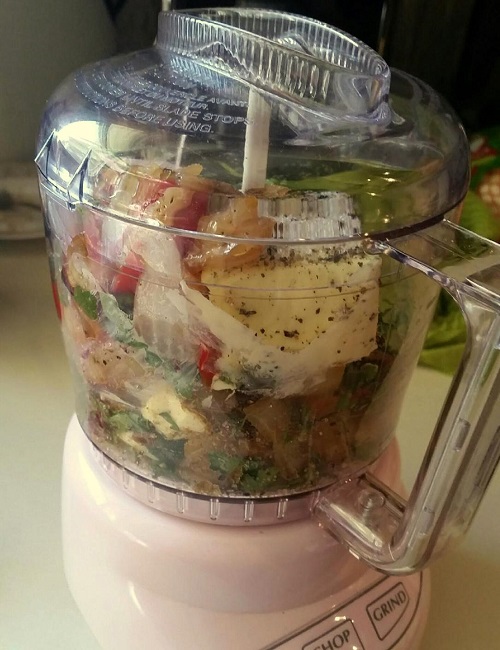
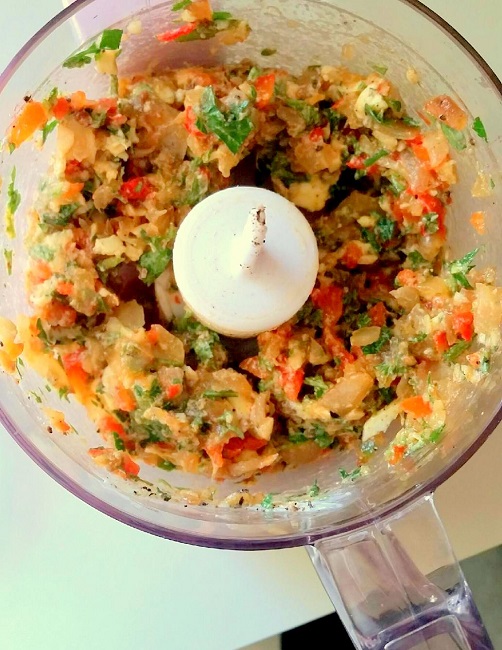
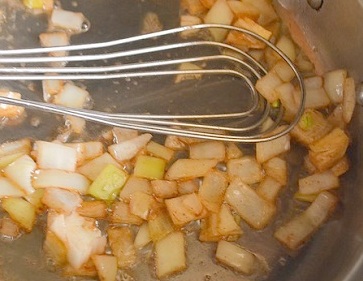
After salting both sides, and separating the skin over the breast, thighs, and any where we could reach to deposit the savory butter compound (unsalted butter, garlic, herbs combined by the food processor), it was time to let the salt do its job overnight as the uncovered turkey in its huge pan somehow found a way into our refrigerator to rest.
Whew!
The baking process was just as I shared with you last week in the link to Crispy Edges. Pull the turnkey from the fridge two hours before oven time to bring the meat closer to room temperature.
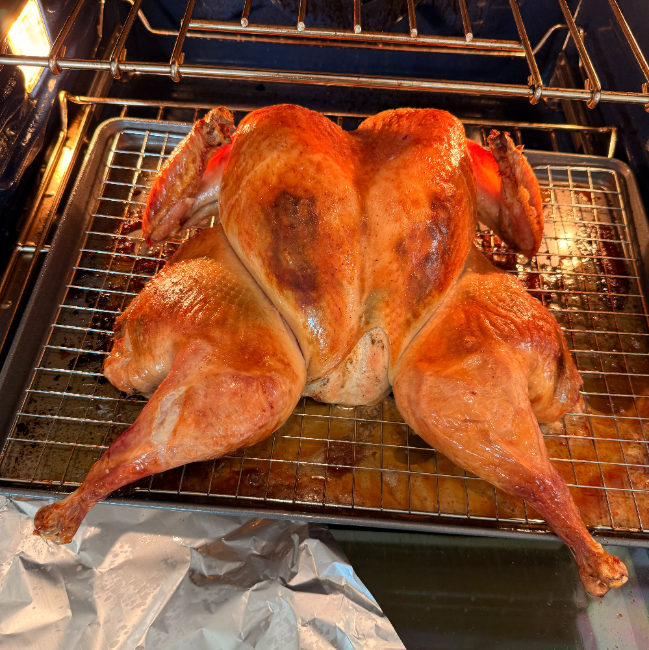
When it’s time to roast the turkey, preheat the oven to 425F. Roast the spatchcocked turkey for 45-60 minutes. When the breast hits 150-155F, pull it and let it rest for at least 30-60 minutes.
Resting results in juicy meat! I covered mine with foil to retain heat; but after resting, the turkey can return to the oven set at 400F for 10-12 minutes to bring back up to temp.

Then, be prepared for the juiciest breast meat ever as you slice it to serve.
Thank you, Mr. Turkey! We honored your life by making your meat the best we have ever eaten!
In health –
Deidre