
Do you realize we are well into the holiday season?
The weekend before Halloween, I couldn’t find a parking place at the local grocery store! The scene before me resembled the mad crush we see just prior to Thanksgiving that continues all the way through New Year’s.

Party season is already in full swing!
Whether we are geared toward gathering to cheer for our favorite team, celebrating an event or holiday, we do love a good party.
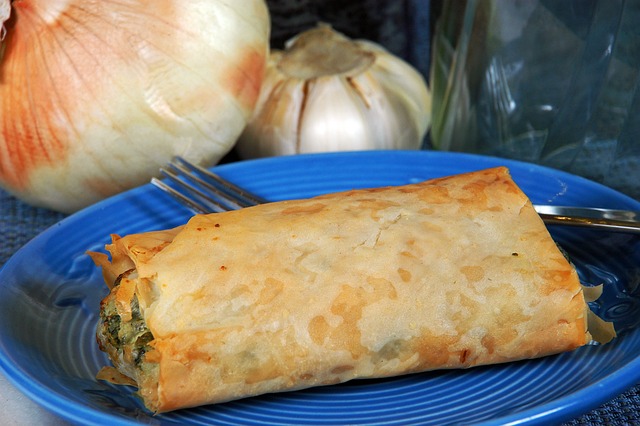
And that means having a few recipes up our sleeves to whip up in short notice that will please a crowd. Sure, it’s handy to have some packaged frozen delights we can throw into an oven with practically no effort – mini quiche and spanakopita are some of our favorites – but sometimes I just want to share something I have made.
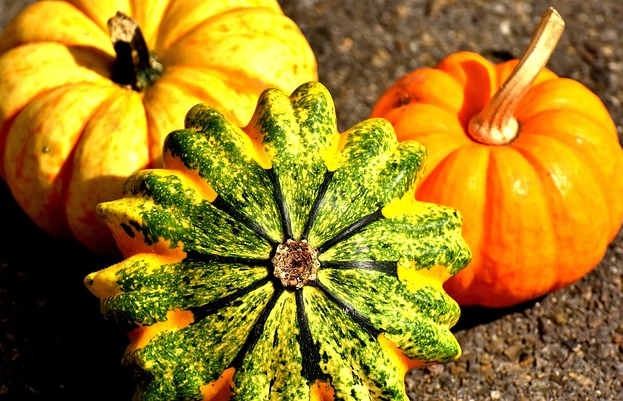
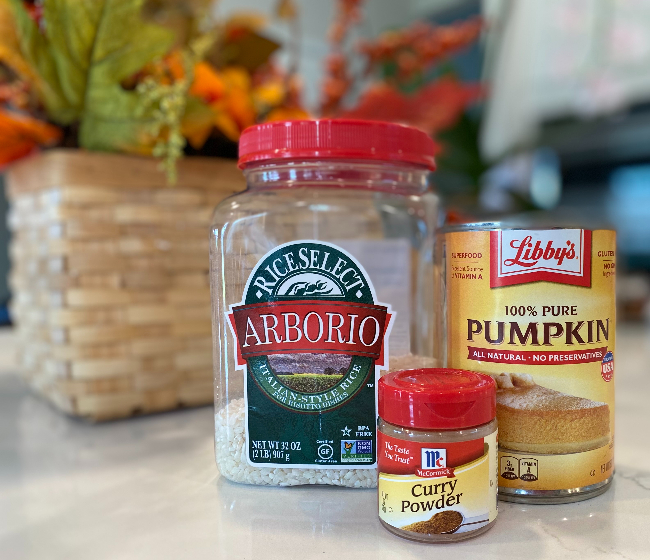
I do not remember how the concept of pumpkin hummus entered my mind. I may have been looking to pair pumpkin with cream cheese, but what I discovered is way better!
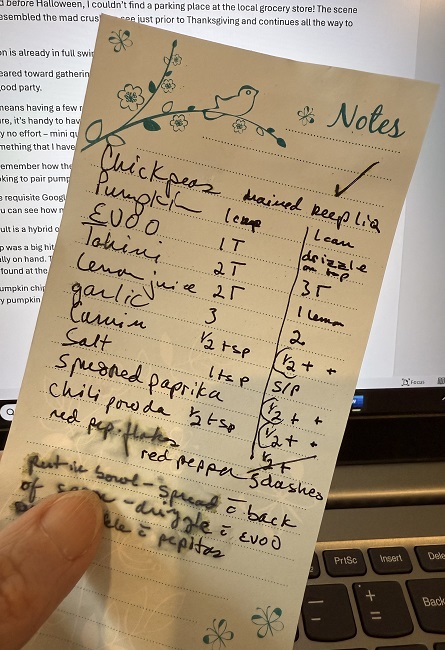
After the requisite Google search for recipes, I compared the ingredients of the top two, side-by-side. You can see how my quick notes were dripped on and blurred.
The result is a hybrid of the two, plus my personal tweaks.
This dip was a big hit at a recent gathering and is so easy to pull together with ingredients that are generally on hand. The exception to that might be tahini – which may not be a staple for you, but it’s easily found at the grocery store.
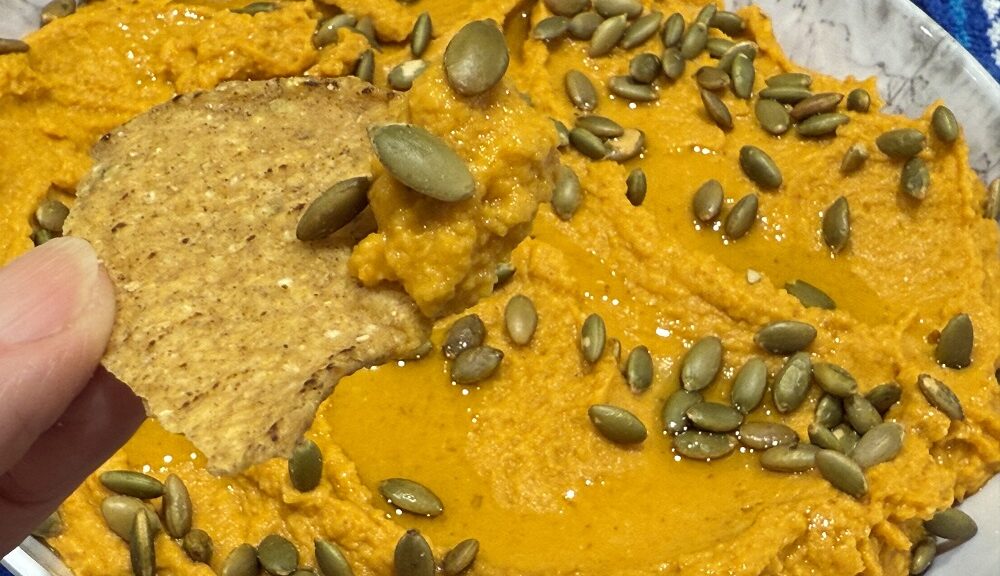
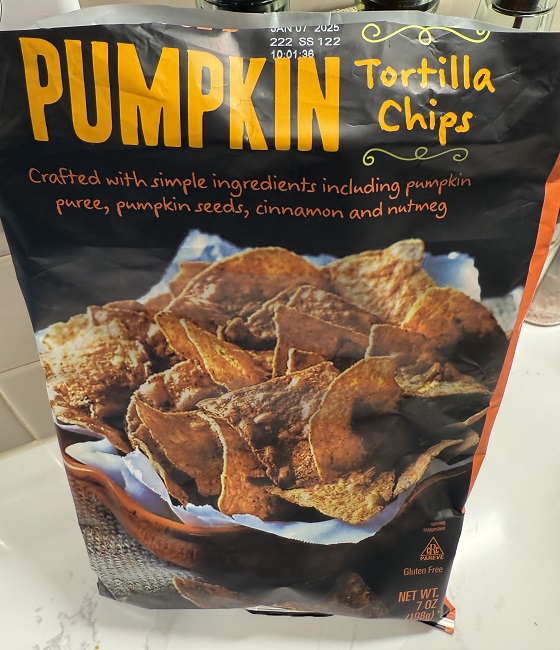
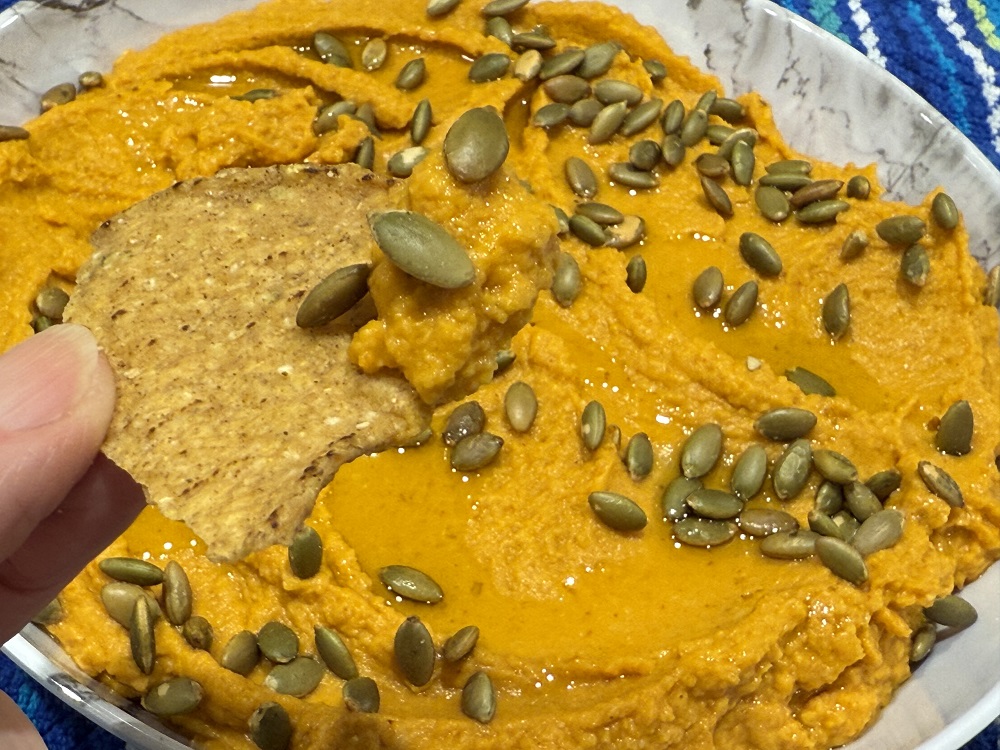
The recent discovery of pumpkin chips at Trader Joe’s provided the perfect dipping complement to this savory pumpkin hummus.
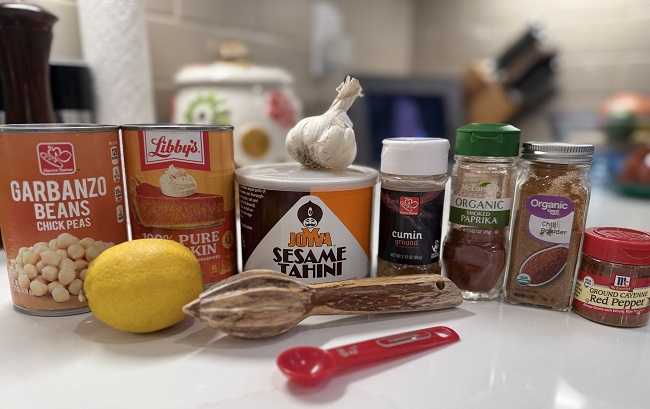
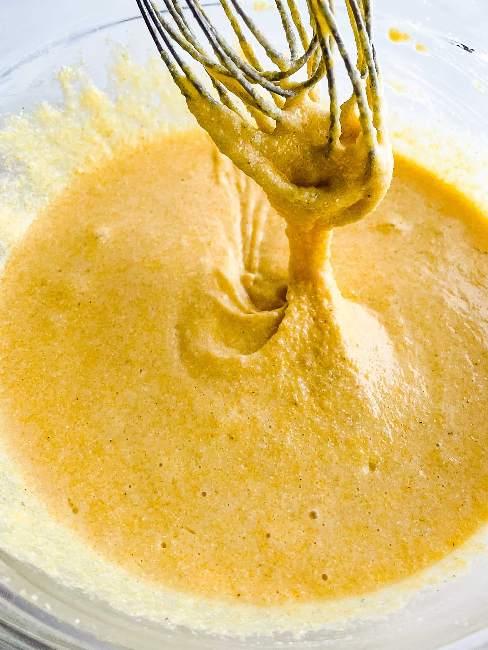
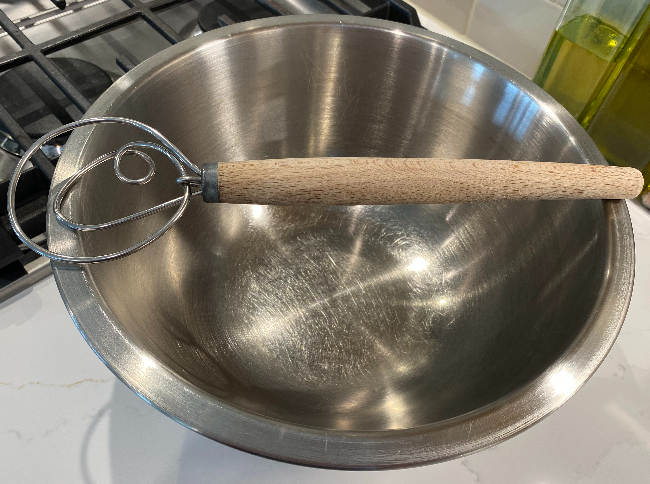
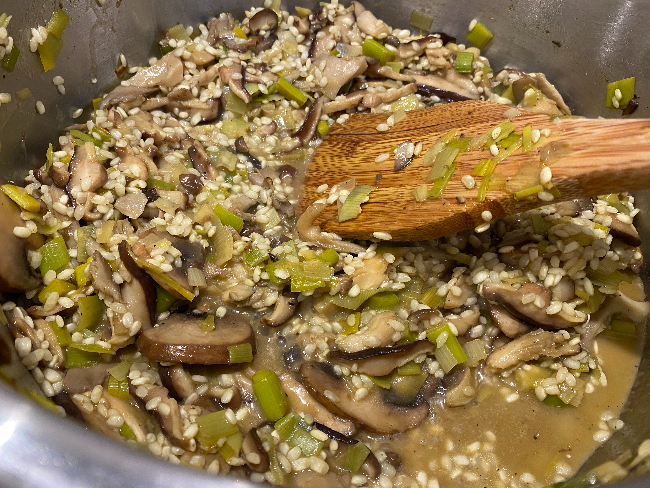
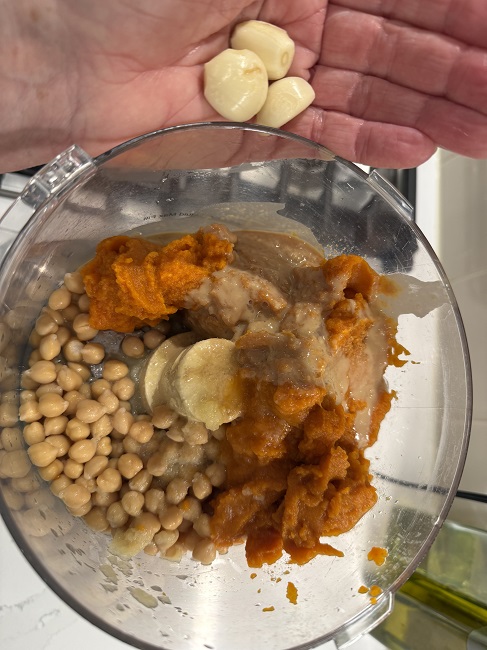
The downloadable recipe is below. You pretty much throw everything into the food processor and that’s it!
As recommended by one recipe, I drained the chickpeas/garbanzo beans, saving the liquid. After the initial blitzing of the ingredients, I added about 2 Tablespoonfuls of the liquid to thin the hummus just a bit.
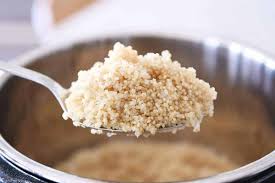
The second time making this, I remembered to process the hummus even more. The first time around, I noticed some thin slices of chickpeas had escaped becoming pureed.
Tasting the hummus before finishing is crucial. Both times, I determined a few more shakes of all the spices would be beneficial to boost flavor.
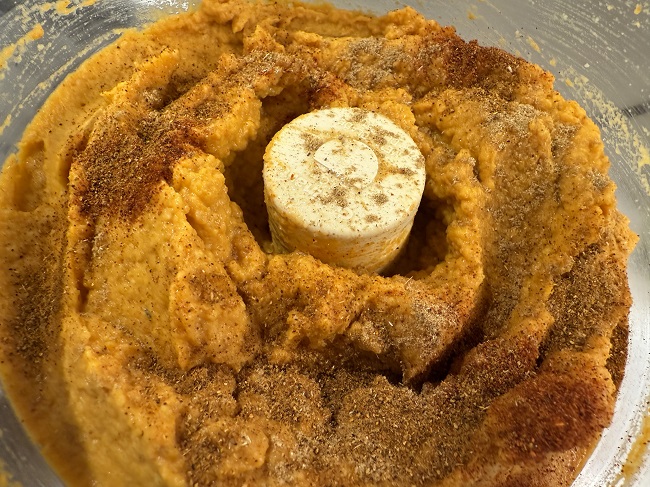
I opted to use a few shakes of red cayenne pepper in lieu of red pepper flakes – my goal was to give interest to the naturally gentle profile of hummus – not to give a spicy kick that would result in reflux.
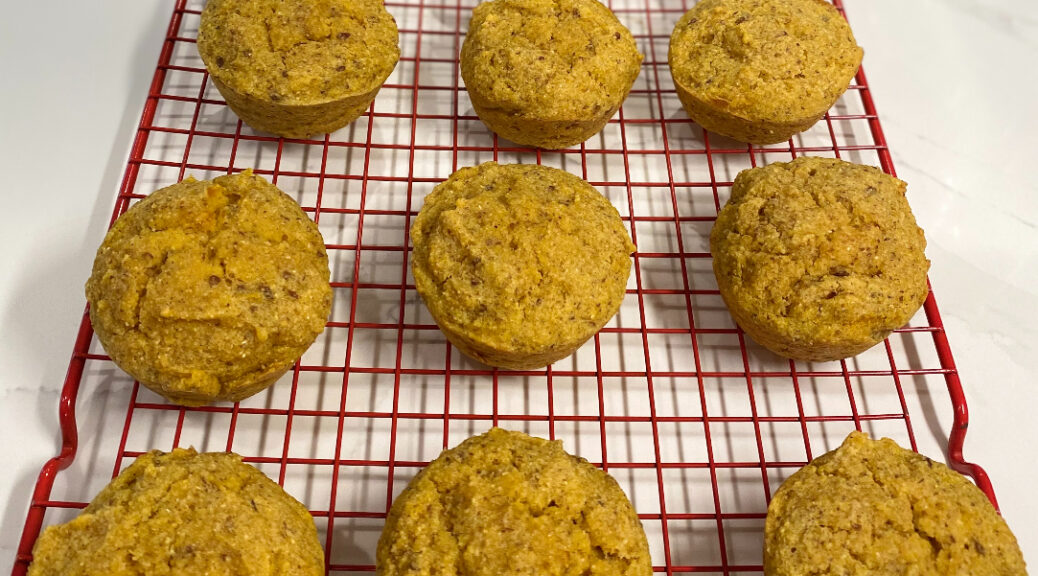
Pepitas/pumpkin seeds provide the perfect garnish after swirling the plated hummus with the back of a spoon and drizzling a bit of extra virgin olive oil on top.
Yum for hummus!
In health –
Deidre
Don’t miss a single issue of foodtalk4you. You can subscribe to this pop-up-and-ad-free blog by scrolling to the bottom of your device or by going to the upper left of your computer screen to fill out the simple subscription form. We will not bug you with endless come-ons, and we will never share your information. Thanks.