

Few holidays garner such visceral responses.
Our early childhood saw us delighted with glue, scissors, red paper hearts, and lots of glitter.
Then we might have experienced fewer Valentines in our sacks at school than others, or maybe the ones we were given were not the prettiest of the bunch and amounted to getting the rejects.
Later, we pined for romantic Valentines complete with a hand-holding sweetheart.
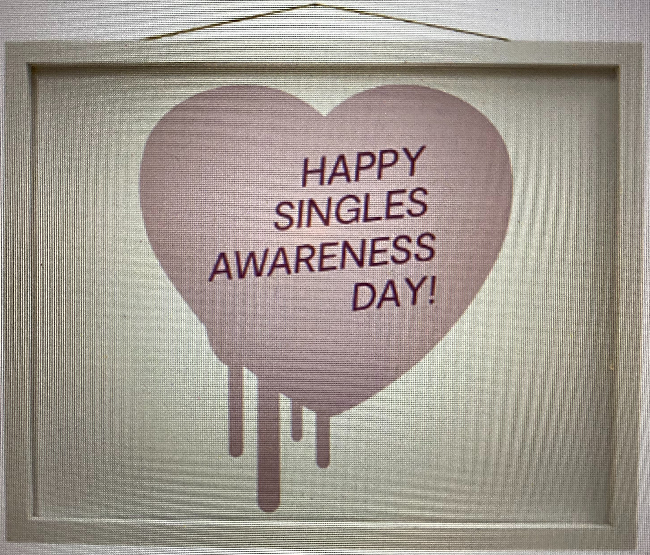
No sweetheart? Well, then, we started disliking Valentine’s Day. “Happy Singles Awareness Day” became our slogan. Groan.
“I hate Valentine’s Day” can often be heard. Too bad.
I’ve had my share of being single for this festival of romantic love. It is tough. It does not feel good in the heart.

BUT – we can expand our view of this celebration by making a big deal out of ALL the forms of love we find around us. Honor family love, deep friendships, new friendships, and honor the friendless.
Today, I’m sharing two of my favorite ways of saying, “I love you!” One is a pastime that morphs with the seasons, and another is a special treat. It is my way of giving you something of myself that may brighten your day.
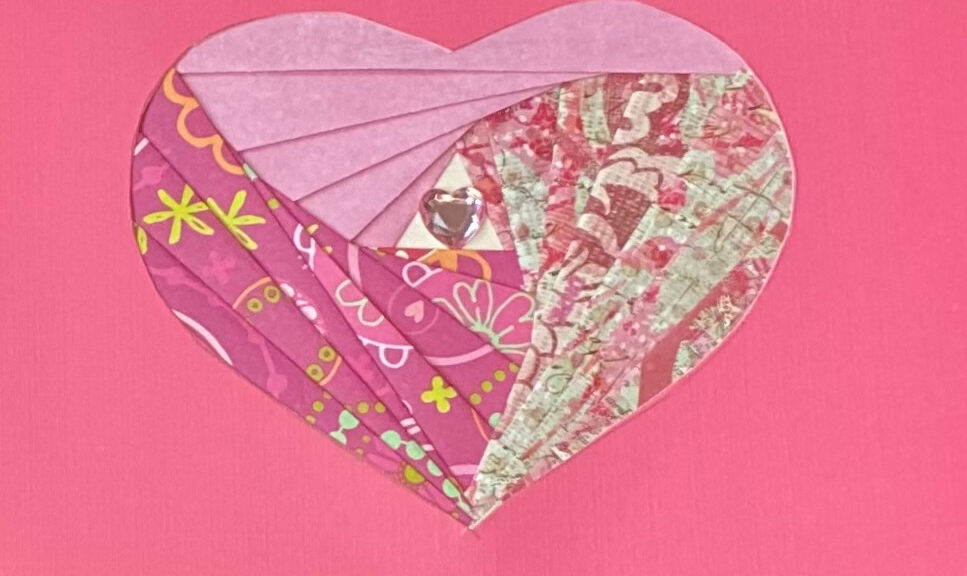
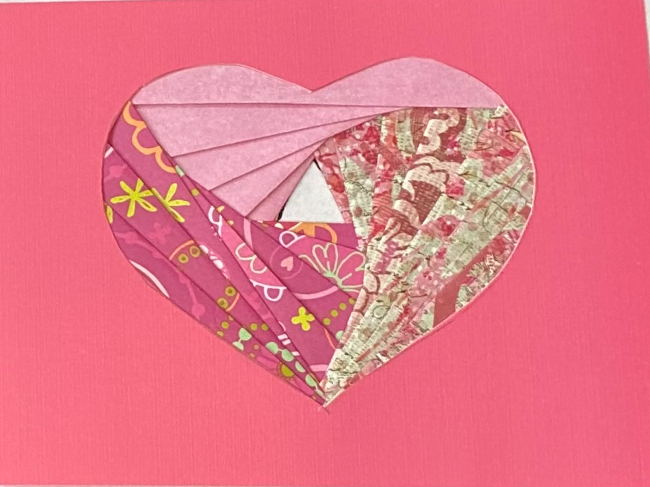
Cards made using Iris Paper Folding
This art form uses the layering concept of a camera’s iris and this heart card is the first one I learned. The finished card’s look is infinitely variable and requires just few supplies and a pattern:
Supplies:
3 sheets of printed craft paper with complementary colors/designs
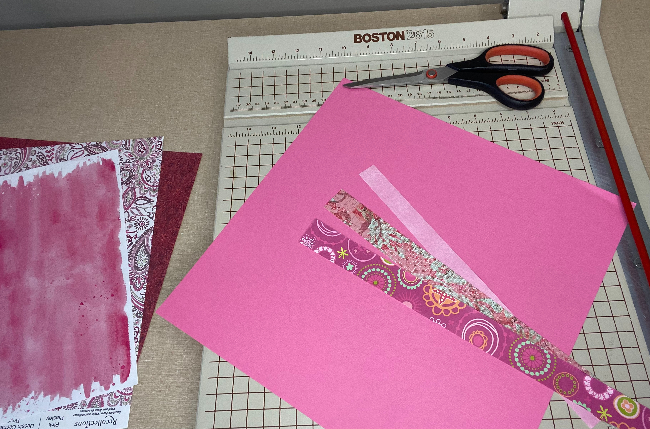
1 sheet of heavier weight craft paper for the card face plate
Blank card and envelope – 5 inch x 6.5 inch/12.7 cm x 16.5 cm white, ivory, or colored
Scissors are a must and a paper cutter if you have one.
X-ACTO craft knife
Cellophane tape and double-sided tape
Small heart sticker or jewel sticker
Steps
Prepare the papers:
Cut the pink heart frame into a 6-inch x 4.5 inch or 15.24 cm x 11.43 cm rectangle.
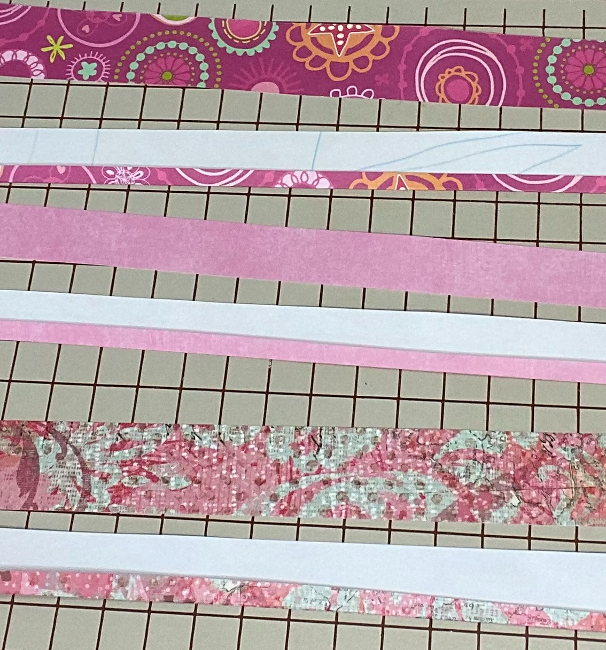
Cut your personalized-color fold-able sheets into 3/4 in or 1.91 cm strips using cutter or scissors – you will need 2-3 strips of each color.
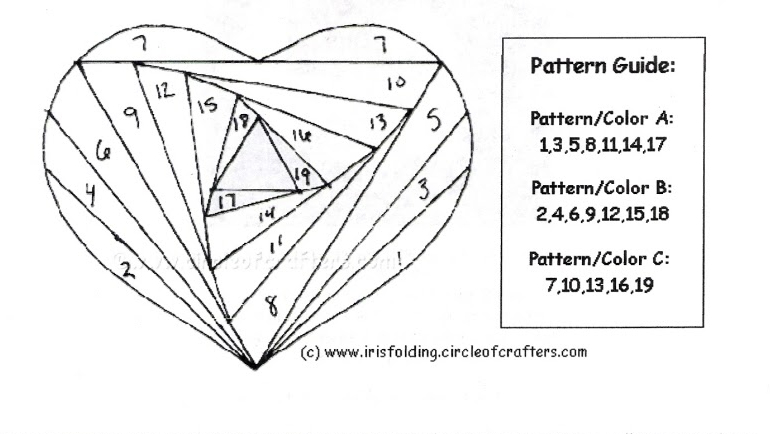
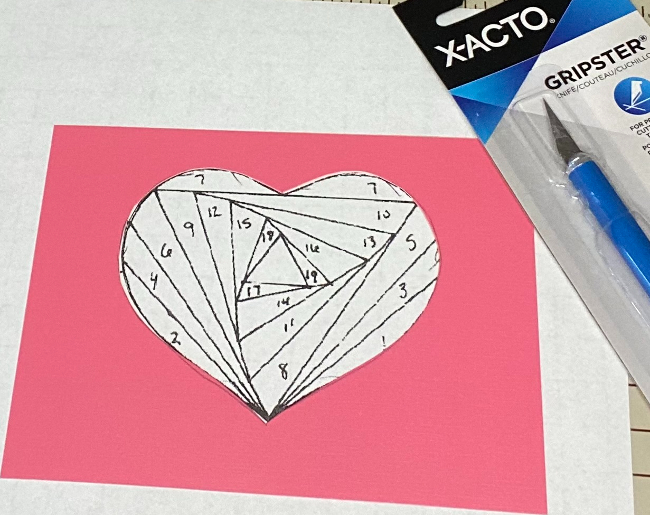
Print two copies of the pattern.
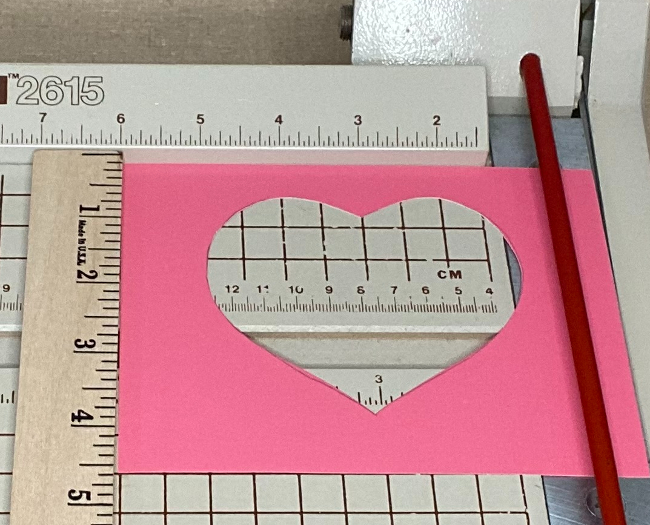
Using the crafter’s knife, carefully cut out the heart shape from one pink frame. *Make sure to use something to protect your table surface! I use the thick pressed cardboard found as a backing to packets of square craft paper.
Place and center the heart shape under the pink frame and trace around it’s shape with an erasable pencil.

Using the craft knife, carefully cut out the heart. *Protect your work surface! Save the heart shape for future use on a different kind of card.
Tip: Color your second pattern with highlighters to make placing your three colors/patterns easier.

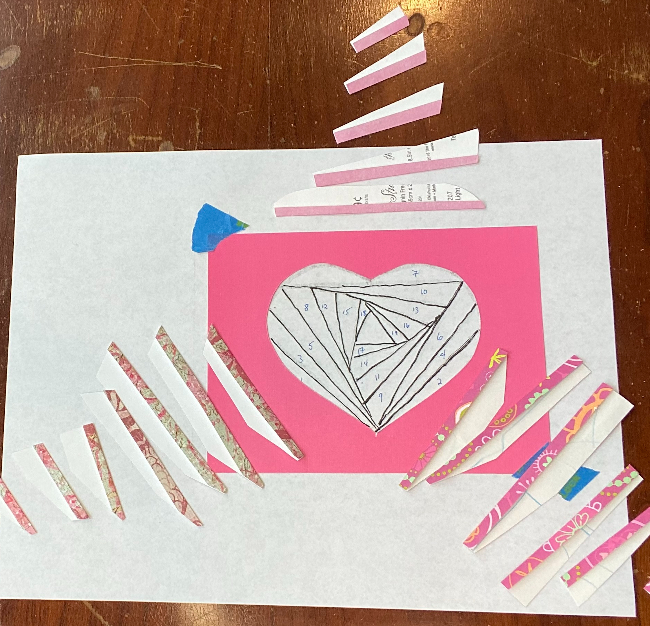
Put the resulting frame, with heart shape cut out, FACE DOWN over the whole second pattern and secure with a bit of painter’s tape at two corners.
Fold the edge of each paper as shown in the following photo.
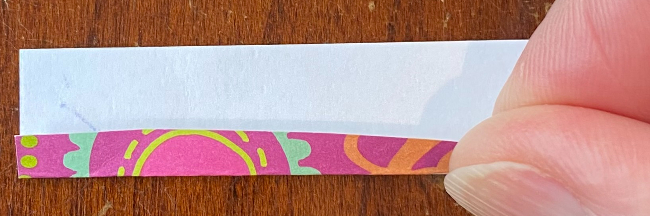
Using your first color, cut a piece of the strip a bit longer than the area needed for space #1. The folded edge will go toward the center of the heart. Secure each piece with tape at the end.
Note: I use a piece of tape that’s almost 1-inch long and tear that piece in half. Use these smaller pieces to tape the strips onto the heart’s frame back. Don’t allow any tape to be exposed to what will be the card front.
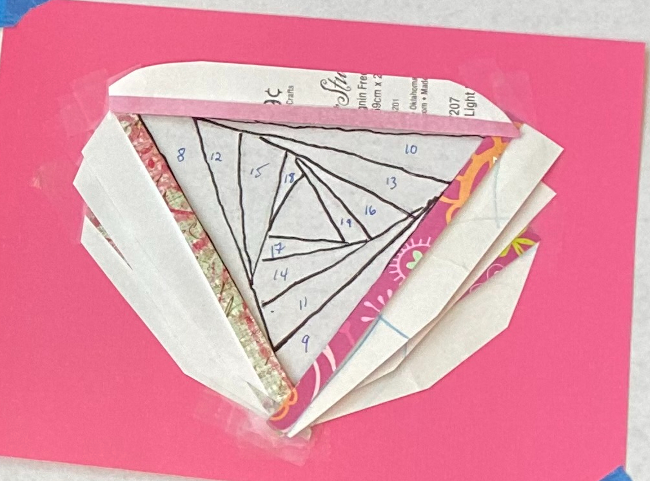
Continue taping trimmed pieces, following the flow of the pattern 1-2-3-4-5, etc.
NOTE: The point of the heart can get congested with extra paper, so trimming pieces to a point can help with that.
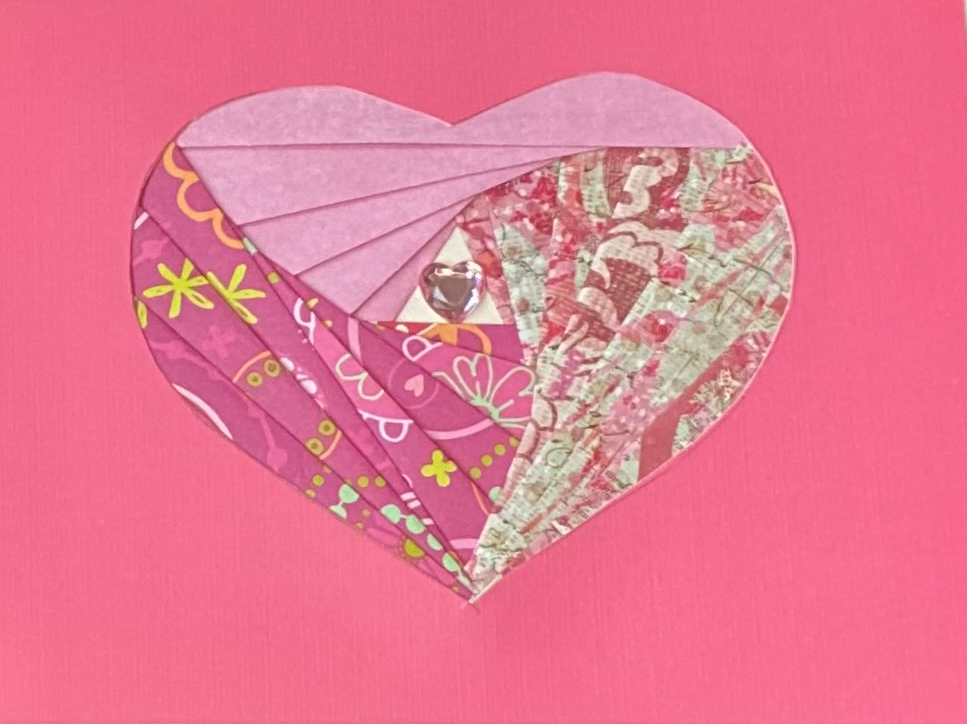
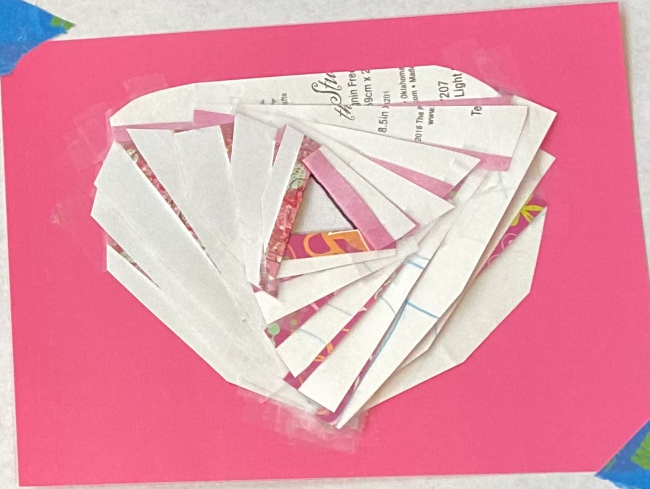
When all pieces have been placed, peel back the painter’s tape for the big reveal!
Next, using the double sided tape, picture frame the BACK of the card you just created. The tape should be placed as near the card’s back edge as possible and go completely around the card.
Fold the blank card stock in half, and carefully center your card over the blank card, lowering to the surface and pressing down all edges.
Select your heart sticker or jewel and place in the center of the iris.
Voila!
Since there were no Christmas cards from me this year, my Valentine’s Day cards will be mailed to family and friends. It’s a gift they will treasure, and each will contain a note of appreciation and love.
Scones that love you back – Still a favorite recipe that is also an excellent way to say, “I love you!” or, “I appreciate you!”
Just download and follow the recipe. What a perfect Valentine’s touch to breakfast on the 14th – or any day!
Who can you craft a card for? If not a romantic love, there’s someone who needs a special note of caring from you. Who will it be?

Feel free to share the love of this post by using the social medial options under the MORE button below.
In love and health – I truly appreciate each one of you!
Deidre