
Times have changed in some respects; and in others, not at all. I 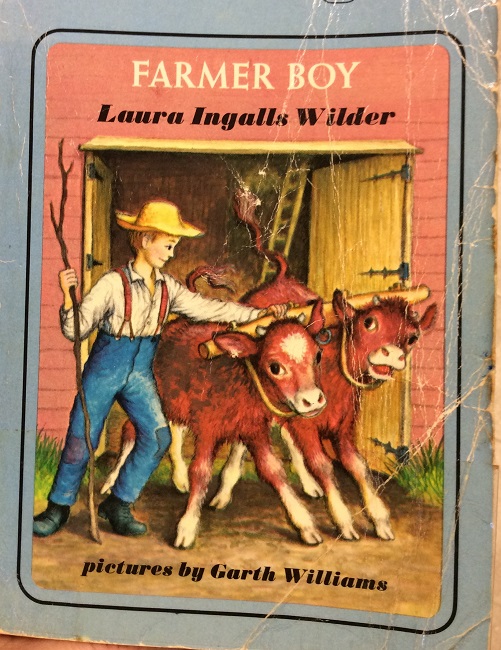 remember reading aloud the Laura Ingalls Wilder series of Little House on the Prairie to our children every night as we all learned of Laura and Almanzo’s adventures. Today, our grandchildren listen to The Adventures of Harry Potter. I don’t know what the children eat at the Hogwarts School, but Almanzo’s favorite repast had to include fried apples ‘n’ onions.
Being more of a city girl transplanted to small town North Carolina, this notion of apples ‘n’ onions did not beckon to my palate or culinary desires. Too bad.
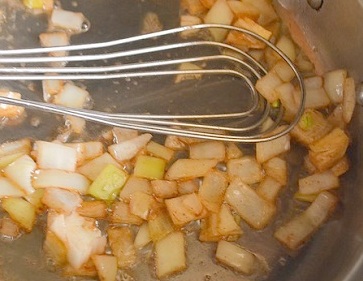
First of all, they aren’t fried- as in deep fried. I don’t deep fry anything. In country jar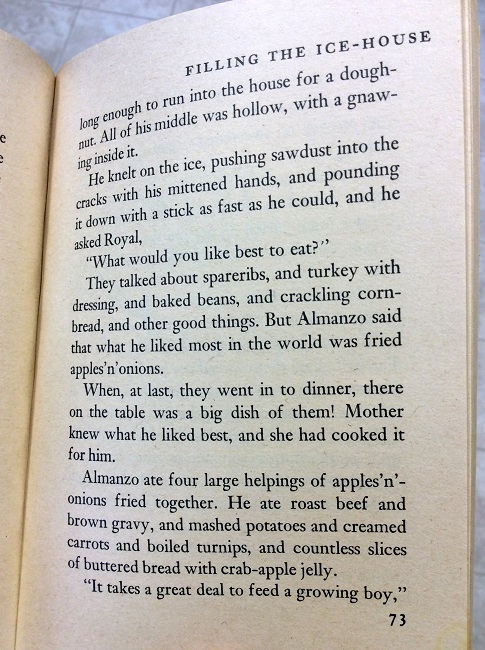 gon, frying apples implies sauteing and browning until tender and even possibly cooked down to a mush.
But apples ‘n’ onions? Really?
Well, this is the month of love. If you fix apples ‘n’ onions you will LOVE the flavor of this impossibly delicious side dish that happily occupies its spot in the perfect plate fruit/fat component and part of the veggie area. Pair this side with any kind of dark-green lea fy veggie, along with lean chicken or pork protein, and you will have a meal that says, “I love you”!
With just three ingredients, this is a cinch to do, and quantities vary according to what’s on hand.
Apples ‘n’ Onions Recipe
Apples – 3-4 apples
Onion (I used a Vidalia onion) – one medium-sized onion
Coconut oil- 1-2 Tbs. of coconut oil to coat the pan well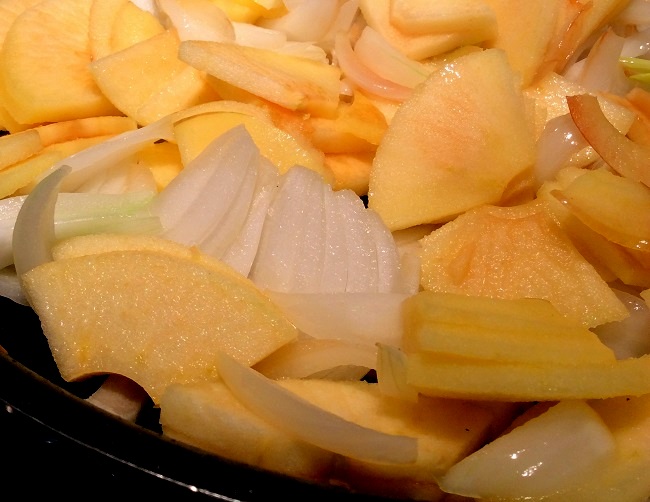
Method:
In order to activate the beneficial anti-inflammatory enzyme, allicin, slice up the onion first so it has 10 minutes to rest before heating.
Peel, slice, and core the apples into desired shape. I use an old-fashioned hand crank apple peeler/slicer/corer and just cut the slices into s maller pieces.
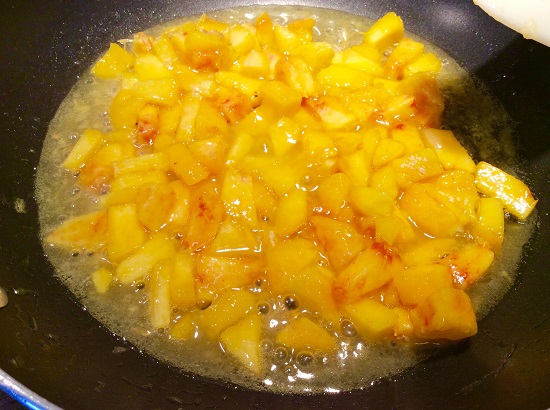
Melt 1-2 Tbs. coconut oil into large sauté pan on medium heat and add prepared apple and onion slices. You may want to add a pinch of salt.
Stir occasionally and gently cook until browned and tender. Serve warm.
Recipe number two involves an oft’ forgotten little green nugget that used to be buried under an avalanche of melted Velveeta. Boy, once you stop eating “food-like substances,” as found in dairy “products” such as Velveeta, the very thought of returning to them sends chills down the spine. Ick!
So, what to do with that bag of Brussels sprouts? This latest recipe supersedes any I have tried thus far! My book contains a great pan-cooked version of Brussels sprouts that’s really fine and has similar ingredients, but these roasted sprouts are the BEST!
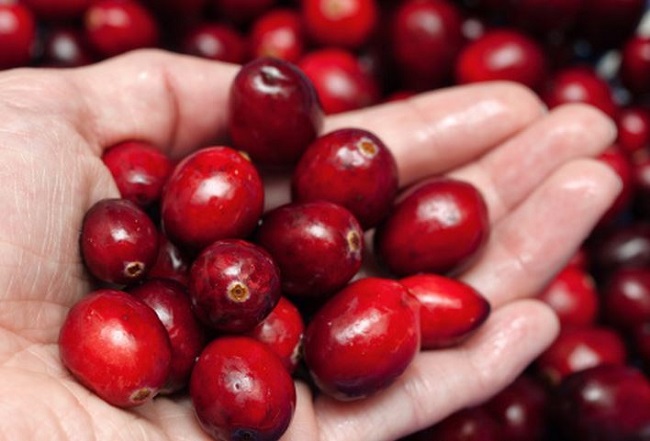
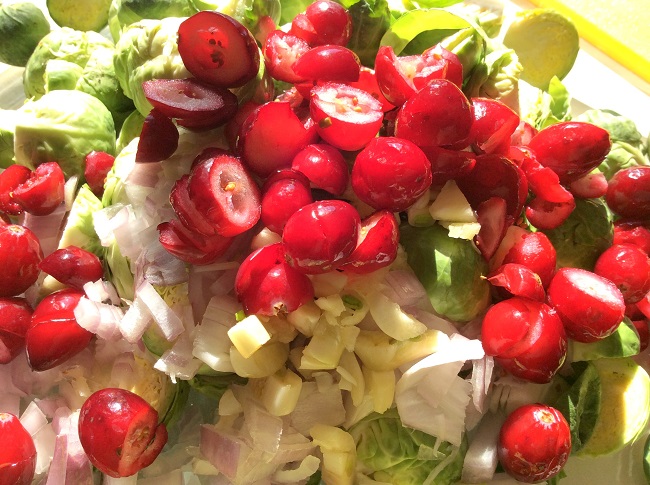
Roasted Brussels Sprouts with Fresh Cranberries and Pecans
1 pound fresh Brussels sprouts, trimmed and cut in half
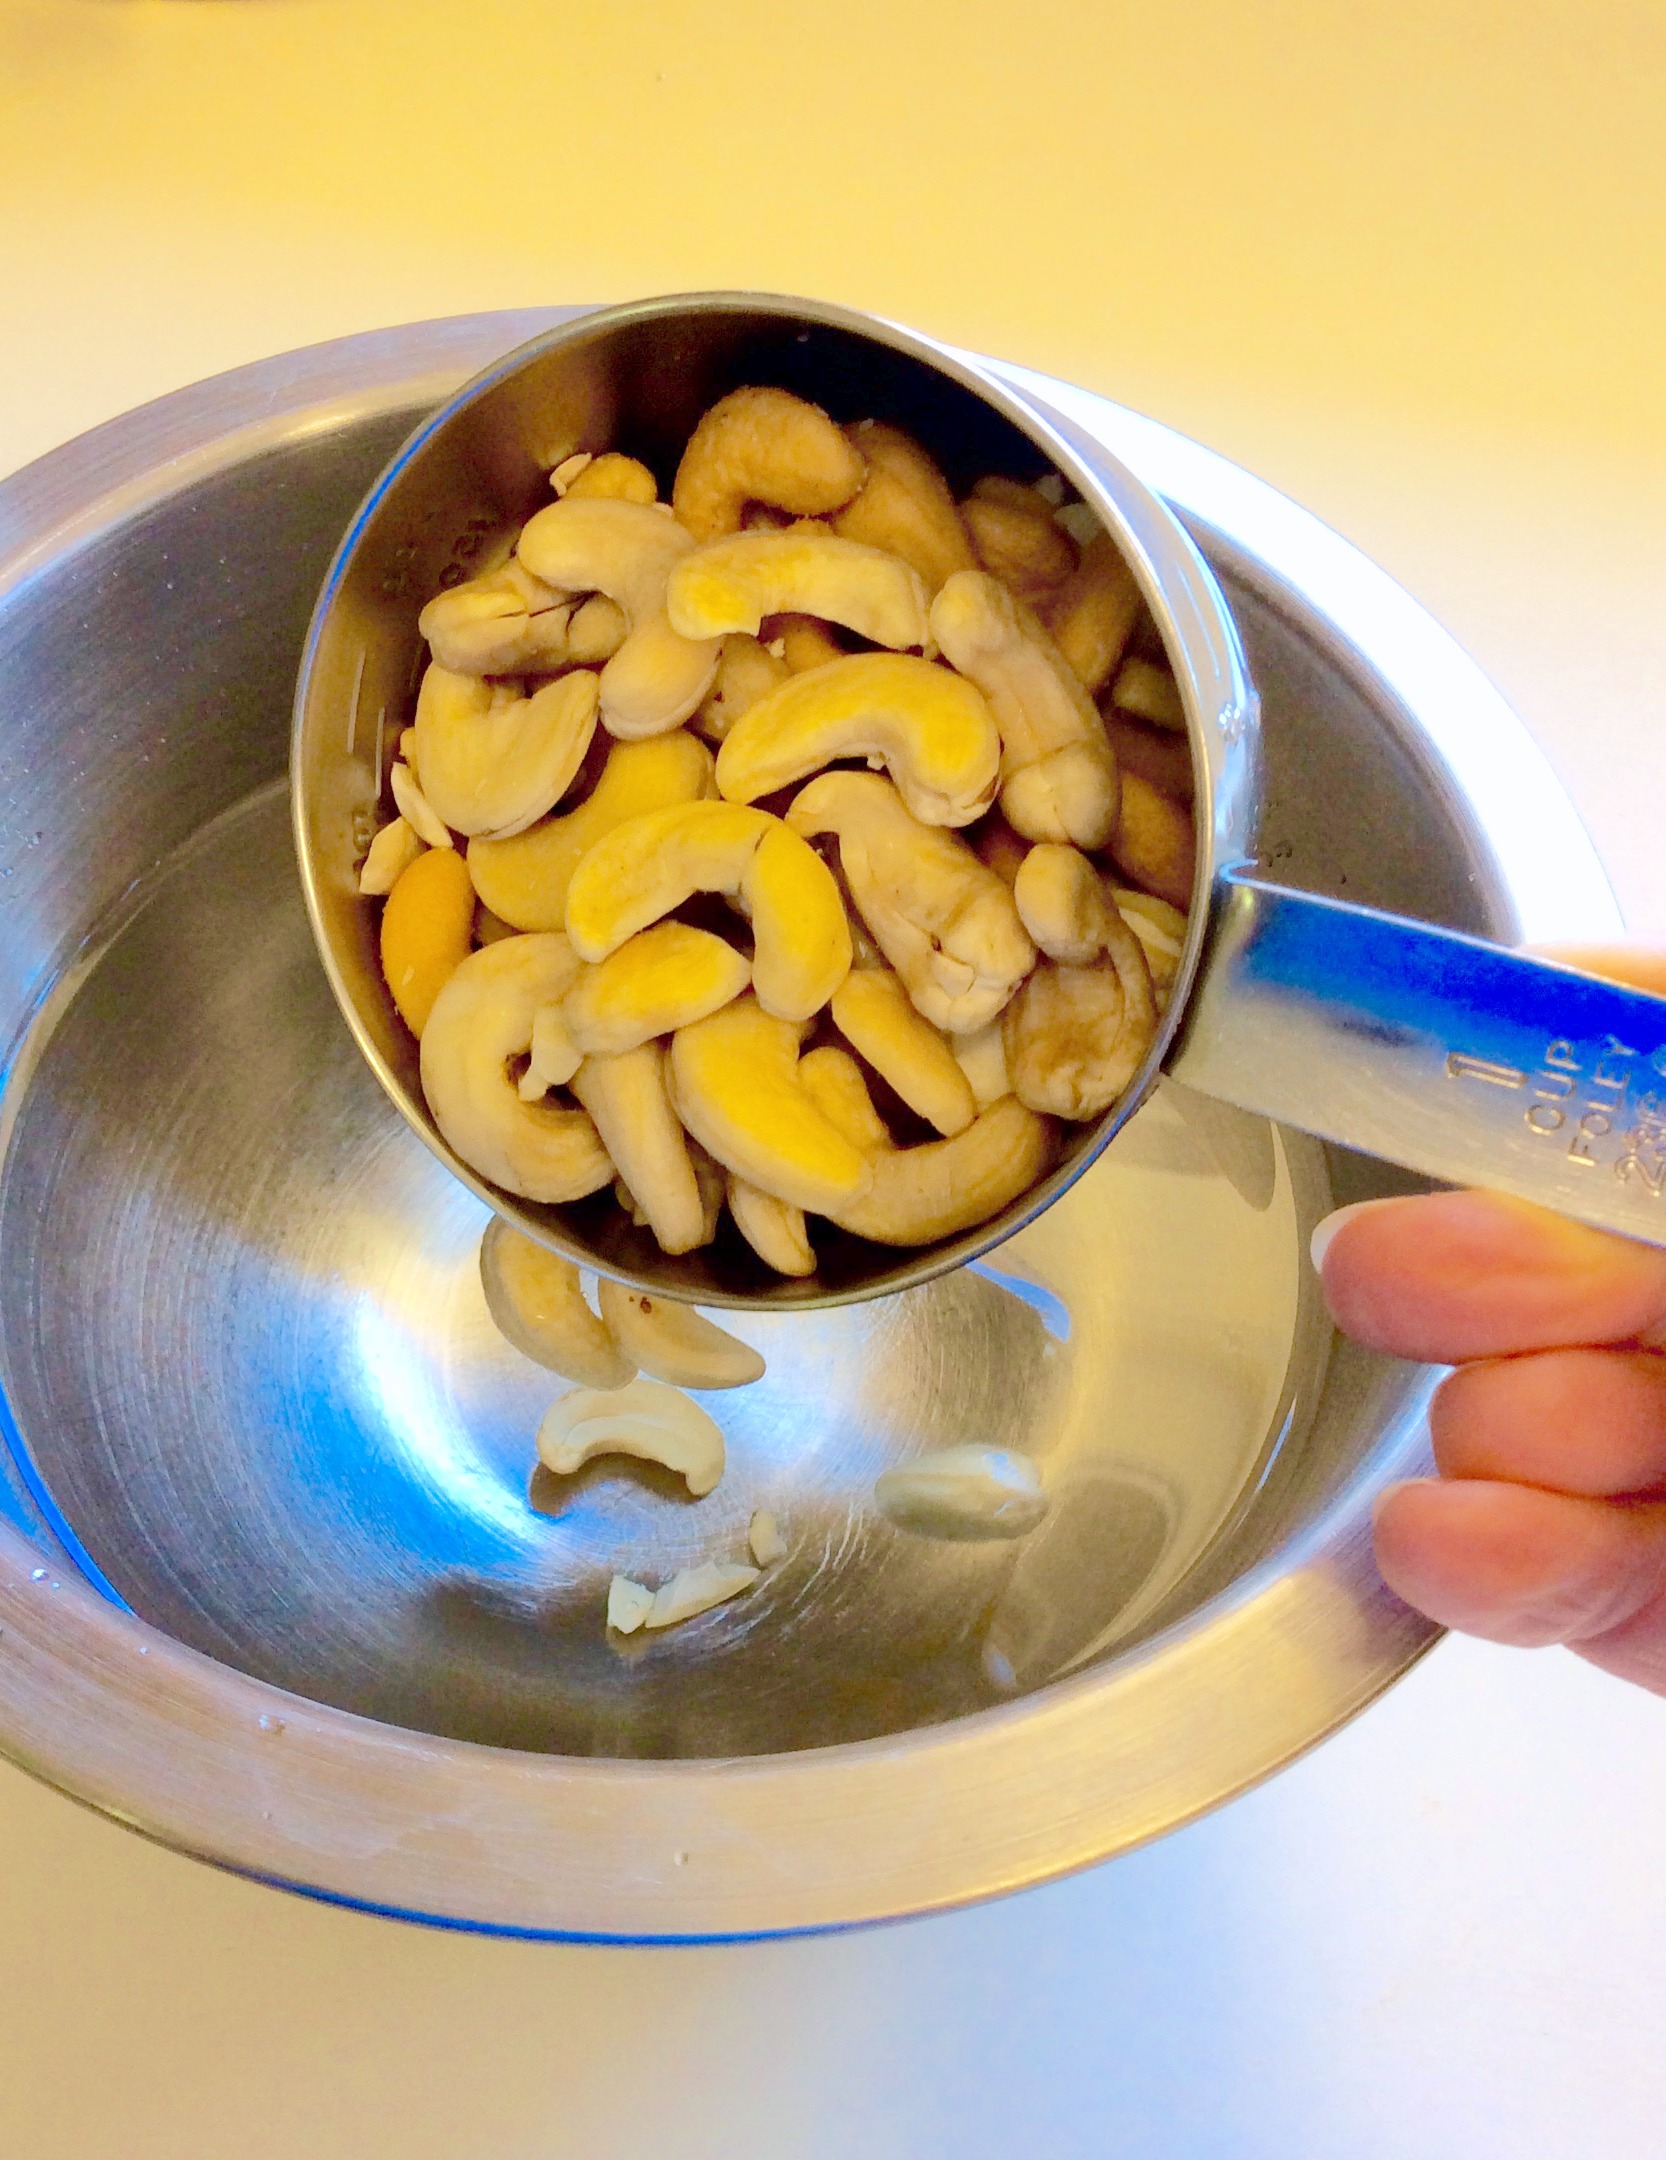
1 cup activated pecans*, coarsely chopped
½ cup fresh or frozen cranberries, (not dried and sweetened), coarsely chopped
1 Tbs. olive oil
1 Tbs. finely chopped shallots
3 garlic cloves, finely chopped
1 tsp. Kosher or sea salt
½ tsp. ground pepper
Optional: 2 Tbs. balsamic vinegar to toss in after roasting
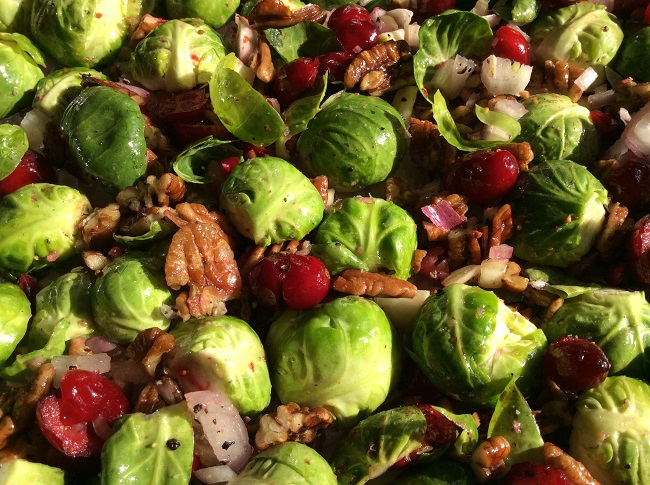
Method:
Heat oven to 400 degrees. Using a large baking pan, toss all ingredients together except balsamic vinegar. When all ingredients are mixed and coated with oil, arrange Brussels sprouts so the cut side faces down in baking dish. Roast for 25 minutes or unti l golden brown on the edges.
Optional: Toss with balsamic vinegar when roasting is complete. These smelled so good and tasted so good right out of the oven; I forgot the vinegar and never missed it.
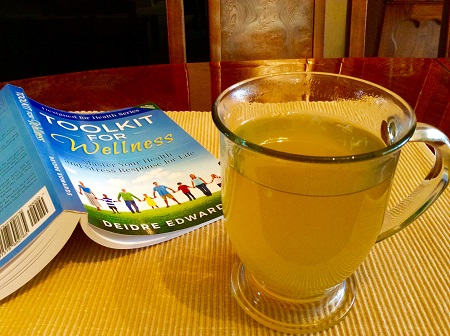
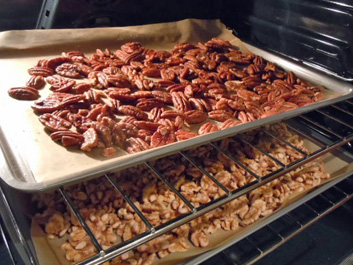
*Activated Pecans: Soak raw pecans in salted water 24 hours; drain; dehydrate 105 degrees in dehydrator 14 hours or bake at lowest oven temperature until crispy. This process is explained in my book, Toolkit for Wellness, and makes the nuts way more digestible and yummy.
So, there you have it! Healthy anti-inflammatory eating at its very best. Some old-school goodness from the past and some modern farm-to-table style of today!
Say, “I love you” with some good eatin’!
Happy Valentine’s Day!
-Deidre