

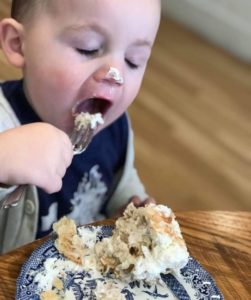
Are you already battling holiday dessert binging? Those five-ten pounds around the waist from December indulgences are just sprinkles on the cake of sugar-laden devils disguised as fall treats, Halloween treats, and Thanksgiving must-haves already expanding our middles.

Just like clockwork, recipes are starting to populate my Facebook feed. It starts with cheers for all things pumpkin, and rapidly morphs into a parade of dazzling desserts – each one more tempting than the last. The thicker the cream cheese frosting drizzled with caramel, the better.
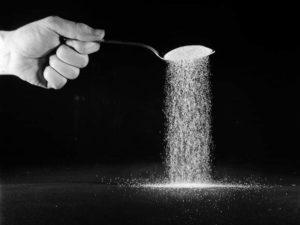
One specific recipe a friend shared on her Facebook feed, came from a site with the word “healthy” in it. Get this. The recipe sported 2 cups of sugar.
Not healthy, dear friends. Not healthy.
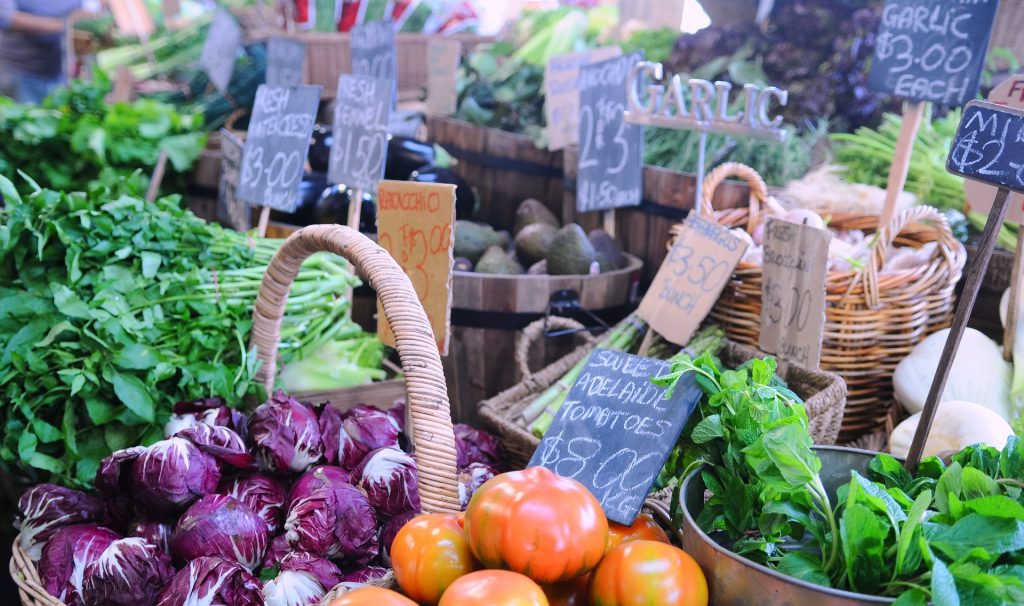
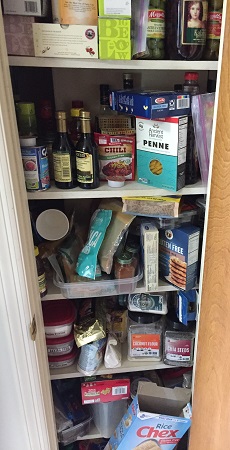
Better habits start with an environment that supports those habits.

There’s no effort to walking more if you are at the beach, when the sand beckons walkers of every ability, with an endless expanse of wave-lapped wonder.

There’s no effort to refrain from drinking sugary sodas if there are none to be found in your kitchen. Make your biggest decision reflect what flavor of bubbly water you want to drink.
Are there to be no muffins, cakes, puddings, or desserts ever again?
Certainly not!
My goals with treats – treats are not daily happenings – is to make sure they have as many healthy ingredients as possible in them; make portions naturally smaller, and to share most of the treat with others so I will not be tempted to “treat” myself every day – because I deserve it, right?
There is also a carb lure come cooler temperatures – even before Facebook – somehow those summer salads give way to baked squash, potatoes, hot soups, and all those baked confections featured on the covers of magazines such as Sunset and Southern Living.
Case in point.
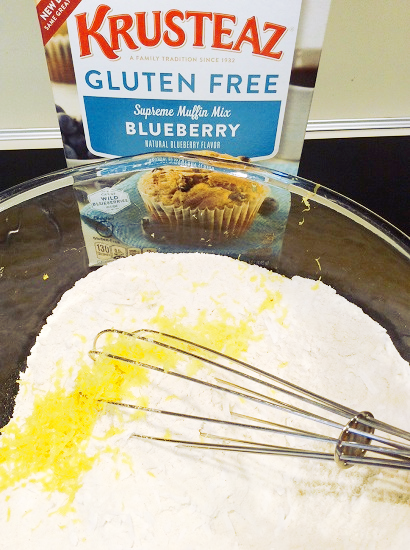
I do love a good blueberry muffin, but even using my favorite gluten-free Krusteaz box mix still seems more indulgent than necessary. Gluten-free does not equal guiltlessly-good-for-you.
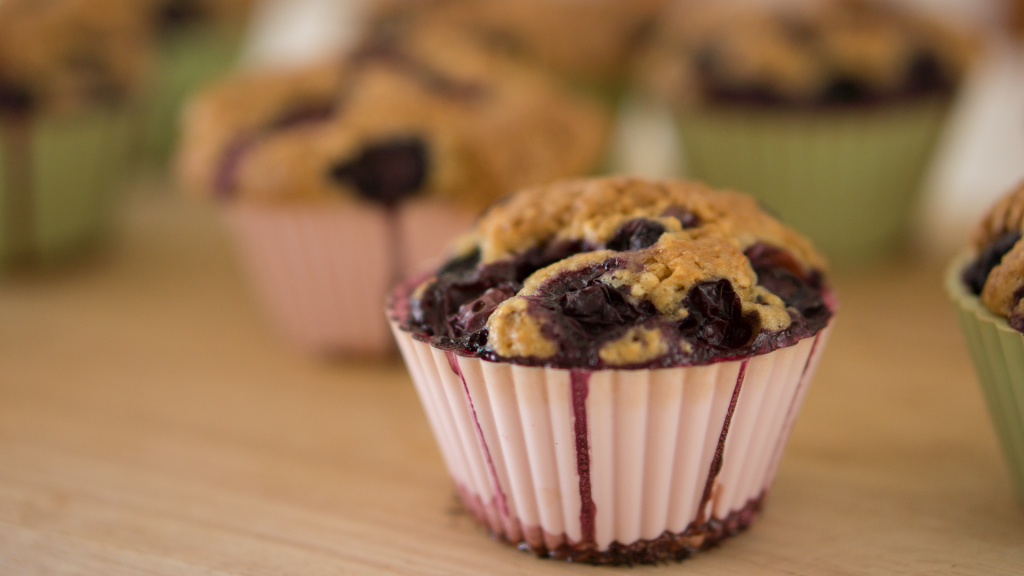
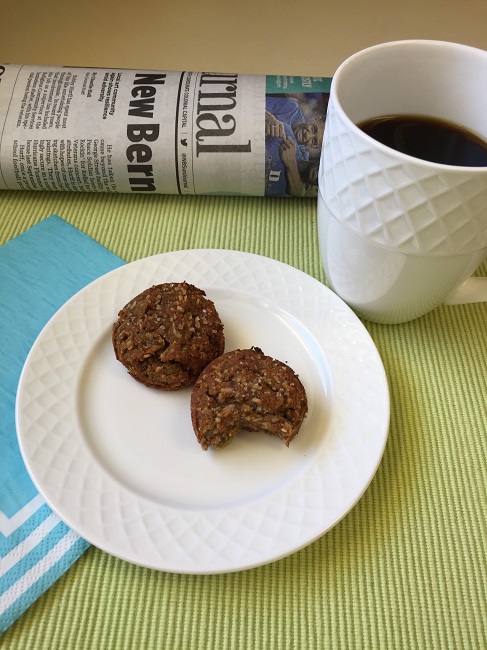
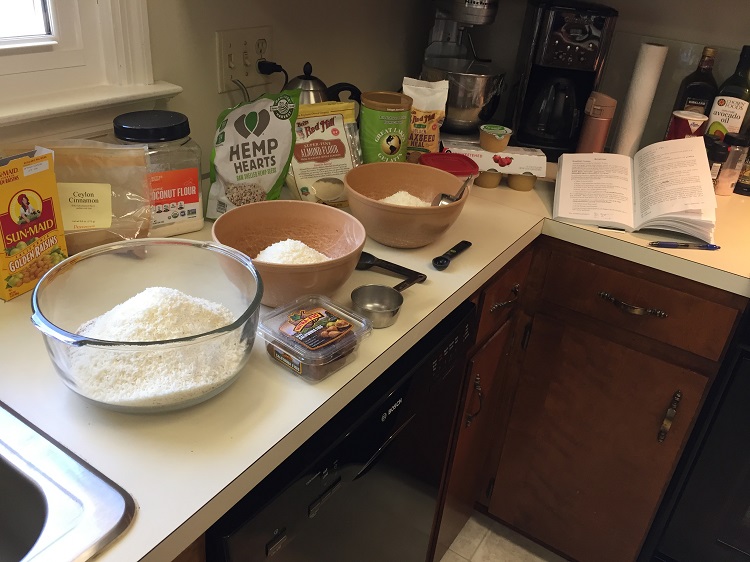
Enter my ramped-up, mini-muffins born of a gluten-free box mix. These babies have the bonus of:
1) Collagen powder full of every amino acid – thus making a high-protein addition. Learn more about collagen HERE
2) Unsweetened-but-naturally-sweet shredded coconut is:
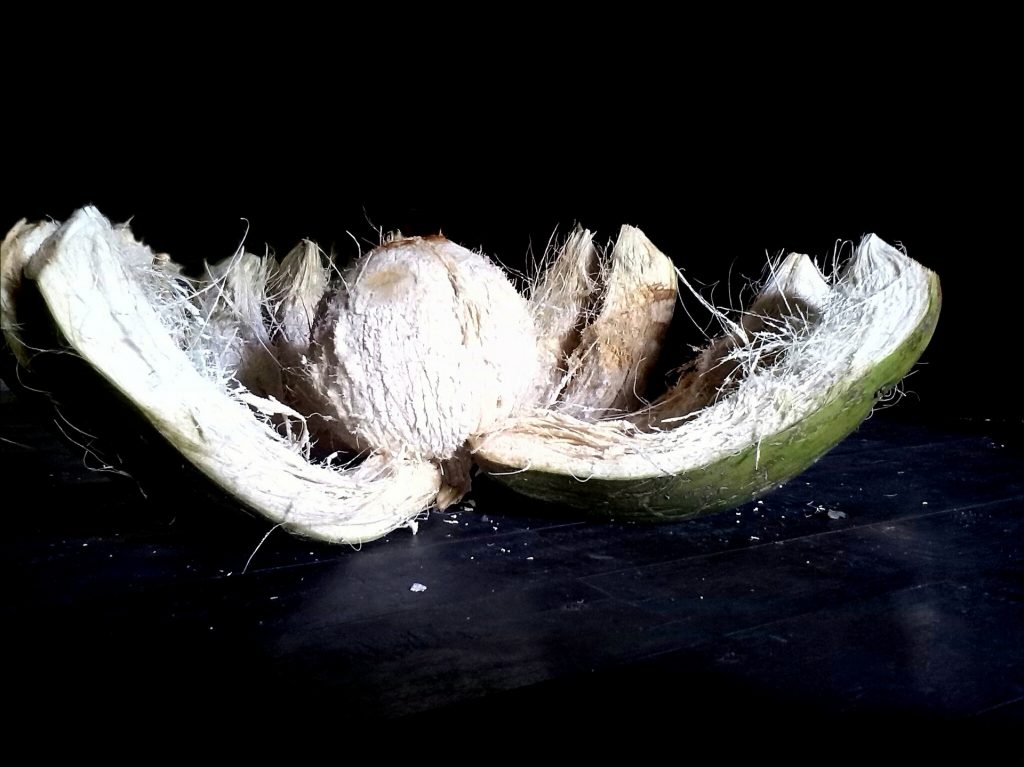
- High in fiber to keep you feeling full longer and for easy digestion (see my article on fiber HERE)
- A good source of minerals
- High in fat BUT it’s from lauric acid, which is associated with good cholesterol
Learn more about coconut HERE and HERE:
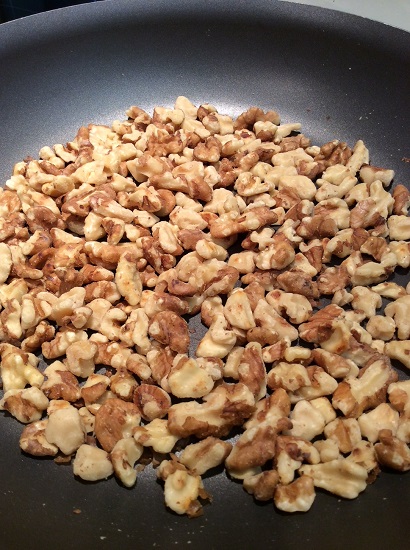
3) Walnuts – which are an amazing source of Omega 3 fatty acids and fiber. Learn more about walnuts HERE:
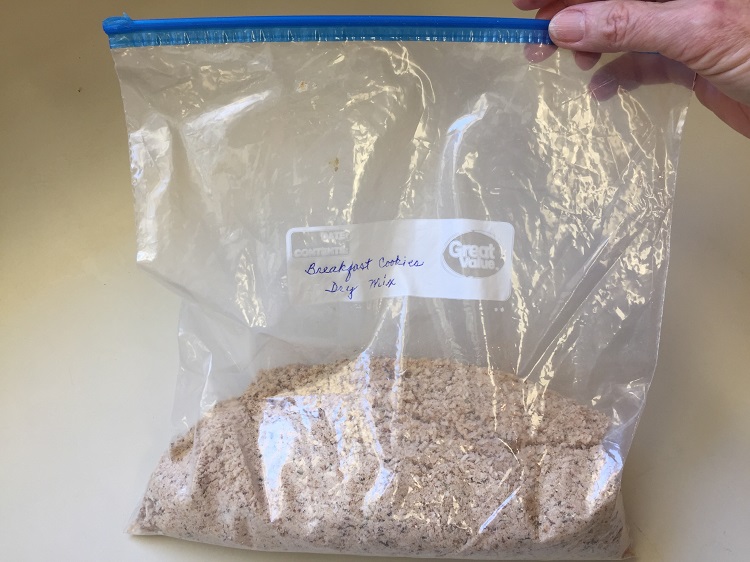
So, let’s get cooking by starting with a mix – making it better, and controlling portion size.
Almost Homemade Gluten-Free Blueberry Muffin Mix
Preheat oven to 400 degrees or 375 degrees Convection
Grease 24 count mini-muffin pan
1 box Krusteaz Gluten Free Blueberry Muffin Mix
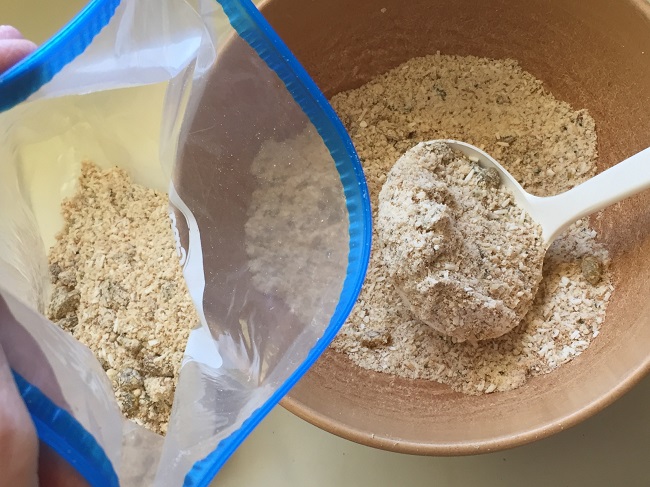
Blend in:
1 large handful of unsweetened shredded coconut – approximately ½ cup
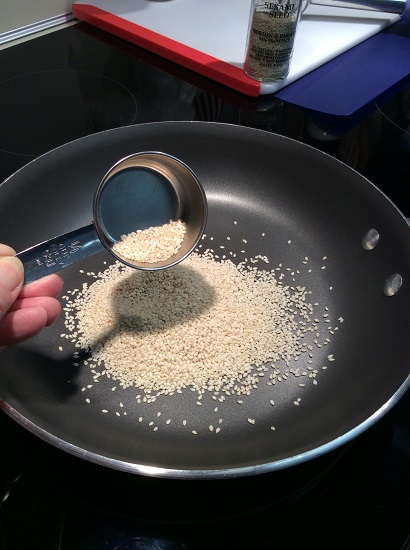
1 large handful of pan-toasted walnuts (about five minutes in sauté pan, stirred frequently to avoid burning) broken up into small pieces- approximately ½ cup
Zest of 1 medium lemon
2-3 Tablespoons of Hydrolysate Collagen Powder
Follow package directions, adding:
¼ cup water
1/3 cup melted butter
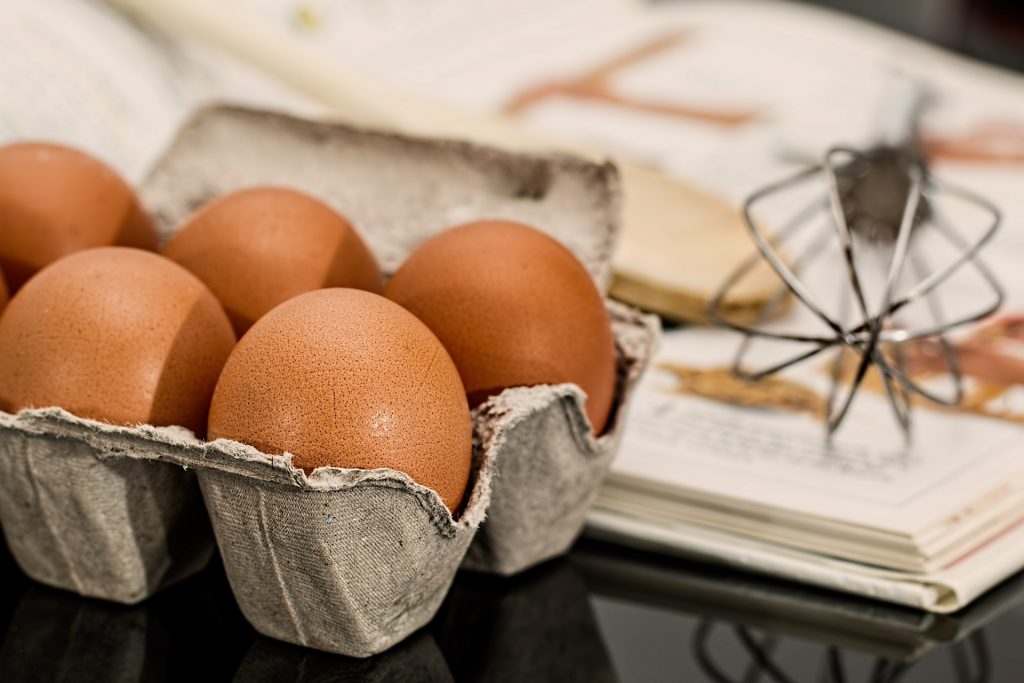
3 eggs
I also add the juice of ½ of the lemon
Stir enough to incorporate all ingredients.
Fold in the rinsed blueberries provided in the mix
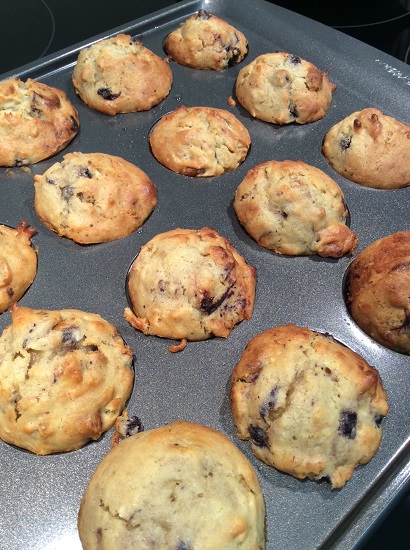
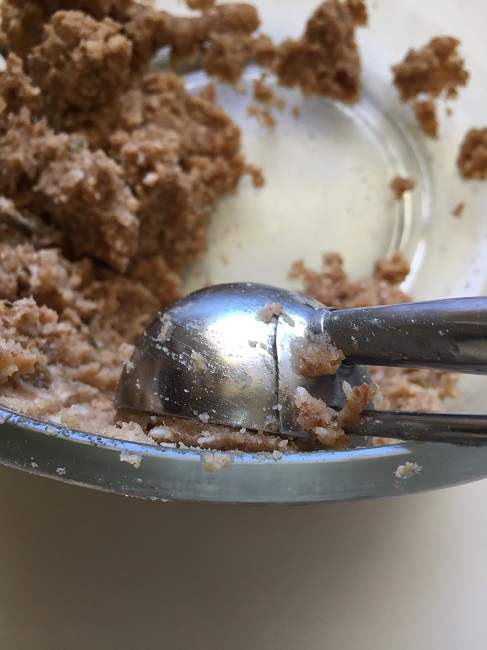
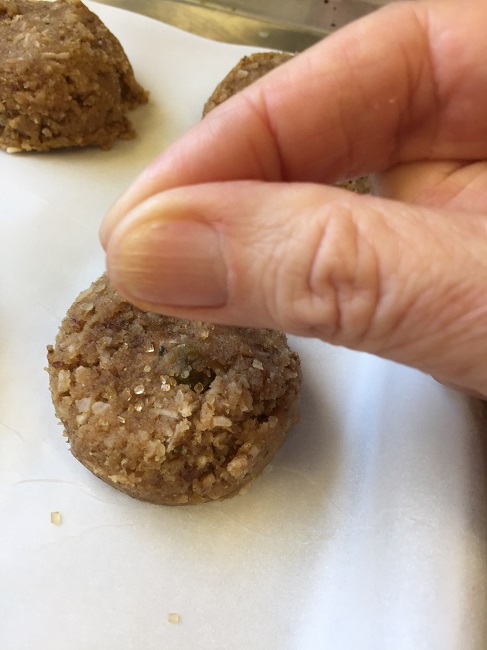
Spoon the batter into the prepared muffin pan and bake 11-13 minutes for mini-muffins. Use a toothpick to check for doneness.
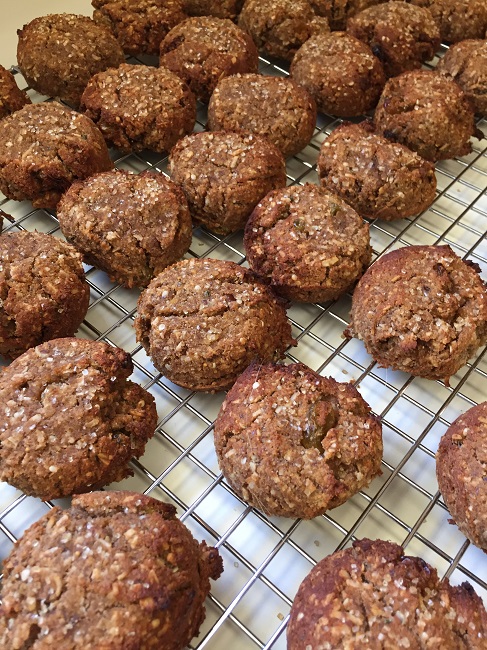
Let muffins cool in the pan for two minutes, then loosen each from its spot and tilt in place to finish cooling. Gluten-free baked goods can get “steamed up” if left in place without air to circulate around them during cooling.
Freeze a dozen. Give six to your neighbor. Eat six over a few days.

Enjoy your treats!
In health-
Deidre
Also check out: deidreedwards.com


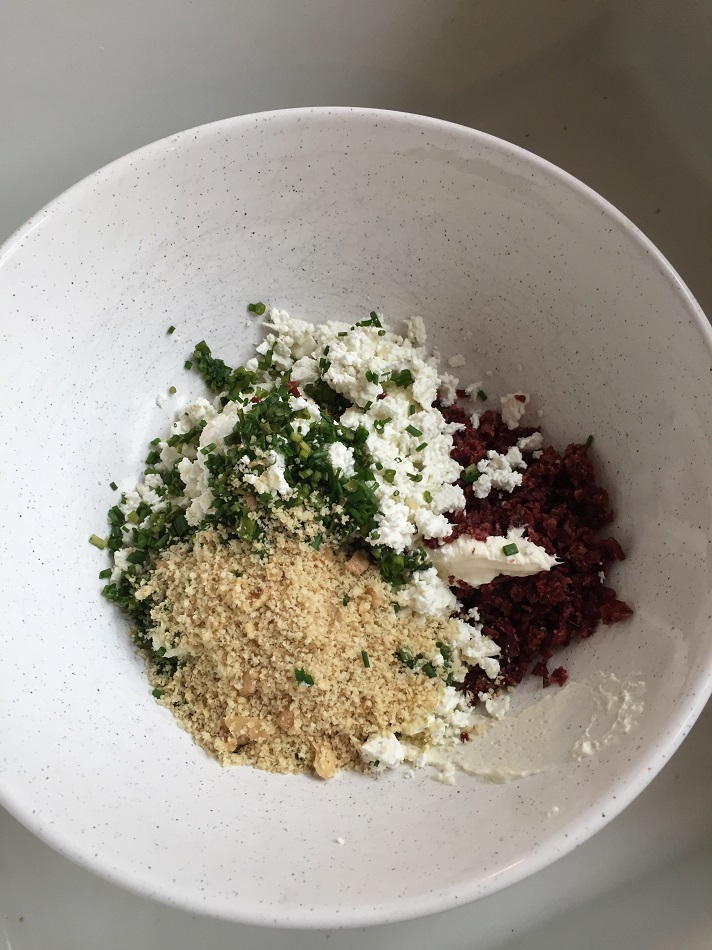


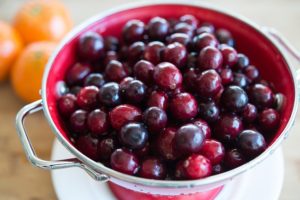
 Thanksgiving? Leftovers may be my favorite part of the holiday, so it seems appropriate to have savored my Cranberry Secret Sauce over some peanut butter on gluten free toast for breakfast today.
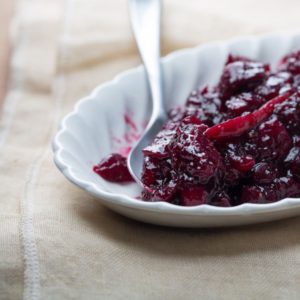 Check last week’s post to keep that tasty and versatile jewel of redness around for the whole holiday season.
 bacterial hand soap.
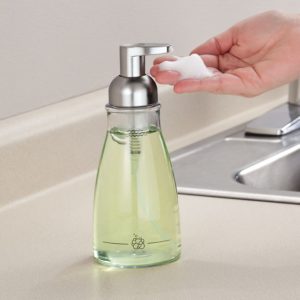 Finally, Bath and Body Works and other purveyors of “soap-ness,” have returned to offering most of their wares in the non-antibacterial form. Excellent!
 squirt-top container, I discovered regular liquid is too thick to go through the apparatus. What to do? I tried diluting the liquid – one-part soap to 2-3 parts water – guess what? Foaming soap! Think of all the water I had been buying all those years.
 No matter what soap we use, the trick is in proper handwashing technique. Rub, rub, rub those dirty paws thoroughly. Get to all surfaces of the hands, between fingers, and scrape your nails along the palm of the opposite hand to drive the soap bubbles underneath them. The rubbing process with soapy hands should last for 15-20 seconds or two hums of the Happy Birthday song.
 truly proper handwashing, coupled with not touching your face, will break that hand-to-mouth/eye/nose circle of germ circulation.
 Today’s next tidbit is something I’ve successfully employed in my recovery from being in a hypervigilant state for the past two years – even longer, as I endeavored to be “on-the-ready” for my husband’s changing needs.
 mean our nervous systems magically switch to a normal maintenance mode. Some of my symptoms were manifesting as an irregular heartbeat at bedtime.
 Maybe you, too, are trying to come off of a hypervigilant state. Whether it’s a different living circumstance, a change in jobs, or a change in relationships, converting to a calmer state of mind is not easy. Others may wonder why you may be having a rough time since the “problem” has been eliminated.
 While I am still very much a work in progress, I would like to share a bit of success that may help you, too. Curing hypervigilance and anxiety requires a multi-faceted approach, often with professional counselors, but this may be a starting point for you.
 This is how that went for me – here comes that nightly tension; I’m feeling those strong erratic beats of my heart which causes more anxiety – and instead of the usual tailspin, I applied alternate thinking.
 quiet breathing.
 Remember to be “off screen” before bed each night; the blue light of electronic screens is detrimental to the production of sleep-inducing hormones. Read something relaxing and helpful from a good old-fashioned printed book. It can be part of your winding-down routine for a good night’s sleep.
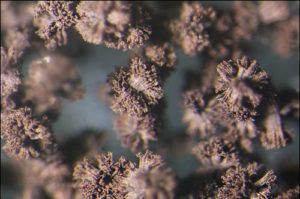 working is a big job. While post-hurricane mold spores swirl in the air along with the usual mix of wintertime viruses, many of us are walking a thin line between health and vocal collapse.
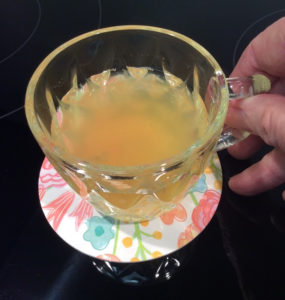
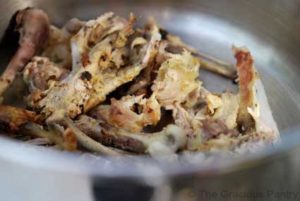 I’ve cheated the all-night simmering of chicken bones with large boxes of organic, free range, chicken bone broth.
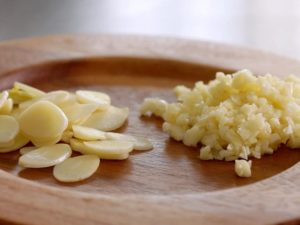
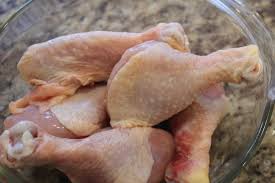 2 chicken thighs
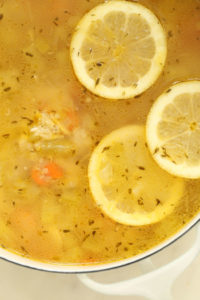

 It’s that good.
 “bad ones”
 1 cinnamon stick
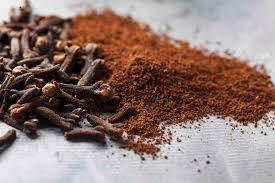 sweetness later on during cooking)
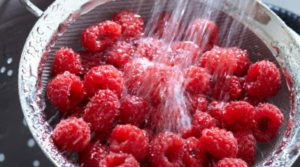 Place a sieve over a bowl. Pour raspberries and their juices into sieve. Using a spoon or rubber spatula, press the berries through the sieve until only seeds remain.
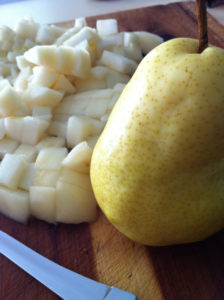 Dice up the peeled pear. I usually make a small dice by slicing through the thick part of each pear quarter, make lengthwise slices of both layers, then cut horizontally to make small pieces. Add pear to the cooking berries.
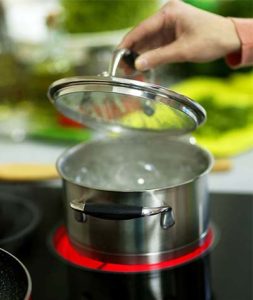
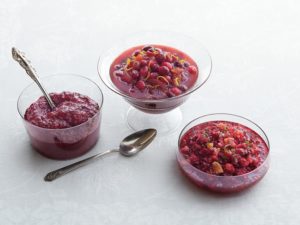 When you deem the sauce is finished cooking by noting the consistency and the popped state of the berries, turn off the heat and allow to cool a bit. Remove the cinnamon stick.
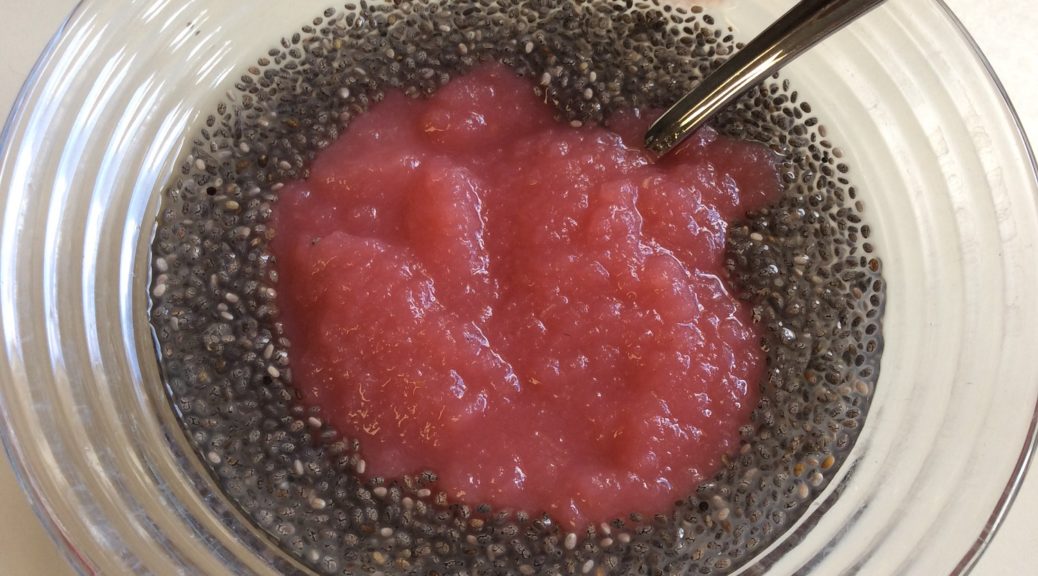


 may have some sense of a lack of fulfillment – or downright panic -with no added sugars. Dessert seems to be a thing of the past.
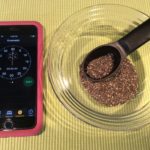
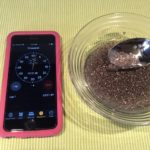
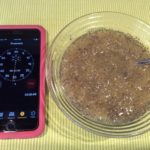

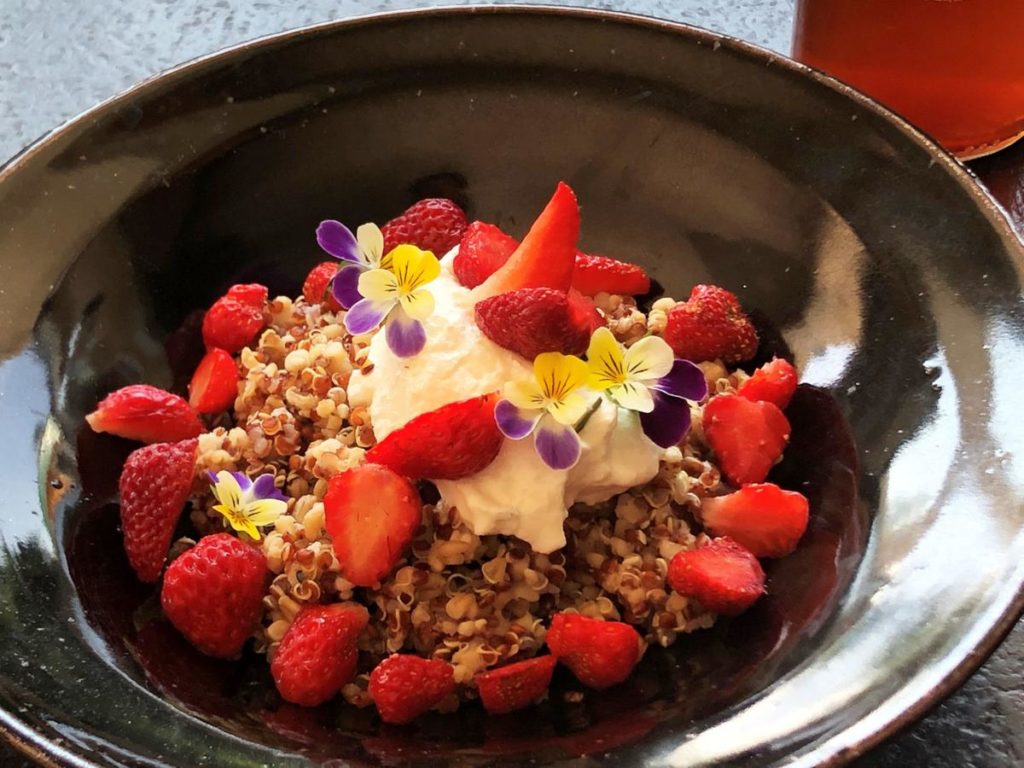
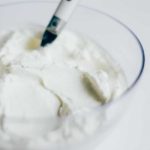
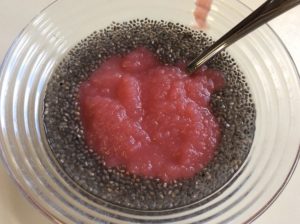 In the recipe section of Toolkit for Wellness, I included a few ideas to dress up these seeds into what I call a jam. If you add berries and cook them in on the stove, you can get a bowl of chia goodness (that will be prettier).
 add creates the flavor. A small handful of dried fruit works well, too.

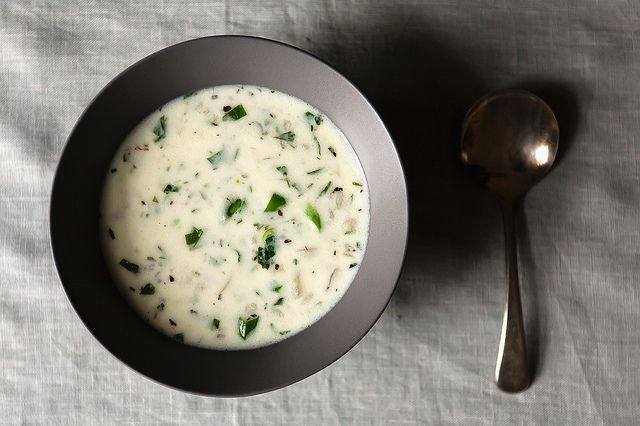
 Forget the New Year’s party hats. Where’s the chicken soup?
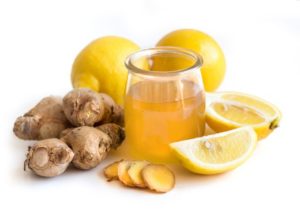
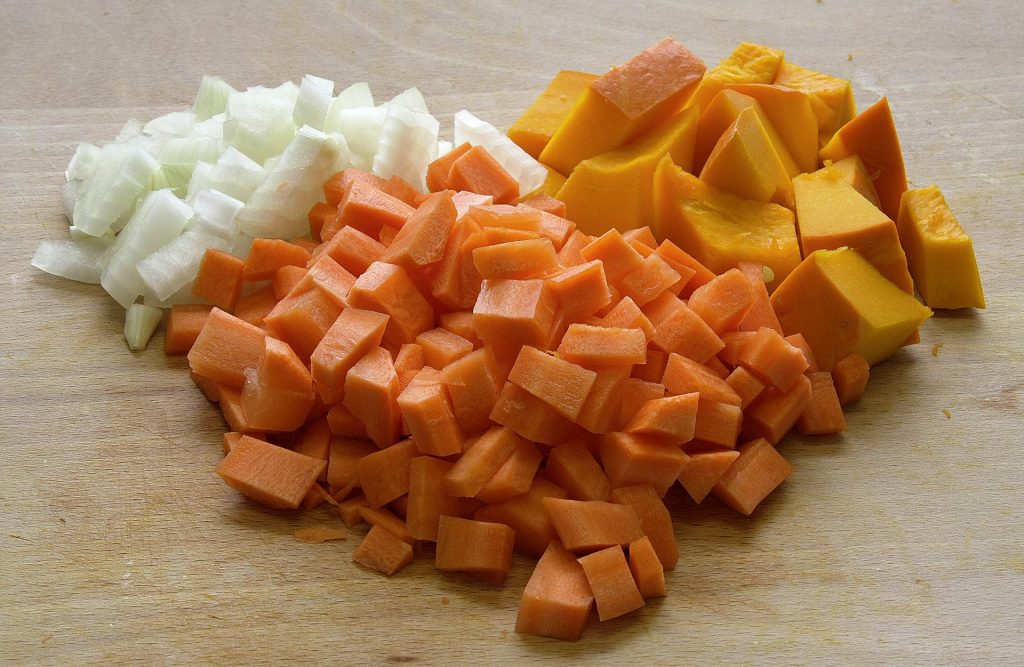
 In a saucepan, assemble:
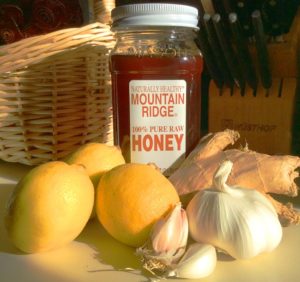

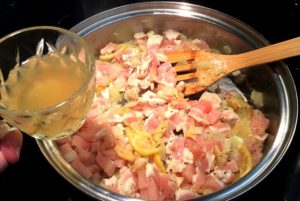 Sauté the onions, garlic, ginger, and lemon slices in butter and olive oil until onions are translucent.
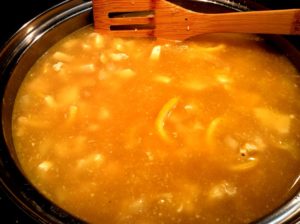
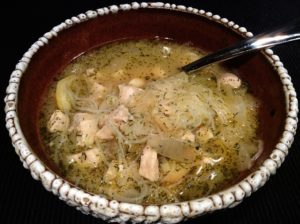 There is nothing like Mama’s TLC and chicken soup, to be sure, but this comes in at a close second- especially if you are the source of your own TLC!