Are you a dream builder? A builder of your own dreams, that is. You certainly can be!

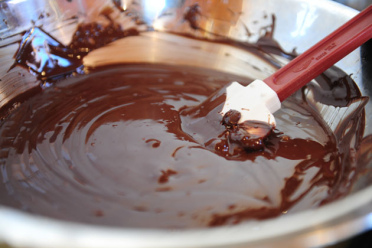
This is a story covered in chocolate. Really, really good chocolate … and one other very special ingredient.
Stories of people who make their dreams come true always fascinate and inspire me. The Shark Tank profiles of individuals who have an idea – a passion – and those who take action draw me in each week. Tales of the “little guy” who perseveres to bring his/her inspiration to market, charge up my own creative batteries and urge me to do more to make my dreams a reality.

Such is the story of Darlene and Gary Kramer, who hail from a northern California town called Lincoln.
Seems the Kramers held previously unbidden desires to become both chocolatiers and entrepreneurs. With Darlene’s background in accounting, and Gary’s in title and escrow sales, one could hardly see a thriving niche chocolate business being formed, but that is exactly what happened!
But that’s the stuff that dreams are made of, right?

Seems Darlene came home one day declaring, “I want to be a chocolatier.” Many of us would have followed that thought with, but …
There are always buts to our dreams. Those internal and external nay-sayers often derail our efforts to reach out beyond our respective comfortable boxes to g-r-o-w.
Darlene, however, took her initial steps in making her dreams come true by beginning the first of many courses to becoming a professional chocolatier. During her training, she needed a final project to prove her skills. She ended up with a creation that combined the best of both worlds: chocolate and coffee!
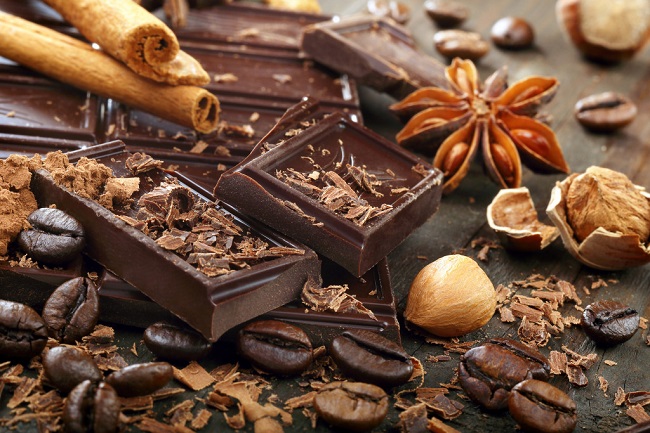
That original confection has evolved into seven different coffee bar flavors, in addition to fine chocolates, caramels, truffles, toffee, peanut brittle, and more.
The rest, as they say, is history!
Darlene and Gary started a wholesale business out of their home in 2013, but needed a brick-and-mortar location to expand into e-commerce. Now, in their present location in downtown Lincoln, California, since 2015, the couple continue to grow their business the old fashioned way – one phone call and order at a time.

The name? Oh, the name! Well, these amazing bars, that channel only the best chocolate and premium coffee beans one can ever find, is called … wait for it … BLABBERMOUTH CHOCOLATES!
Seems Gary was eager to discuss their fledgling business plan with his brother, (I’m presuming before Darlene was ready to let the confections out of the bag), so Darlene called him a “blabbermouth,” and the name just stuck!

Their divine chocolates will melt in your mouth. No sticking allowed here! Your taste buds will be delighted as the exceptional Belgian chocolate carries the deep, exotic coffee notes along for the splendid ride. The kick of the cumulative effects of the caffeine will make staying awake for your latest project pure pleasure.

Blabbermouth Chocolates – in any form – a daily treat for me!
If you are a trucker rolling along the interstate, a whole bar over the course of the night may do the trick, and keep you safe and alert for hundreds of miles to come. In fact, they have found their greatest success at truck stops, thanks to their earliest customers. Blabbermouth Chocolates can be found in truck stops in Portland, Oregon; Wyoming; Utah; and one of the biggest, the Iowa-80, according to Gary Kramer.
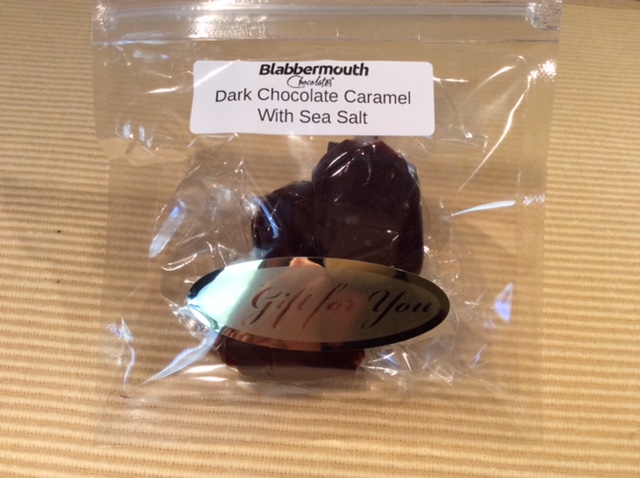
If truck stops aren’t your style, Blabbermouth Chocolates may be found in some Nugget Markets, Safeway Stores, and Whole Foods. You can also buy them directly from their website, BLABBERMOUTH CHOCOLATES. My discovery happened when visiting friends in northern California who personally know Gary and Darlene.

After that first taste, I became a fan for life. Blabbermouth Chocolates website assures me of a constant supply. Their service is speedy, their thank you samples are delish, and I consider it a privilege to share this tasty information with you.
There’s still time before Valentine’s Day to order your loved ones something unique!
As a special offer for our foodtalk4you readers, Gary and Darlene want to give you a 10% discount on your first purchase from Blabbermouth Chocolates! Just use this coupon code, foodtalk, for your first order.

Have I just become a Blabbermouth? LOL!
Happy Valentine’s Day!
In health-
Deidre


 tempting. A great gift idea, too. Haven’t taken that swab plunge yet, but sometimes a very Nordic, “Yah,” periodically comes out of my mouth that I wonder, “where did that come from?”
 what I mean: some ‘random’ thing that leads to something else that leads to something else? The dominoes keep tipping over in a beautiful opening of blessings?
 One evening, we dined with an Amish family who served traditional Amish fare supplied by a local restaurant and who opened up for an honest and frank question and answer period. As a personal thank you gift, I gave her a signed copy of my book, Toolkit for Wellness, as a gesture of sharing, in kind, a bit of myself.
 when her husband had died in 2010, but that she waited two years to read it. She said that reading the book, When God Winks at You, changed her life.
 accident that you just picked up When God Winks. In fact, you may have suspected all along that there is more to coincidence than meets the eye. These seemingly random events are actually sign posts that can help you successfully navigate your career, relationships, and interests. By recognizing the God winks our Creator sometimes places in our paths, we can understand—and embrace—the journey God has laid out for us.
 Speaking of book-giving at Christmas – where did that tradition come from? I have always loved giving and getting books for Christmas. Yah?
 items readily available to give as gifts at Christmas. Hence, a strong tradition of book ownership, reading, and Christmas gift preferences.
 While change is one of the few constants in this world, it’s the one we tend to like the least. The older we get, the tighter we cling to the old ways and resist anything new.
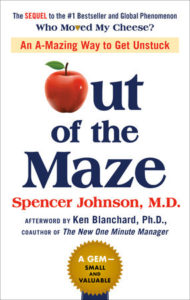 I have to say that the simple wisdom found in this quick read of Out of the Maze has helped me in my own transitions of late. It’s a great book to pull off the shelf at the start of each New Year as we all move forward with our lives and pause to reflect on our progress or to consider if we are ‘stuck’ in a maze.
 targeted to be ‘food’ for your mind, body, and spirit.
 Thanksgiving? Leftovers may be my favorite part of the holiday, so it seems appropriate to have savored my Cranberry Secret Sauce over some peanut butter on gluten free toast for breakfast today.
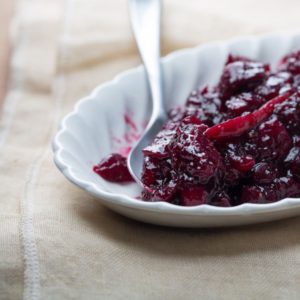 Check last week’s post to keep that tasty and versatile jewel of redness around for the whole holiday season.
 bacterial hand soap.
 Finally, Bath and Body Works and other purveyors of “soap-ness,” have returned to offering most of their wares in the non-antibacterial form. Excellent!
 squirt-top container, I discovered regular liquid is too thick to go through the apparatus. What to do? I tried diluting the liquid – one-part soap to 2-3 parts water – guess what? Foaming soap! Think of all the water I had been buying all those years.
 No matter what soap we use, the trick is in proper handwashing technique. Rub, rub, rub those dirty paws thoroughly. Get to all surfaces of the hands, between fingers, and scrape your nails along the palm of the opposite hand to drive the soap bubbles underneath them. The rubbing process with soapy hands should last for 15-20 seconds or two hums of the Happy Birthday song.
 truly proper handwashing, coupled with not touching your face, will break that hand-to-mouth/eye/nose circle of germ circulation.
 Today’s next tidbit is something I’ve successfully employed in my recovery from being in a hypervigilant state for the past two years – even longer, as I endeavored to be “on-the-ready” for my husband’s changing needs.
 mean our nervous systems magically switch to a normal maintenance mode. Some of my symptoms were manifesting as an irregular heartbeat at bedtime.
 Maybe you, too, are trying to come off of a hypervigilant state. Whether it’s a different living circumstance, a change in jobs, or a change in relationships, converting to a calmer state of mind is not easy. Others may wonder why you may be having a rough time since the “problem” has been eliminated.
 While I am still very much a work in progress, I would like to share a bit of success that may help you, too. Curing hypervigilance and anxiety requires a multi-faceted approach, often with professional counselors, but this may be a starting point for you.
 This is how that went for me – here comes that nightly tension; I’m feeling those strong erratic beats of my heart which causes more anxiety – and instead of the usual tailspin, I applied alternate thinking.
 quiet breathing.
 Remember to be “off screen” before bed each night; the blue light of electronic screens is detrimental to the production of sleep-inducing hormones. Read something relaxing and helpful from a good old-fashioned printed book. It can be part of your winding-down routine for a good night’s sleep.
 working is a big job. While post-hurricane mold spores swirl in the air along with the usual mix of wintertime viruses, many of us are walking a thin line between health and vocal collapse.
 I’ve cheated the all-night simmering of chicken bones with large boxes of organic, free range, chicken bone broth.

 2 chicken thighs
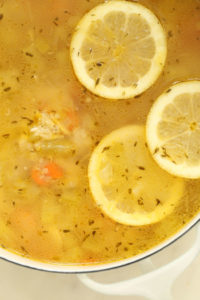


 It’s that good.
 “bad ones”
 1 cinnamon stick
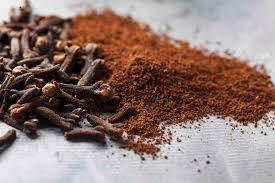 sweetness later on during cooking)
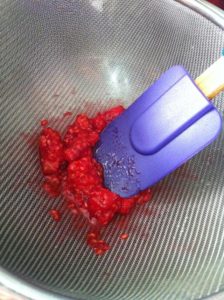
 Place a sieve over a bowl. Pour raspberries and their juices into sieve. Using a spoon or rubber spatula, press the berries through the sieve until only seeds remain.
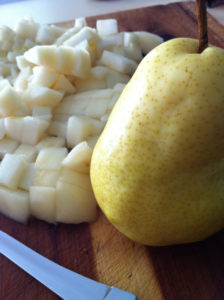 Dice up the peeled pear. I usually make a small dice by slicing through the thick part of each pear quarter, make lengthwise slices of both layers, then cut horizontally to make small pieces. Add pear to the cooking berries.
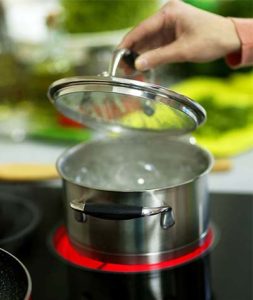
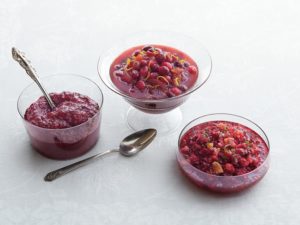 When you deem the sauce is finished cooking by noting the consistency and the popped state of the berries, turn off the heat and allow to cool a bit. Remove the cinnamon stick.

 some of the happiest times of the year: Halloween, Thanksgiving, Christmas, Hanukah, and New Year’s Day – to name a few. Maybe a birthday or an anniversary will be added to the mix. Some of us, however, may be caught up in the poignancy of All Saints’ Day Memorials – remembering those who have passed away in the last
  year – or in Veterans’ Day tributes to those who have given their all for us in battles of war.
 may have resulted in the physical and emotional rugs being jerked out from under us, many of us are just trying to suck in all of our emotions.
 But is that the right approach?
 produce about 10 ounces of tears a day and 30 gallons a year. Toddlers probably exceed that.
 such as dust, wind, or onions.
 Tears release toxins from the body – The tears we release when crying actually wash away the chemicals that raise the stress hormone (cortisol) inside of us. Other chemicals found in our emotional tears include the “feel good” hormones, called endorphins, that help to decrease pain.
 have been shown to help kill anthrax.
 Tears relieve stress – Stress activates our Sympathetic Nervous System or our fight-or-flight response. Tears counter that by activating our calming system called the Parasympathetic System. Again, our tears cause the stress hormones and toxins to wash away, thereby reducing tension. As one article pointed out, tears are certainly a healthier option to punching a brick wall and cause no physical injury, no headaches, and do not contribute to higher blood pressures.
 moments and can put an emphasis on the emotional component of a verbal exchange.
 If you aren’t going to be home for Christmas; if your family does not look like a Norman Rockwell painting; if you are going to spend the first holidays without a special someone; chances are, a good cry may come your way.
 others in similar circumstances (or worse) and be a light in the darkness for them. Call others on a whim. Surprise an acquaintance with a small gift or flower, or physically be there for someone in need.
 box of Kleenex. You may need to see the doctor. Be alert for signs of depression in yourself or others which will also include some, or all, of the following indicators:
 Depression will not be fixed by a good cry. Depression is not fixed by “pulling up your own boot straps.” If you see yourself in the list above, please make contacting a physician a priority. You do not have to feel like that. There is help!

 The whole back-to-school atmosphere of late August makes me think of fresh yellow No. 2 pencils and a brand-new box of Crayola’s.
 After taking 28 days of vacation out of town to reconnect and refresh – my physical and emotional fatigue, grief, and jet lag have taken a toll. Spending 15 minutes with my new watercolor brush pens takes me away from those blue electronic screens, and completely relaxes my mind and body in preparation for a restful night.
 those crayons, pens, pencils, or brushes to help disconnect and calm yourself for sleep.
 As regular readers already know, it’s been two or three years since I’ve had any kind of time off. It was pure bliss to reconnect with friends I hadn’t seen for forty years in Sacramento, California. Then I flew to the Big Island of Hawaii where I basked in paradise at my daughter’s home. I hope you have had some type of time away from your normal schedule. It’s so healing to just walk away from it all – even for just a few days.
 stopped there for me except for playing Uno with the grandkids.
 to reset myself. Other than the obvious changes that come with grief and widowhood, my body is clamoring for some attention. Too many good habits have gone by the wayside as caregiver stress mounted for over two years.
 Like the classroom instruction starting up all around us, we would do well to remember how learning happens. Teachers guide young minds to learn one concept at a time. When that concept is mastered through practice and application, the next concept is introduced. Children put all of those concepts together to create a bigger whole. Learn the alphabet and the sounds each letter makes. Put those letters together to form words and then sentences. Eventually, books are read.
 my public
  Everything that has been shared about journaling for goals is true. The effect is immediate. The desire to improve is fleshed out in action through this simple accountability tool. Grab a piece of paper and write down your daily progress for a personal goal.
 periodically with an update as to your progress or share some difficulties. We’re in this together to help and cheer each other on to success!
 and recipes with my readers escaped me. Earlier this year, I pushed through the pressing personal concerns surrounding me to nurture the creative process, but I have sort of let you down of late. Apologies.
 windows. Why, even doing dishes is fun while glancing up to appreciate my own little Eden.
 When there’s a song in your heart, you sing – right?
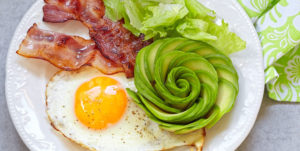
 Have you noticed the paleo writers all seem to have a side hustle about “Keto” related? After writing how-to books, recipe books, and countless blogs, my favorite paleo gurus are now on the Ketogenic bandwagon. Their new book releases all sport Keto-friendly labels. Their latest products are “Keto-centric” as well- meaning, they are totally focused on low-carb, high-fat foods.

 Friend: Sodium is another weight adder. I recently had a cheat day where lunch was a cheeseburger with chili cheese fries followed by Chinese for dinner. I woke up the next day 7 pounds heavier! Couldn’t believe it. Went back on the good diet and lost all that water weight in three days


 world turn while watching the clouds above float by.
 forests of Northern California was a holy experience. Quietly stepping into the ancient tabernacle of giant redwoods was life-changing! I return to that experience often to relive the awe and wonder of it. Presently, extended slow walks to the mailbox and some time spent on the back porch swing have to satisfy that deep need for now.
 boat on the river or time sitting on one of our beautiful beaches satisfies many. Time to unplug from the rat race and reconnect to the REAL WORLD of nature.
 The best indicator of longevity turned out to be the number of daily face-to-face connections we had. Smiling at people. Striking up brief conversations with strangers. Laughing about the human condition with someone while in line at the bank. Lamenting about the price of tomatoes with a fellow shopper. Little connections. With humans. Face-to-face.
 Yours truly won one of the main door prizes! I had never heard of a Dash Caddie before, so the young inventor and his wife had to show and demonstrate it to me.
 Caddie, which is a portable box that can mount into almost any golf cart or suction-cupped onto the dash of an RV or boat with ease.